
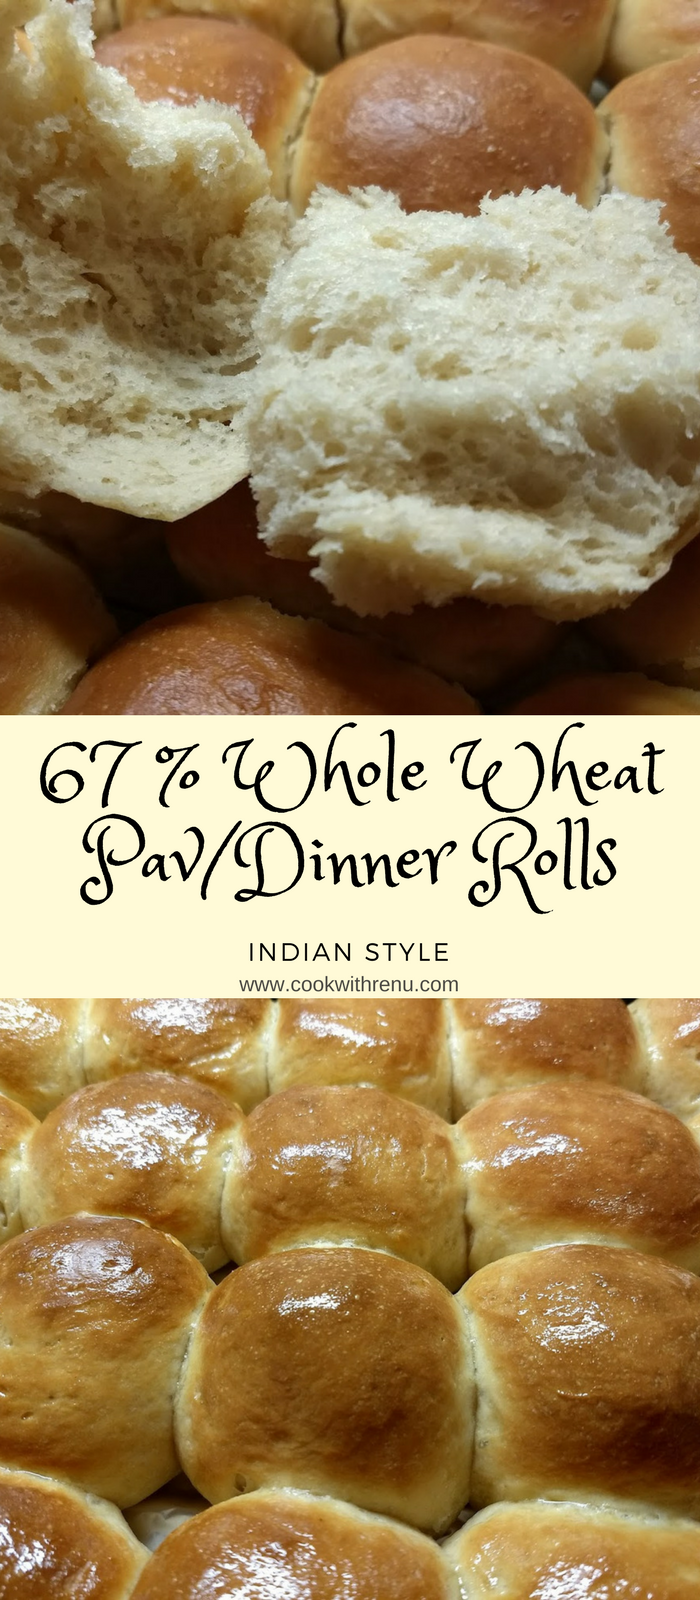
67 percent Whole Wheat Pav/Dinner Rolls
The joy of getting a perfect fluffy, pillowy soft pao, made from a mix of whole wheat flour and APF. It is difficult to achieve a soft texture with whole wheat pao. I once made it with 100% whole wheat, they were good to eat, but were a bit tough. So this time, replaced around 67% APF with whole wheat flour to my orignal pav recipe, and here comes the perfect soft and fluffy ones. I really could not feel any difference when we were enjoying the pav with yummy pav bhaji. I have to mention it to my husband that I changed the recipe this time, and he truly enjoyed the pao.
The real credit for this trial goes to my dad. When he eat my pav made with APF (Maida) he said me can you make them with whole wheat as he does not like eating bread or pav as they are made of APF(Maida). I said yes I will try, so this one is for you papa.
So here goes the recipe:


Ingredients
- 3 Cups Whole Wheat flour
- 1.5 Cups All purpose Flour (Maida)
- 1 Sachet (7 gms) Fast action Dry yeast (2 ½-3/4 teaspoon)
- 1 Tablespoon sugar (Can add more, but the pao becomes heavy and sweet)
- Salt to taste
- 2 tablespoons of luke warm water
- 2-3 tablespoons of melted butter, more might be required to attain the desired elasticity.
- 1 cup lukewarm milk (¼ to ½ cup more milk might be required depending on the dough)
- 1 tablespoon butter for brushingcoating
- 1 tablespoon milk for brushingcoating
Preparation
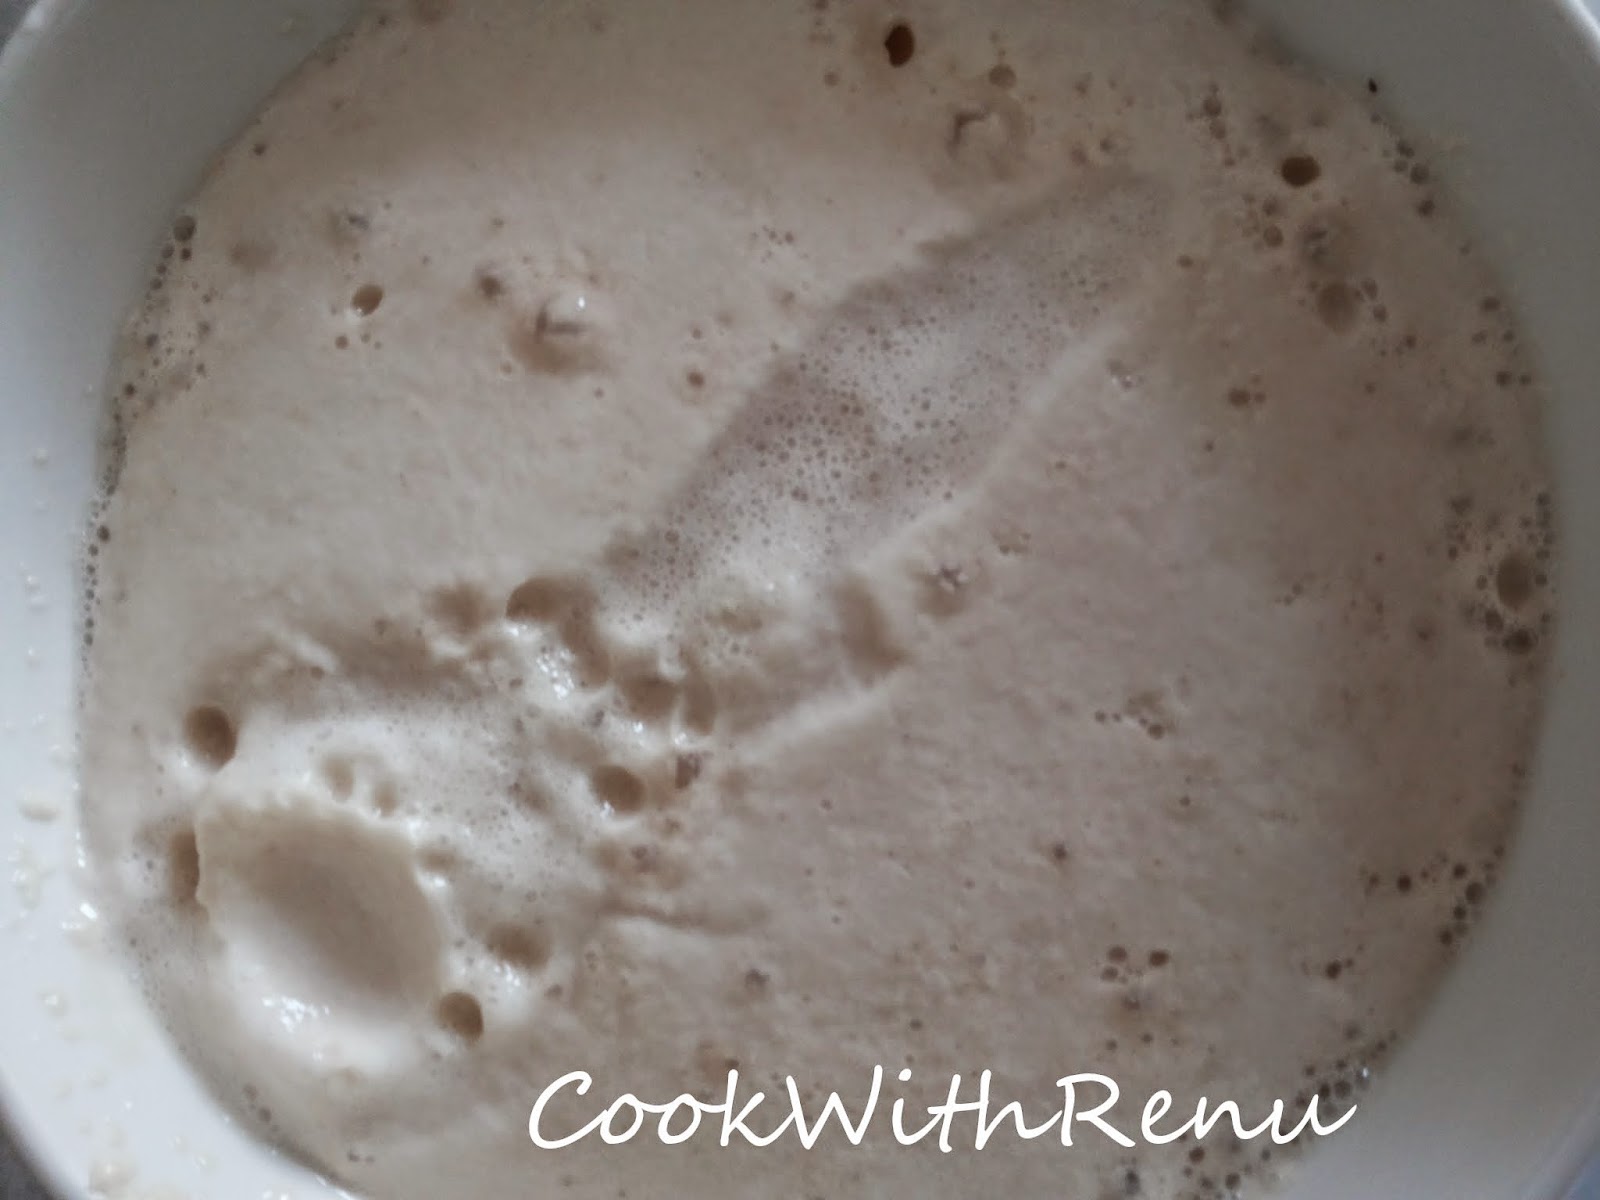
1. In lukewarm water (Should not be too hot or else the yeast will die) mix sugar and then mix yeast and keep it aside closed, for 10 minutes.
2. Mix salt and flour. Once the yeast rises mix it and kneed it well using milk. Check out the below picture how the yeast looks after rising or blooming (I have kept the spoon inside it to create an impression so that it is visible in the photo)
3. Milk should be lukewarm. Should not be cold or very hot. If cold the dough won't rise and if hot it will kill the yeast.
4. Knead it with all your muscle strength :-), around 10 minutes. If required use more milk. The dough should be sticky. Add more milk if required. Knead the dough on a work surface or a kitchen top, this helps in kneading it properly instead of kneading it in vessel. (First combine all in vessel and then take it on the work surface)
5. After 10 minutes or so, keep on taking little butter in your palms and knead it using all the butter and keep on kneading for 5 minutes or so.
6. The dough should be shiny and elastic.
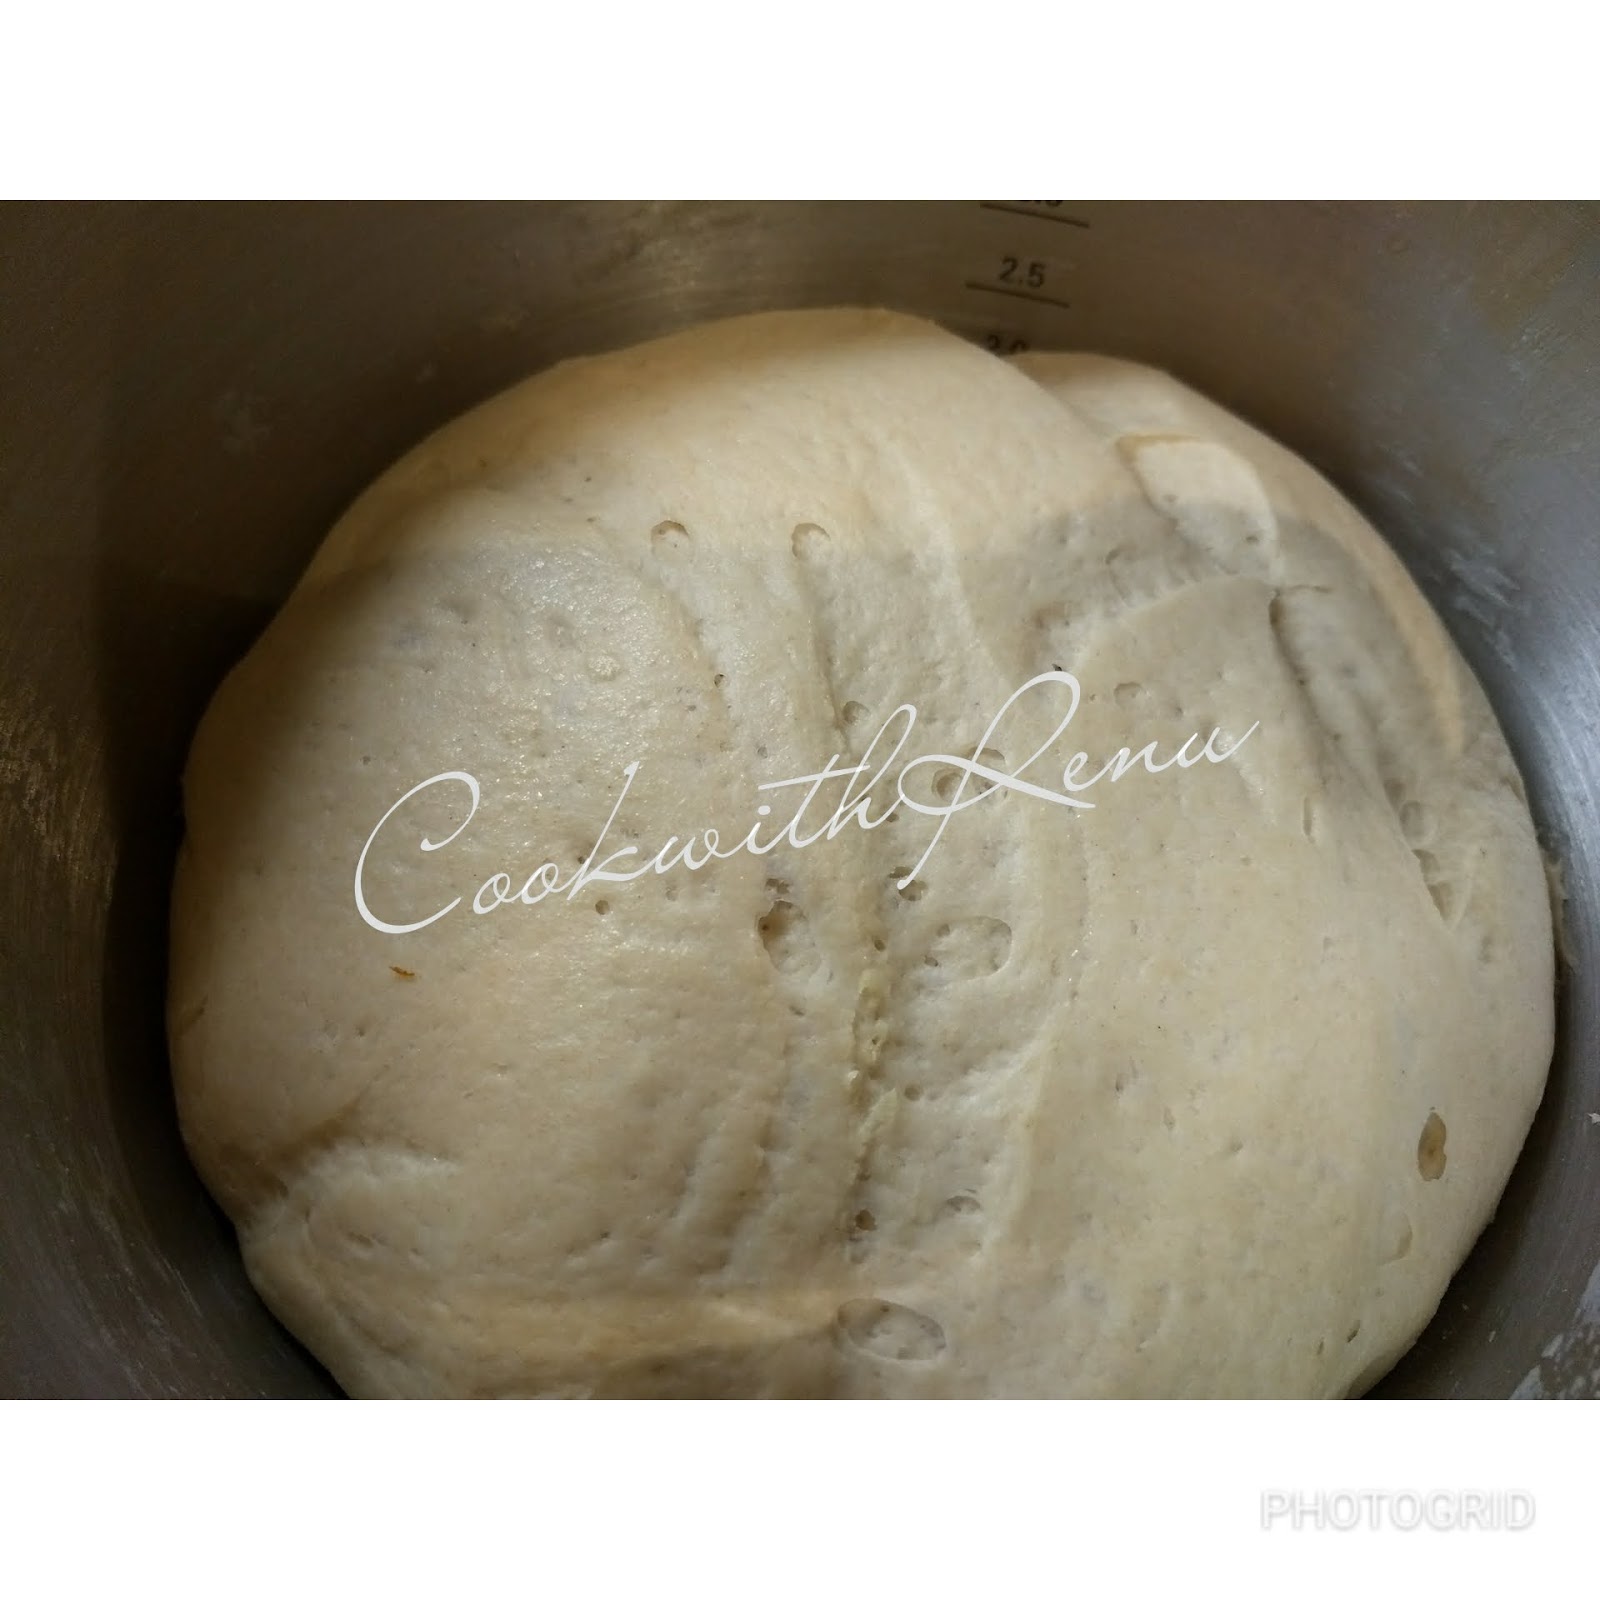
7. Cover the dough with a muslin cloth or with a cling film (on top of the bowl and not on dough) and let it rise for 90 minutes or until double in size.
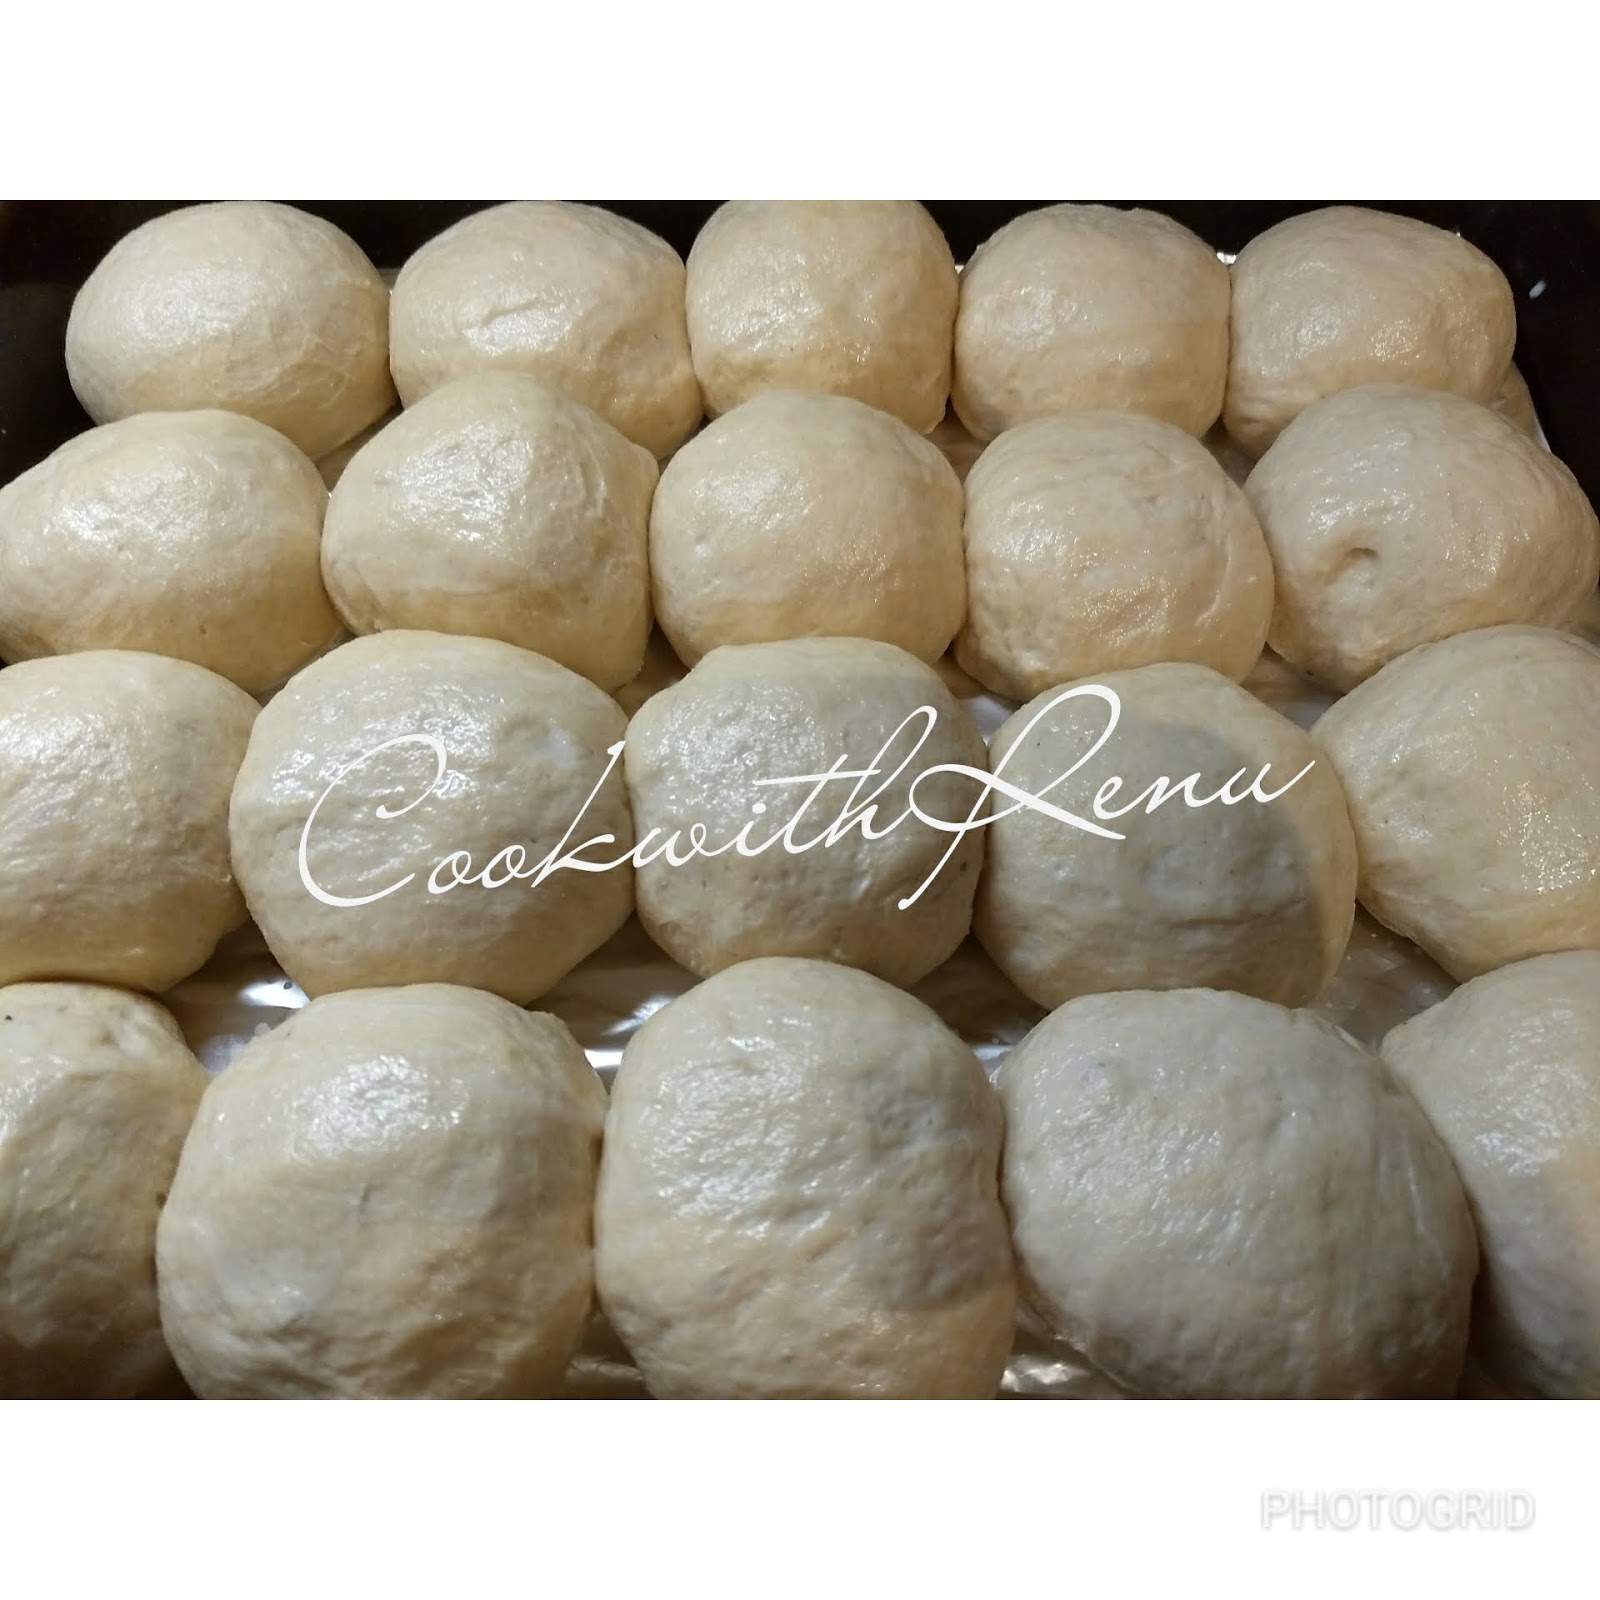
8. Once double, punch the dough and knead again for 2-3 minutes. Divide the dough in equal size round balls and knead each ball well using your fingers. ( do not make less balls, or else they become heavy for eating)
9. Arrange the balls in the baking tray having enough spacing between the balls.

10. Cover the balls again and let it rise for 90 minutes or until double in size.
11. Preheat oven at 200 deg Celsius. Brush the balls with milk (To get brown colour) (Brush the milk very lightly) and bake for 15-20 minutes. (All oven's are different and you are the better judge of your oven. So heating time varies.) Do not exceed the baking time just because you are not getting the brown colour. It might go hard.
12. Once done remove from oven and apply butter immediately and remove from the baking tin and let it cool on a wire rack.
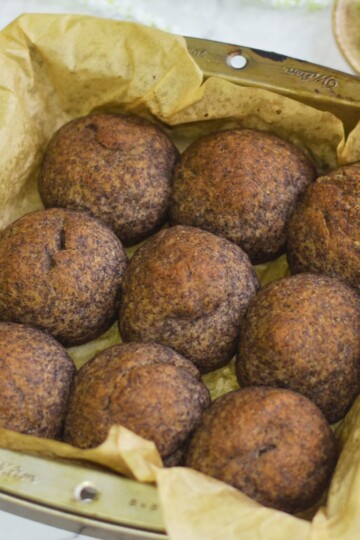
Pic below: Just Before applying the butter

Pic Below: After applying Butter

Pic Below: Pao removed from the baking try and cooling on cooling rack

13. Delicious and yummy Pao is ready
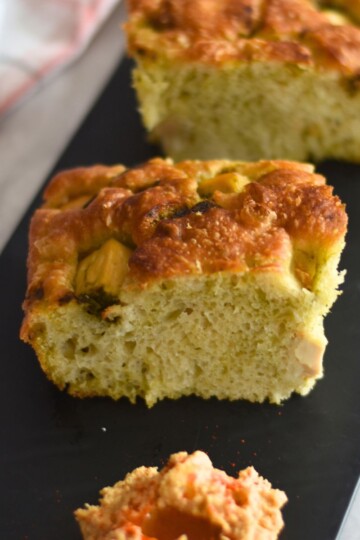
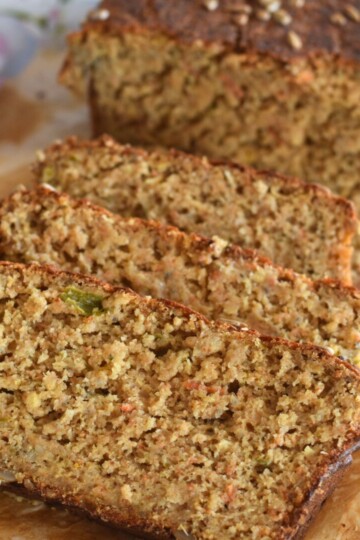
Pic Below: Soft and fluffy inside of a pao.
Pic Below: Soft and fluffy inside of a pao.

Tips
- For the dough to rise in cold countries , warm your oven for a few minutes. Switch off the oven and keep the utensil inside the oven. Remember to switch off the oven.
- We just want a warm climate, where in we can help rise the dough. Do not over heat or else you will kill the yeast. If required simply keep in the oven without warming or keeping the light on.
- Start with half the quantity in the start if you are not confident.....
- All oven's are different and you are the better judge of your oven. So heating time varies.
Love to read your comments and feedback.
Do not want to miss a post , subscribe to my email list.
Follow us on social networking sites by simply clicking on one of the follow up buttons on the top.
Sharing is Caring, Click one of the Social networking buttons to share this recipe.

The pavs came out really well, it really is a never fail recipe. They best part is that they are healthy as well, thank you so much for this amazing recipe
Thank You very much Amalendu. Glad you liked it.
Will definately try this over the weekend. Most of the bread and pav recipies i have used so far needs to be proofed for 40-60 mins. Is longer proofing period due to whole wheat flour , lesser quantity of yeast or temparature .
Hi,
If your bread gets doubled in 45-60 mins it is okay. I prefer to proof it a bit longer for 1.5 hours. I always do that with my pav recipe. Also I do stay in a cold country, so temperatures are a bit low here always, so proofing takes a bit longer. It is not due to whole wheat flour.