
Gluten-Free Coconut Flour Chocolate Banana Cake
This chocolate banana coconut flour cake is soft, rich, and easy to make. It uses ripe banana for natural sweetness and coconut flour for a light gluten-free texture. It is a great cake for anyone who wants a simple homemade dessert with wholesome ingredients.
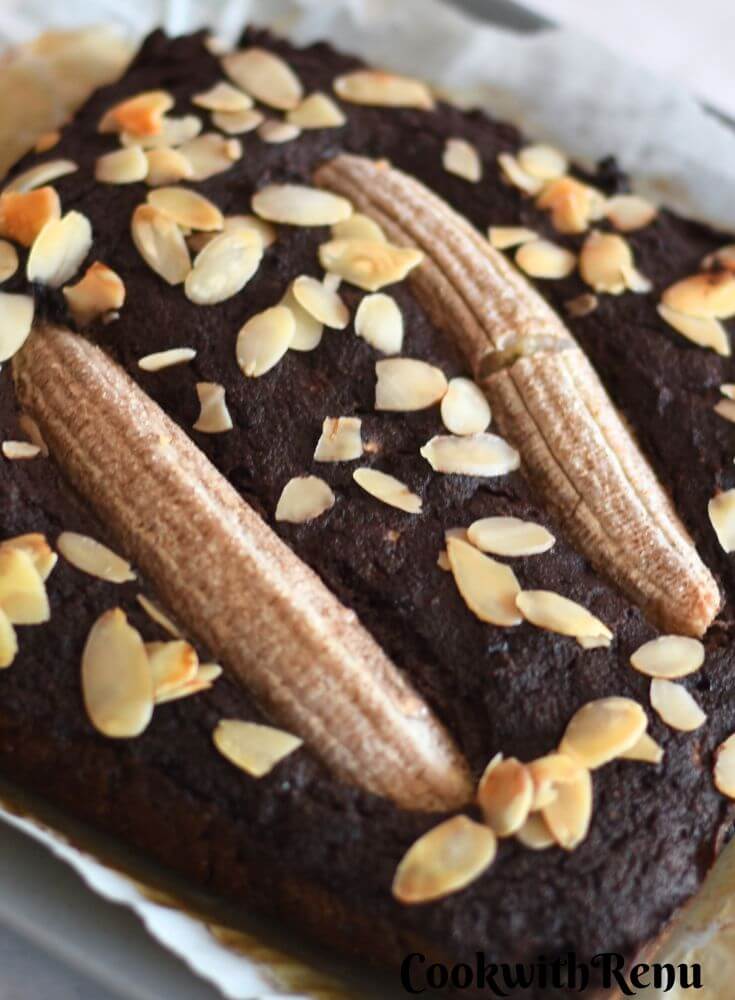
If coconut flour has ever given you a dry or dense result, this method fixes the usual problem. The batter uses plenty of eggs, a measured amount of mashed banana, and a simple mixing order that helps the cake stay soft instead of chalky. Here's how this cake comes together and what makes it work.
Jump to:
- Why this cake stays soft without added sugar
- Start with the pan, oven, and chocolate base
- Fold in the coconut flour and watch the texture change
- Bake it gently and leave the oven alone
- Slice, serve, and store it without losing that soft texture
- Baking tips that keep the cake soft, not crumbly
- Gluten-Free Chocolate Banana Cake with Coconut Flour
Why this cake stays soft without added sugar
This cake leans on ripe bananas for sweetness, and that changes the whole feel of the bake. Instead of a sharp sugary taste, you get a mellow sweetness that blends into the cocoa and butter. The result is chocolatey, lightly sweet, and moist enough to hold its texture even after chilling.
Coconut flour is a big part of that texture story. It doesn't behave like all-purpose flour, and it doesn't act like most gluten-free blends either. It absorbs liquid fast, so the batter thickens quickly and needs more moisture than you might expect.
Bananas add more than sweetness
Ripe bananas do two jobs here. First, they sweeten the cake without added sugar. Second, they keep the crumb tender, which matters even more in a coconut flour batter.
Measuring the mashed banana matters because banana sizes vary. The cake uses ¾ cup mashed banana, so it's smart to mash first and then measure rather than guessing based on the number of bananas alone.
However, if you want to skip the bananas and make it using sugar, check this most popular recipe for Chocolate Coconut Flour Cake. I have replaced this Chocolate Coconut Flour Cake to make it processed sugar-free.
Eggs hold the whole cake together
This batter uses five eggs, or six if the eggs are small. That might sound like a lot, but it fits the flour. Because coconut flour absorbs so much liquid and doesn't contain gluten, the eggs give the cake its structure and help it bind.
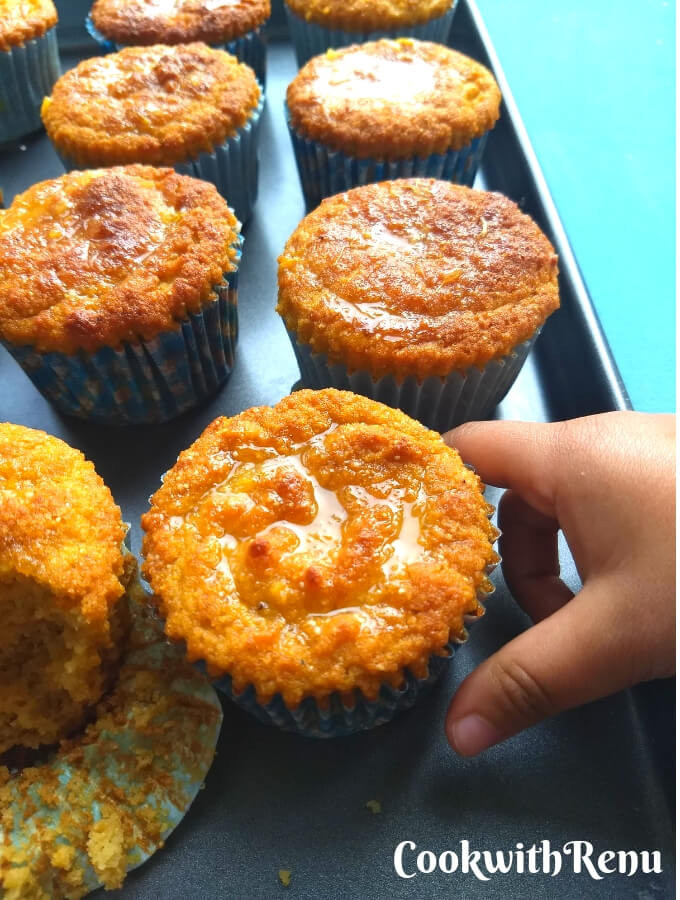
Without that extra egg support, the batter can turn thick before it has enough strength to rise well. You'll notice the same pattern in other coconut flour bakes, including coconut flour Orange Poppy Seed Muffins, where eggs and liquid do much of the work that wheat flour usually handles on its own.
Start with the pan, oven, and chocolate base
Before mixing anything, preheat the oven to 180 C, which is about 356 F. Then line a square baking pan with parchment paper. That small bit of prep makes the rest of the process easier, especially once the cake has baked and cooled.
The wet base starts with melted butter. Keep it at room temperature or only lightly warm. You want it fluid, not hot.
If the butter is too warm, it can start cooking the eggs when you combine the mixtures later.
Once the butter is ready, sift in the cocoa powder and mix it well. Sifting matters here because cocoa tends to clump, and those dry pockets are harder to smooth out once the batter thickens.
Mash the bananas before they go in
Use a fork to mash the ripe bananas until they're mostly smooth. A few tiny bits are fine, but you don't want large chunks. Since banana size varies, the mashed banana is measured before it goes into the bowl, and the total amount used is ¾ cup.
Add that mashed banana to the butter and cocoa mixture, then whisk until the banana disappears into the chocolate base. At this stage, the batter still looks loose and glossy. That's a good sign, because the coconut flour hasn't gone in yet.
Mix the eggs separately
In a separate bowl, beat the eggs with vanilla essence before adding them to the chocolate-banana mixture. This extra bowl is worth it. It helps the eggs combine more evenly, and it gives you a smoother batter once everything meets in the main bowl.
When the egg mixture goes in, whisk again until the batter looks uniform. The texture should still be pourable at this point, although it will soon become much thicker.
Fold in the coconut flour and watch the texture change
After the wet ingredients are fully combined, sift in the coconut flour, baking powder, and salt. Sifting again matters because coconut flour can form stubborn little lumps, and those lumps don't always break apart on their own.
Switch to a spatula at this stage and fold the dry ingredients in gently but thoroughly. If you spot any lumps, press them against the side of the bowl with the back of the spatula. Keep going until the batter looks smooth and even.
A thick batter is exactly what you want
Don't be surprised when the batter tightens up fast. That's normal. Coconut flour absorbs liquid almost immediately, so the mixture becomes thick in a short time.
A heavy-looking batter doesn't mean anything went wrong. In this cake, that thickness shows the flour is doing its job.
If your eggs were on the smaller side, the batter may feel extra stiff, which is why using six eggs can help in some cases. The goal is a smooth, thick batter that spreads with a spatula, not a thin batter that pours like a standard cake mix.
Spread the batter into the lined pan and level the top. Because the mixture is thick, it won't settle on its own very much, so take a moment to smooth it out.
Finish with a simple topping, if you like
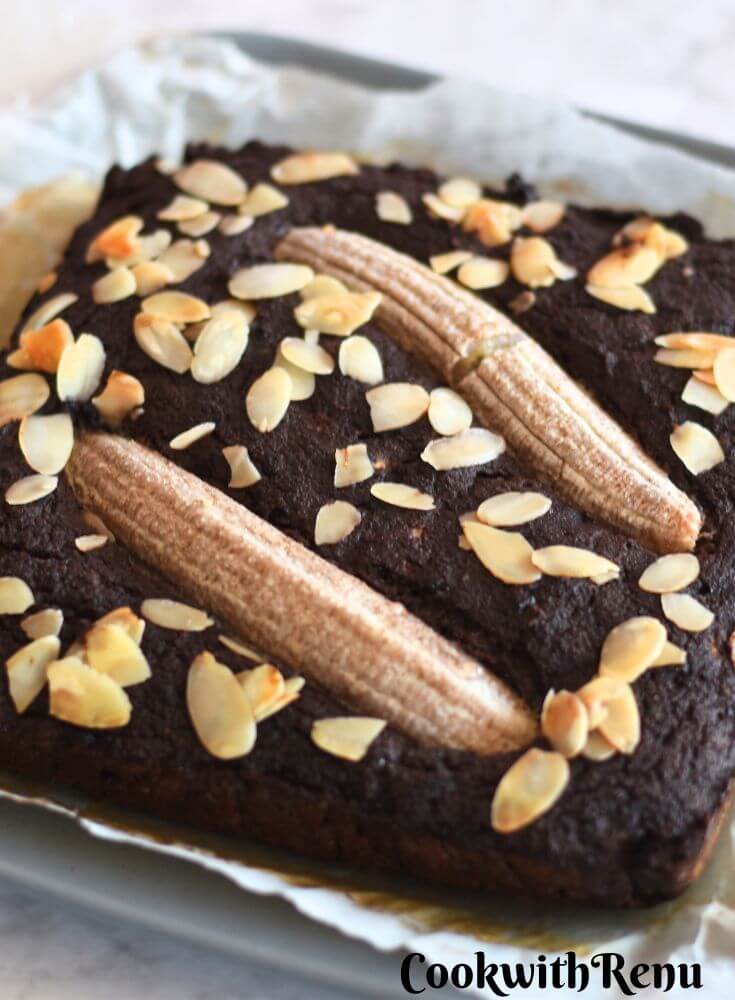
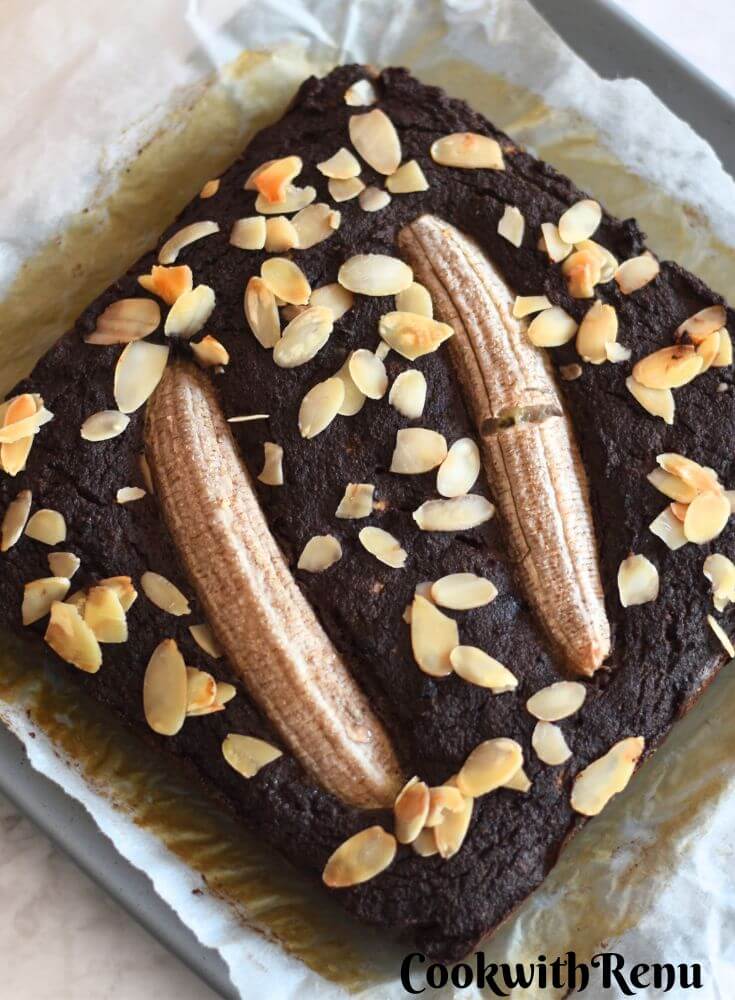
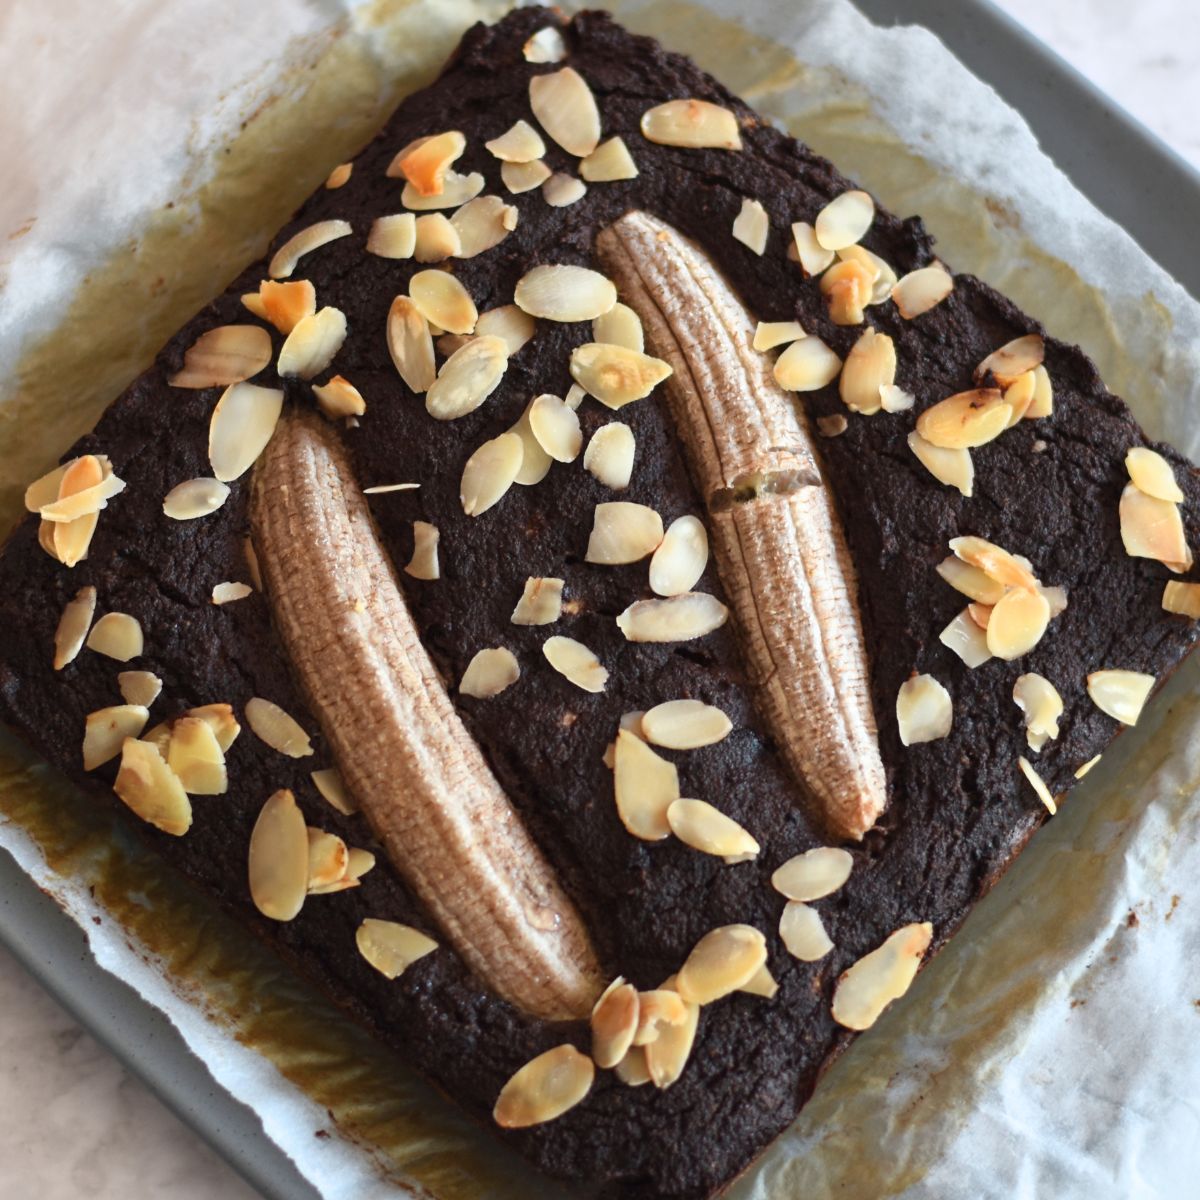
The topping is optional, but it adds a nice visual cue and a bit of texture. You can garnish the batter with banana pieces or nuts before baking. Small banana slices work well, but larger banana pieces can go on too. The same goes for nuts, which can be scattered on top without much fuss.
This extra step doesn't change the method, but it gives the finished cake a little contrast on top and makes it look ready to serve straight from the pan.
Bake it gently and leave the oven alone
Slide the pan into the preheated oven and bake the cake for 25 to 30 minutes at 180 C. Then let the oven do its work without interruption.
Opening the oven door too early can interfere with the bake, so keep it shut until the cake is close to done. This matters most in the middle of the bake, when the structure is still setting.
The cake is ready when the edges start pulling away from the sides of the pan, or when a toothpick inserted in the center comes out clean. Both signs matter. A clean toothpick tells you the middle has baked through, while the slight pull at the edges shows the batter has set well around the pan.
Once it's done, remove the cake from the oven and take it out of the pan. Then let it cool before slicing.
Cooling matters more than people think with this kind of cake. Right out of the oven, the crumb is still settling. Once the cake cools, the slices hold their shape better and the inside texture becomes easier to see.
Slice, serve, and store it without losing that soft texture
After the cake cools, the first slice tells you a lot. A soft cut is the first good sign. Inside, the crumb should look light and evenly baked, with a fine network through the center rather than wet streaks or dense patches.
That net-like crumb is what you're looking for. It shows the batter baked through properly and still kept its moisture. In other words, the cake isn't dry, and it isn't underdone either.
The texture is moist, but a little on the dry side. We still loved it because it tastes more like a brownie than a fluffy cake.
Serve it as cake or warm it like a dessert
This cake works well as a simple snack cake, but it can also lean into dessert territory. If you like warm chocolate desserts, you can enjoy it in the style of a sizzling brownie, with the cake served warm so the chocolate flavor feels fuller and softer.
Because the sweetness comes from banana rather than added sugar, the flavor stays balanced. The cocoa still comes through, and the cake doesn't feel overly rich or cloying.
The optional banana and nut topping also helps here. Banana on top makes the fruit flavor more obvious, while nuts add a little bite against the soft crumb.
It stores well in the fridge and freezer
This is the kind of cake you can make ahead and keep around. In the fridge, it stays good for 4 to 5 days. That makes it useful for a week of small slices, whether you want it as a snack or a quick dessert after dinner.
For longer storage, wait until the cake has cooled, cut it into slices, and freeze it. It keeps well in the freezer for 2 to 3 months. Slicing before freezing makes it easier to take out only what you need later.
Baking tips that keep the cake soft, not crumbly
Small details matter more with coconut flour than they do with regular flour.
Choose the right pan and baking time
A loaf pan or a small round cake pan works well for this recipe. Bake at 350 F, and start checking it around 25 minutes. Most pans in this size range will need about 25 to 35 minutes total. The center should look set, and a tester should come out with a few moist crumbs.
How to know when it is done without overbaking
Check early rather than late. When the edges pull away slightly and the top no longer looks wet, the cake is close. Coconut flour cakes dry out fast if they stay in the oven too long. These quick coconut flour tips make the same point.
Cooling the cake so the texture stays intact
Let the cake rest in the pan for about 10 minutes first. Then move it to a rack so steam can escape instead of getting trapped underneath. If you slice it too early, it can seem more fragile than it really is.
If you want a moister cake, make this one small change
If you want a softer, more moist cake, add 1 more egg. That small change helps because coconut flour absorbs a lot of moisture. We enjoyed this version for its brownie-like texture, but the extra egg gives a more tender slice.
If you prefer a softer crumb, add 1 more egg and keep everything else the same.
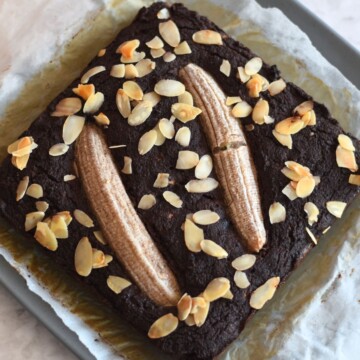
Gluten-Free Chocolate Banana Cake with Coconut Flour
 Print
Pin
Rate
SaveCook ModeShare Recipe
Print
Pin
Rate
SaveCook ModeShare RecipeIngredients
- ½ Cup Coconut Flour
- 5 Large Eggs
- 3 Large Bananas
- ½ Cup Cocoa Powder Gluten Free
- 1 teaspoon Baking Powder Gluten Free
- ½ teaspoon Salt
- 1 teaspoon Vanilla Extract
- 6 tablespoon Butter
Greasing Pan
- ½ teaspoon Butter
- ½ teaspoon Coconut Flour
Garnish
- 1 Large Banana Optional
- 1 tablespoon Nuts Optional
Instructions
- Preheat the oven to 180 Deg C or 356 Deg F
- Grease a 8-inch square cake pan with butter and flour, and line it with parchment paper. One can skip the flour and just use butter and parchment paper.½ teaspoon Butter, ½ teaspoon Coconut Flour
- In a small bowl, melt the butter.6 tbsp Butter
- Once melted, cool slightly to just warm, and add in the sifted cocoa powder.½ Cup Cocoa Powder
- Mix well until combined. Let the mixture cool slightly.
- In a separate bowl, mash the bananas well.3 Large Bananas
- Add this to the butter, and cocoa powder mixture.
- Mix and keep it aside.
- In a separate bowl, whisk in the egg5 Large Eggs
- Add in the vanilla extract and mix.1 teaspoon Vanilla Extract
- Add this to the banana, butter, and cocoa powder mixture.
- Mix it so that there are no lumps.
- Now, sift the Coconut flour, baking powder, and salt.½ Cup Coconut Flour, 1 teaspoon Baking Powder, ½ teaspoon Salt
- Fold everything into a smooth, lump-free batter.
- Pour batter into prepared pan.
- Garnish with bananas and nuts.1 Large Banana, 1 tablespoon Nuts
- Bake the cake in a preheated oven for 25-30 minutes or until a toothpick inserted into the center comes out clean.
- Remove the cake from the oven onto a wire rack after 10 minutes.
- Cool completely before slicing.
- Enjoy
Video
Notes
- 1 Cup = 235 ml, 1 tablespoon = 15ml, 1 teaspoon = 5ml
- Oven time varies for baking; do check after 25 minutes.
- Be sure to use gluten-free cocoa powder and gluten-free baking powder if you are allergic to gluten.
Sharing this with
I am sharing this recipe with Sunday Funday group, where every Sunday we a group of Bloggers share some recipes. Today, the theme was announced by me and it is Coconut Flour Recipes. Check out the different recipes my friends made.
- Chocolate Coconut Flour Cookies - Diabetic Friendly from Food Lust People Love
- Coconut Crusted Chicken from A Day in the Life on the Farm
- Coconut Shortbread Cookies from Karen's Kitchen Stories
- Gluten-Free Coconut Flour Chocolate Banana Cake from Cook with Renu
- Gluten Free Coffee Cake from A Messy Kitchen
- Keto Flaxseed & Coconut Flour Flatbread Sneha's Recipe
Tried this recipe? Please comment and rate the recipe. Share your pics and tag us.
Subscribe to my email list to get the new recipes straight into your mailbox.
Join our Whatsapp Community to get direct recipe links. Join here.

Indian Cooking Confidence Guide
Learn the basics. Build confidence. Enjoy simple Indian cooking.
This was my first time using coconut flour. I'm glad for all the tips you give in this post because I have nearly a full bag to use now LOL
Ah glad that the post is helpful. Thank You
Great tips on baking with coconut. It definitely is not a one-for-one sub for wheat flour!
Yes, it is different. Thank You
Quick question: Are you using coconut flour for the pan as well? The ingredient list just says Flour.
That is one lovely cake, Renu! I look forward to using coconut flour more often in my bakes now. I always appreciate your tips!
Hi Stacy, yes a little dusting and then oil or you can skip the flour for dusting. If it is made for anyone who is gluten intolerant it is better to use gluten free flour only.
Now that looks so decadent! Visually satisfying without being an overindulgence, that's nice.
Love this chocolaty, gluten free banana cake, yummy!