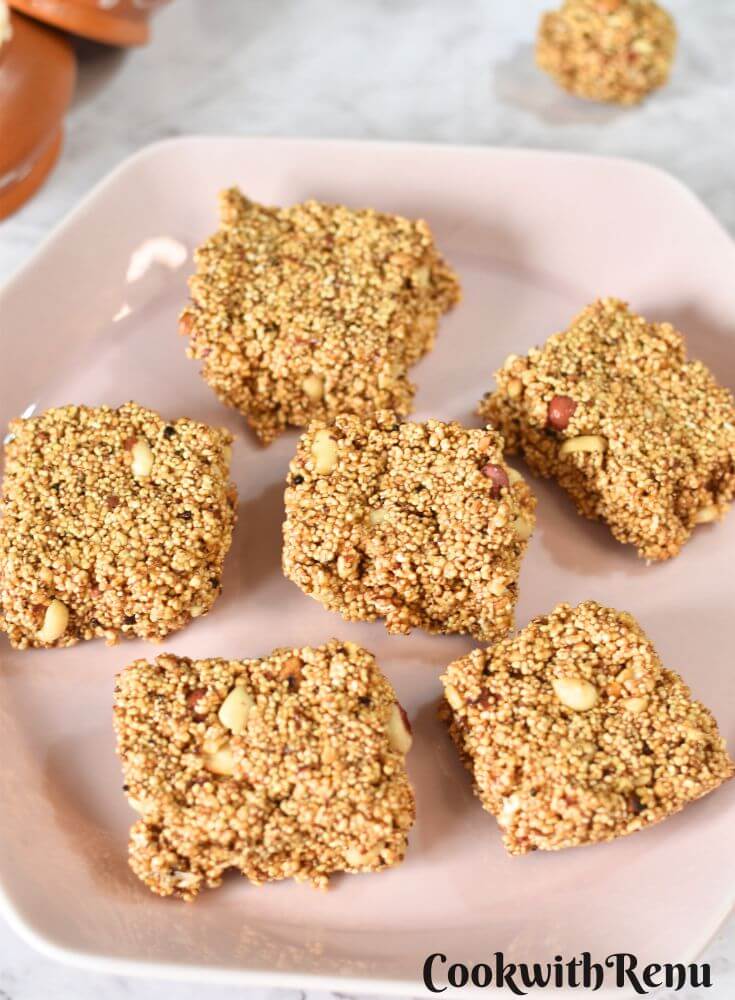
Easy Rajgira Peanut Chikki (Amaranth)
Crunchy, sweet, and full of energy, rajgira chikki brings together amaranth seeds, jaggery, and roasted peanuts in every bite. This snack shines during Indian festivals like Navratri, yet it's just as good for a quick pick-me-up any day. Amaranth, known as rajgira in Hindi, is a small, gluten-free seed rich in protein, fiber, and minerals that helps you stay full and fueled.
Blending these high-energy seeds with crushed peanuts and caramel-like jaggery creates a snack that's both tasty and nourishing. The mix offers satisfying crunch and natural sweetness, while fitting right into gluten-free and vegetarian diets. People in India have enjoyed rajgira chikki for generations, especially during fasting and celebrations, and for good reason.
You don't need fancy tools or rare ingredients to make your own batch at home. This recipe keeps things simple, so you can enjoy a classic treat packed with flavor and health benefits. Read on for the easy steps to make rajgira chikki that tastes just like the ones from your favorite sweet shop.
What Makes Rajgira Chikki Special
Rajgira chikki stands out from everyday sweets because it blends powerful nutrition with irresistible textures. It's a snack where each ingredient matters. Rajgira (amaranth) seeds give it a healthy boost, peanuts add rich crunch, and jaggery binds everything with a warm, natural sweetness. Let's look closer at why this treat deserves a spot in your pantry.
Nutritional Breakdown
Rajgira chikki is more than just a sweet treat. Each serving brings a mix of nutrients, proteins, and healthy fats that set it apart from traditional, sugar-heavy chikki varieties.
Let's break down the healthy edge:
- Rajgira is loaded with iron, magnesium, and calcium, making it great for steady energy and strong bones.
- Higher protein content supports muscle repair and helps keep you full.
- Peanuts bring healthy fats and crunch, but rajgira chikki uses a balance of seeds and nuts, so it's lighter on fat.
- Jaggery adds natural minerals like potassium and iron, skipping refined sugars.
- Compared to regular chikki, you get more micronutrients and fewer empty calories.
This mix is 100% plant-based, gluten-free, and can fit into vegan (if you use oil or skip ghee) or fasting diets. If you need to mind your sugar, rajgira chikki fits the bill in moderation thanks to its use of jaggery instead of processed sweeteners.
Why This Texture Combo Works
Every bite of rajgira chikki hits you with a mix of textures you don't get from many sweets. Here's how the harmony comes together:
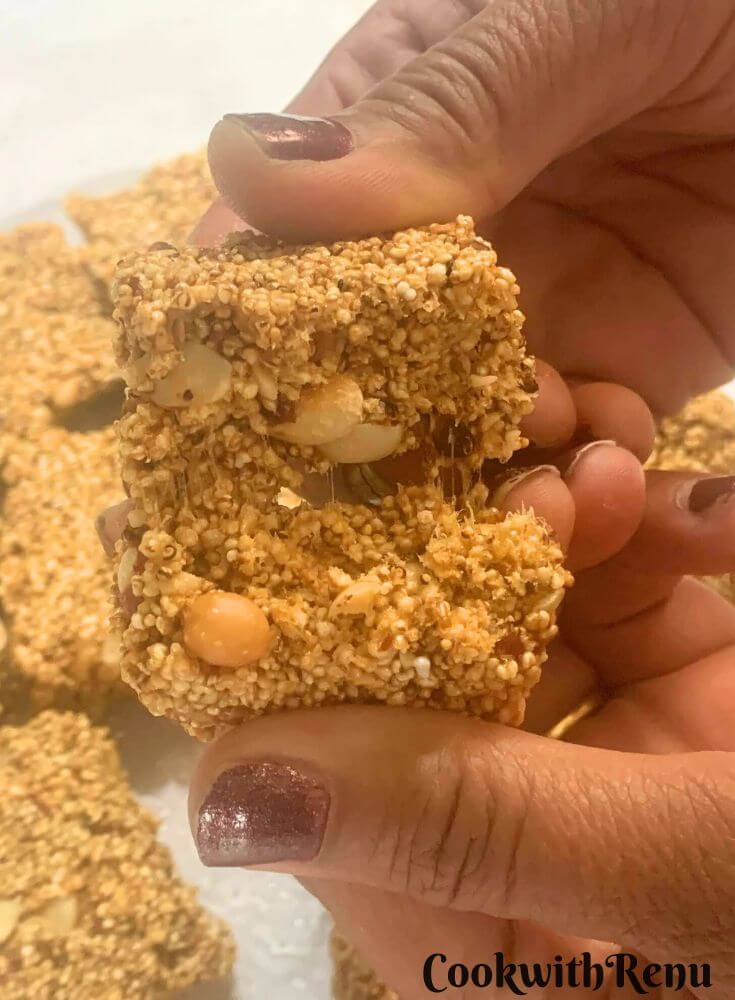
- Crushed peanuts create a fine, nutty crunch that dissolves into pure flavor.
- Semi-coarse peanuts (think bigger chunks) bring a heartier bite, so the chikki doesn't feel one-note. It's like getting both smooth and chunky in the same bar.
- Popped rajgira seeds are super light and crunchy, almost like tiny puffs. They break up the density, making the chikki easy to chew. If you do not get popped rajgira, check out my video on how to pop rajgira. No excuses not to make this nutritious protein bar.
- Jaggery syrup wraps around everything, giving chewiness and just the right stick. How to melt jaggery easily? Check out my post here.
This balance is what makes rajgira chikki so snackable. Your teeth sink into chewy jaggery, then hit spots of satisfying crunch and lightness, never feeling heavy or sticky. The pattern of textures is almost like a well-played drumbeat: snappy, airy, and always interesting. Indian sweets have long celebrated contrasts like these, and rajgira chikki is a delicious example.
The result is a bar that feels homemade and comforting, offering variety with every bite. With its nutrient-rich ingredients and dynamic texture, it's easy to understand why rajgira chikki has won hearts for generations.
Ingredients and Tools Needed
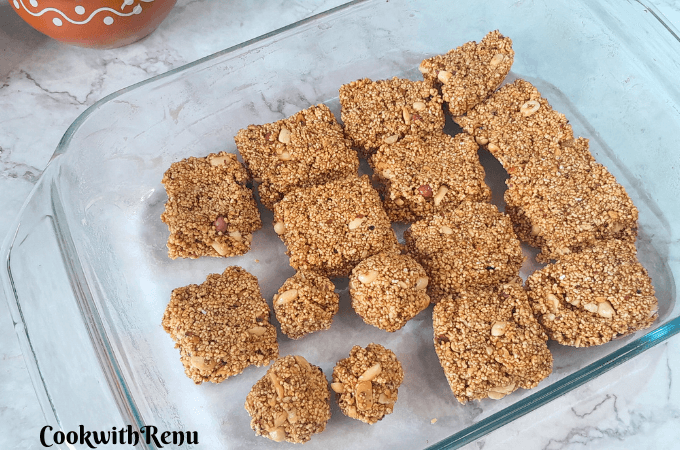
Making rajgira chikki at home is rewarding and surprisingly simple when you have the essentials on hand. The balance of ingredients creates the perfect crunch and sweetness, while the right tools help you work neatly and safely. Here's everything you need for 14-16 decent-sized pieces, plus some tips to help you get results just like those from a sweet shop. Freshness and good-quality supplies matter, so choose with care.
Main Ingredients
Stick with these basics for classic flavor and texture. Always use fresh ingredients, as stale nuts or seeds can make your chikki taste flat.
- 2 cup popped rajgira seeds (amaranth): Light and crunchy, these tiny puffs are key. Buy them pre-popped at Indian grocery stores, or pop them yourself in a dry pan. Rajgira is a super food and I have few recipes on my blog. Click here for recipes with Rajgira.
- ½ cup crushed peanuts: Go for unsalted, roasted peanuts. Crush them coarsely for a fine, nutty texture. I roast and peel my peanuts at home.
- ½ cup semi-coarse peanuts: These are just slightly broken-up peanuts, not ground. They add a bigger crunch and bite.
- 1 ¼ cup jaggery: Deep, caramel flavor holds the chikki together. Use good-quality, lump-free jaggery for the best melt. Golden jaggery is a classic pick, but you can swap with coconut jaggery if you want a different sweetness and hint of coconut.
- 1 tablespoon ghee (optional): Adds a nice aroma and prevents sticking. Many prefer ghee for a smoother finish, but you can skip it to keep the treat dairy-free.
- 1 tablespoon ghee (Optional): To grease the tray.
- Pinch of salt (optional): A small pinch brings out the sweetness and flavors, but it's up to you.
Basic Tools
The right tools make the process smoother and safer. Most are already in your kitchen.
- Heavy-bottomed pan: Prevents burning the jaggery and helps melt it evenly.
- Wooden spatula or silicone spoon: Lets you mix ingredients without scratching your pan.
- A glass or a cup: To press the jaggery into an even layer.
- Greased baking sheet or plate: Cools the mixture and helps shape perfect bars. Lightly grease it with ghee or oil so nothing sticks. One can use parchment paper too.
- Knife or pizza cutter: For quick, clean slices before the chikki hardens.
- Molds or cookie cutters (optional): Create fun shapes for kids or special occasions.
Tips for Sourcing and Freshness
- Check that peanuts and rajgira smell fresh, with no signs of rancidity.
- Break a small piece of jaggery and taste. It should be sweet with no bitterness.
- Pop your own amaranth if you prefer warm, just-made seeds, but store-bought works if it's crisp and not soft. Check my video on how to pop rajgira.
- Store all nuts and seeds airtight to keep them from going stale, or roast them fresh as I do. Video on how to roast nuts is here.
Take a moment to line up your ingredients and tools before you start. This will make the whole process quick, mess-free, and enjoyable, with crunchy chikki packed with deep flavor in every bite.
Step-by-Step Recipe Guide
Making rajgira chikki at home is simple, but a few key steps guarantee the best crunch and flavor. Follow this detailed guide for a smooth process and sweet results. Safety is important-hot syrup and pans can burn, so keep kids and distractions away during cooking.
Pro Tips for Perfect Texture
Getting the right mix of crunch and chew starts with your peanuts, jaggery, and cooling method. Here's what to look out for and how to avoid the biggest mistakes.
- Peanut Roast Level: Use freshly roasted peanuts. Roast them on medium heat for 3-5 minutes, stirring often. Peanuts should smell nutty and turn golden, but not burn. Over-roasted peanuts taste bitter and hard.
- Jaggery Consistency Test: Melt jaggery on low to medium heat. Wait for it to fully dissolve, stirring now and then. To test, drop a bit into a bowl of cold water. If it forms a soft but pliable ball that holds its shape when pressed (soft-ball stage), it's ready. Too soft and the chikki won't set, too hard and it gets brittle.
- Mix-in Timing: Once the jaggery reaches the right stage, turn off the heat. Quickly add rajgira seeds and peanuts, stirring fast. Mix until everything's well coated.
- Cooling Process: Spread the mixture onto a greased plate or tray while it's still warm. Press gently with a rolling pin for even thickness, about ¼ inch. Act quickly-once it cools, it hardens fast.
- Shape: Give cuts in the chikki while it is still warm. Once it hardens, you would not be able to shape it.
- Bite and Stickiness: Aim for a semi-coarse peanut mix so you get plenty of crunch without big hard chunks. If the chikki feels greasy or sticky after setting, your jaggery was undercooked. If it's powdery or shatters, the jaggery went too far.
Master these steps for chikki that holds its shape, snaps clean, and has the balanced bite every sweet shop aims for.
Storage and Shelf Life
To keep your homemade chikki crisp and tasty, store it the right way from the start.
- Airtight Storage: Let the chikki cool completely, then transfer it to an airtight jar or container. It stays fresh at room temperature for up to 2 weeks. Keep away from heat and humidity.
- Portioning for Freshness: Cut the chikki into small, even bars or pieces before storing. This keeps each bite fresh, and you won't expose the whole batch to air every time.
- Signs of Spoilage: Toss the chikki if it smells off, feels damp, or gets moldy. Good chikki stays crisp, never sticky or musty.
With thoughtful storage, you'll enjoy homemade rajgira chikki that's as good in week two as day one. This also makes it great for batch prep and gifting.
Serving Ideas and Variations
Rajgira chikki works beyond just a tea-time snack. It slips easily into breakfasts, festival trays, lunchboxes, and even gift boxes. The blend of sweet, nutty, and crunchy flavors pairs well with many foods and occasions. With a little creativity, you can shape this classic into something new, fit for any age or diet.
Healthier Twists
Simple adjustments can put a healthy spin on your batch, all while keeping that same satisfying crunch.
- Add mixed nuts or seeds: Stir in almonds, cashews, sesame seeds, or even pumpkin seeds for extra protein, texture, and healthy fats. Each nut brings its own set of minerals and vitamins, boosting overall nutrition.
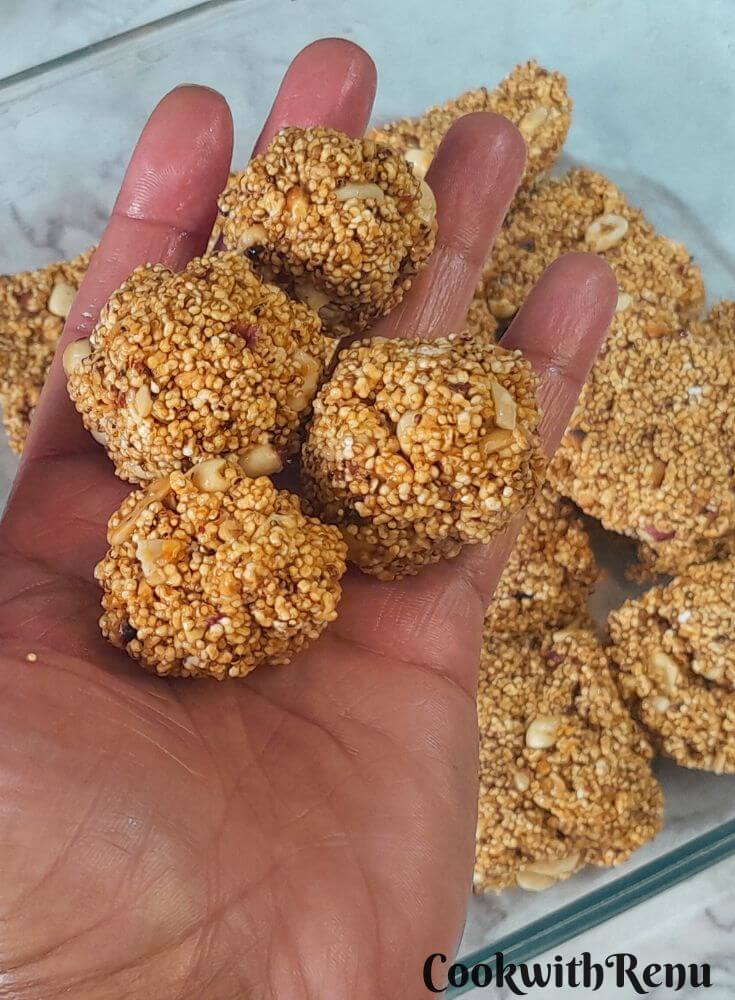
- Make mini, bite-sized pieces: Instead of big bars, press the warm mix into mini balls or squares. These smaller bites are easy for children to eat and pack in a lunchbox. They are also great for portion control.
These swaps not only help manage sugar but also ramp up fiber, protein, and healthy fat. The blend will keep you feeling full and satisfied for longer. Serving chikki in bite sizes helps young kids avoid large, sticky pieces and keeps snack time tidy.
Tasty Pairings and Gift Ideas
Rajgira chikki makes a happy match with many everyday foods. Here are some ways to enjoy it or give it as a thoughtful treat.
- Serve chikki with a glass of warm milk for a wholesome breakfast or evening snack. The sweet and nutty flavors mellow out alongside the creaminess of milk.
- Break chikki into small chunks and mix into homemade trail mix with dried fruits and seeds. This combo is perfect for road trips or after-school snacks.
- Pack pieces into pretty boxes or jars to gift during festivals like Diwali, Holi, or Raksha Bandhan. Homemade chikki feels more personal than store-bought sweets. Add a handwritten label or tie with ribbon for a festive touch.
Flavor Variations
If you want to tweak the taste, try these easy add-ins and swaps:
- Add a pinch of cardamom for a spicy-sweet aroma and flavor boost.
- Mix in sesame seeds for extra crunch and more calcium.
- For a nut-free version, skip the peanuts and double the rajgira or add roasted sunflower or pumpkin seeds instead.
Try these twists and serving styles to keep your snack time fresh and fun. With a few changes, you can prep healthier, allergy-friendly, or festival-ready chikki for any table.
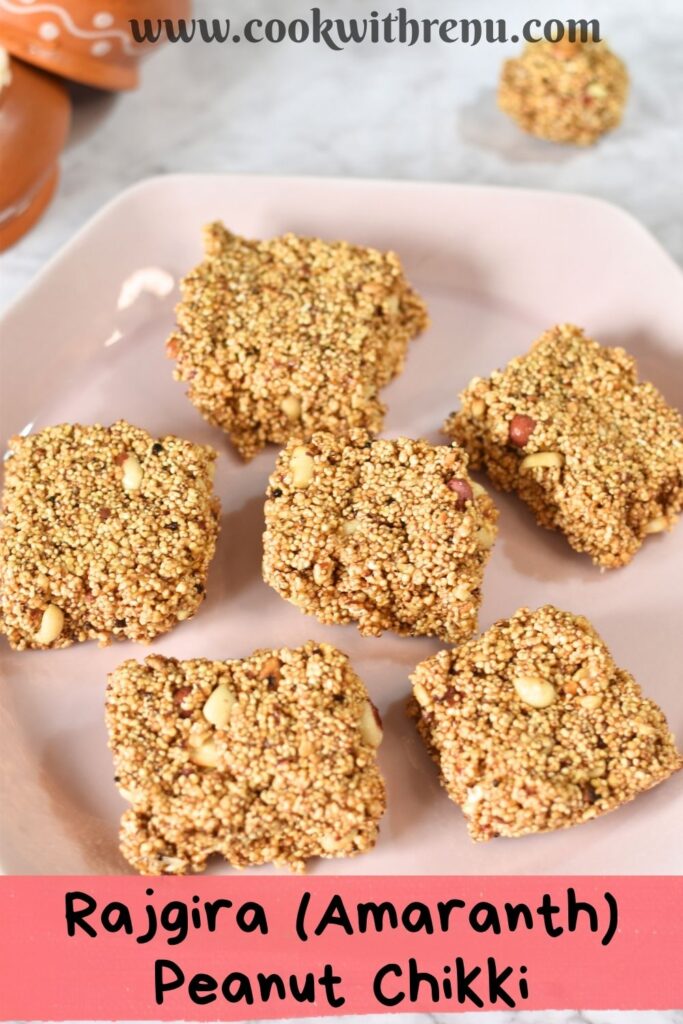
Easy Rajgira Peanut Chikki
 Print
Pin
Rate
Save
Cook Mode
Share Recipe
Print
Pin
Rate
Save
Cook Mode
Share Recipe
Equipment
- Heavy-bottomed pan
- Wooden spatula or silicone spoon
- A Steel glass or a cup
- Greased baking sheet or plate
- Knife or pizza cutter
- Molds or cookie cutters (optional)
Ingredients
- 2 cups popped rajgira seeds, amaranth - 70 grams -
- ⅓ cup crushed peanuts - 50 grams
- ⅓ cup semi-coarse peanuts - 50 grams
- 1 ¼ cup jaggery - 235 grams
- 1 tablespoon ghee optional
- 1 tablespoon ghee Optional
- A small cup of water To test if the jaggery is done
Instructions
Roasting Peanuts from raw peanuts.
- To a heavy-bottomed pan, add peanuts.
- Roast them on a slow to medium stove until the colour changes.
- It will take around 8-10 minutes.
- Let it cool completely.
- Remove all the peanuts from the cloth, and lift the edges of the cloth so that the peanuts are covered inside.
- Rub the peanuts so that the skin gets removed.
- Using a spider strainer, discard the skin and keep the peanuts aside.
- Watch my video on how to roast and peel the peanuts.
- If using roasted peanuts, roast them on low for 4-5 minutes.
- Crush half the peanuts with a mortar and pestle, so that we have big chunks of peanut.
- Coarsely ground the remaining half in a mixer. Do not powder it fine; just a coarse powder is good enough.
Popping Rajgira
- Heat a heavy-bottom pot.
- Once hot, add 1 tablespoon of Rajgira seeds to it.
- Cover and shake the pot; the rajgira will pop in a minute.
- Once popped, remove all in a sieve, so that the good ones stay on the top and the burnt ones are discarded.
- Watch my video on how to pop rajgira here.
Making Chikki
- Grease a tray with ghee.1 tablespoon ghee
- Keep all the ingredients ready.
- In a heavy-bottom pot, add ghee.1 tablespoon ghee
- Let it melt on a medium stove.
- Once the ghee is melted, add jaggery and let it melt.1 ¼ cup jaggery
- Wait for it to dissolve completely, stirring occasionally.
- Once it starts getting bubbles, do a cold water test.
- To test, drop a bit into a bowl of cold water. If it forms a soft but pliable ball that holds its shape when pressed (soft-ball stage), it's ready. Too soft and the chikki won't set, too hard and it gets brittle.A small cup of water
- Once the jaggery reaches the right stage, turn off the heat.
- Quickly add popped rajgira seeds and peanuts, stirring fast. Mix until everything's well coated.2 cups popped rajgira seeds, amaranth, ⅓ cup crushed peanuts, ⅓ cup semi-coarse peanuts
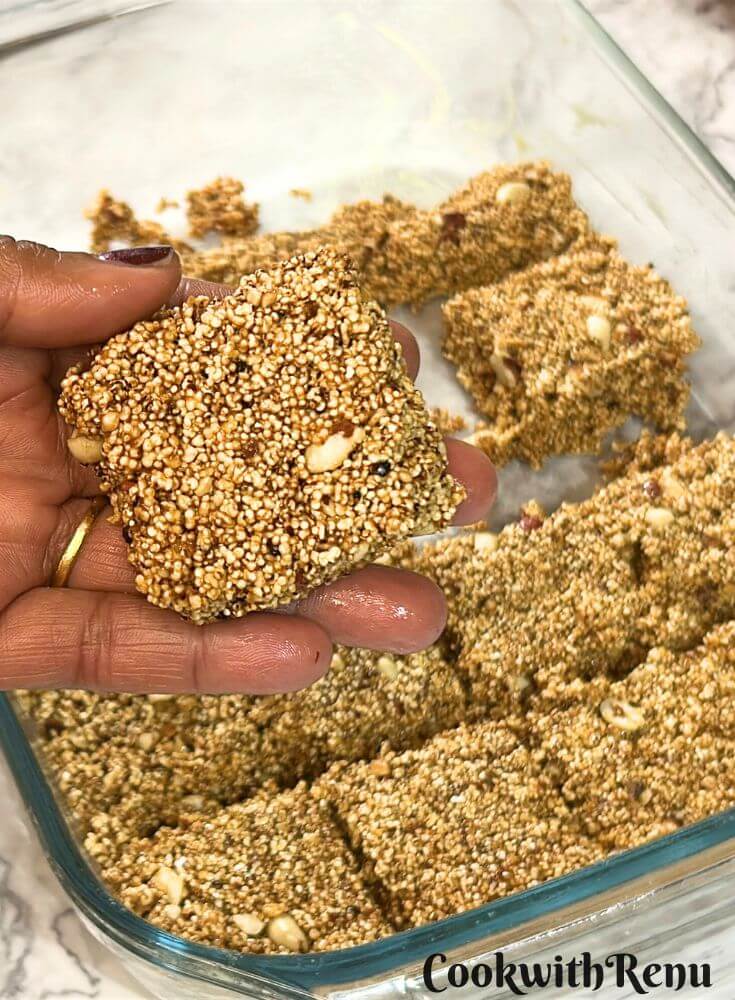
- Spread the mixture onto a greased plate or tray while it's still warm.
- Press gently with the back of a glass or a cup. about ¼ inch.
- Act quickly-once it cools, it hardens fast.
- Give cuts in the chikki while it is still warm. Once it hardens, you will not be able to shape it.
Notes
- You can use any size cup, but just keep the ratio the same.
- Keep everything ready when you make chikki, as you need to work fast once the jaggery dissolves.
Tried this recipe? Please comment and rate the recipe. Share your pics and tag us.
Subscribe to my email list to get the new recipes straight into your mailbox.