Homemade Tagar Bura Recipe
Tagar, often called bura sugar, is the secret behind many soft, melt-in-your-mouth Indian sweets. It has a fine, sandy texture that helps create the perfect bite in treats like laddus and pedas. Many home cooks reach for tagar during festivals like Diwali and Holi because it brings out the best in traditional recipes.
Making tagar at home with demerara sugar adds a fresh twist to tradition. Demerara sugar has a warm, caramel taste and a bit more depth than plain white sugar. This version isn't just tastier but also keeps some of the natural minerals found in less-refined sugar. Using demerara sugar brings a rich, wholesome note to your homemade sweets, and makes them stand out with a natural touch.
What Is Tagar (Bura) Sugar?
Tagar, also called bura sugar, sits at the heart of many iconic Indian sweets. It isn't just another sugar. Tagar brings a special touch that sets homemade mithai apart, making each bite delightfully soft and fine. If powdered sugar is like dust, tagar is more like sand-light, crumbly, and never sticky. Let's dig into what makes tagar unique, how cooks have used it for generations, and why it's the go-to choice for those who want sweets with perfect texture.
Defining Tagar Sugar
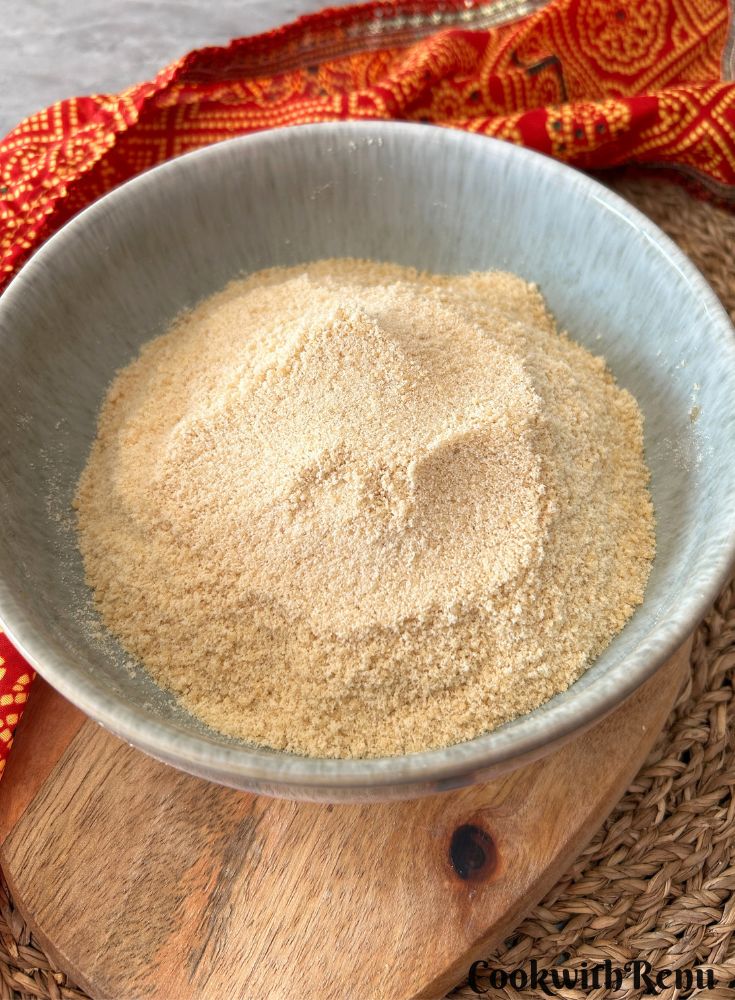
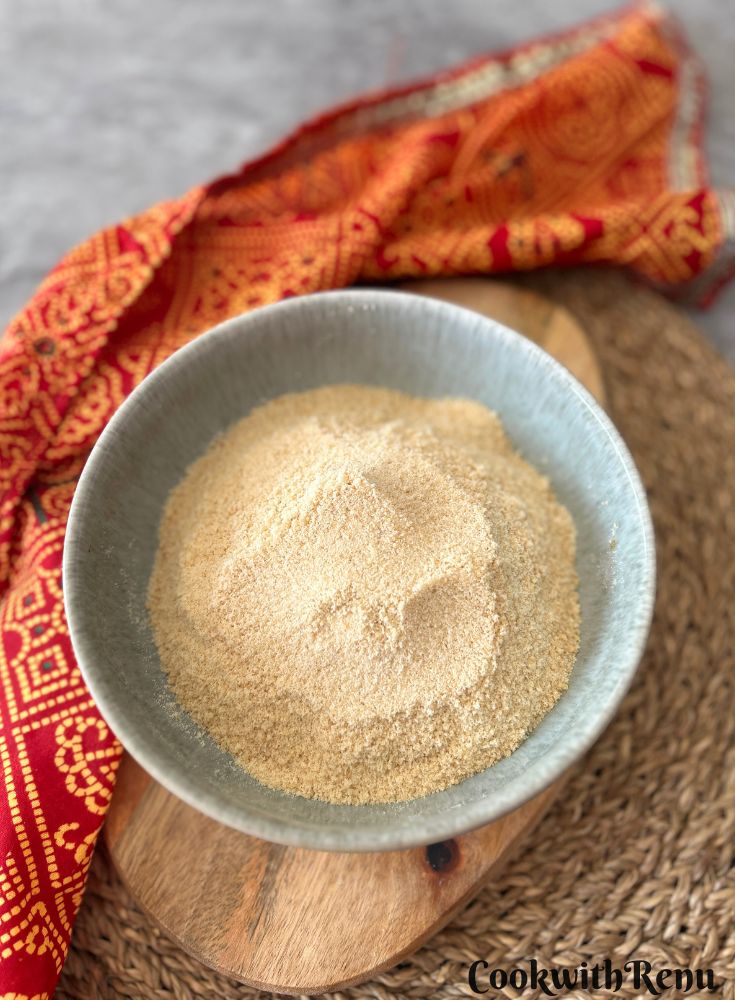
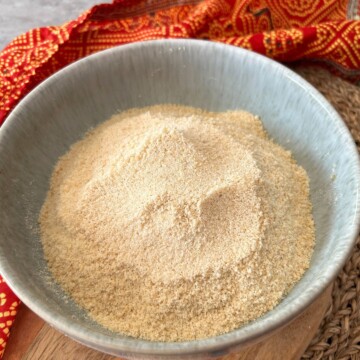
Tagar (bura) is a type of sugar that's cooked with just enough water to melt, then stirred until tiny crystals form. These crystals are smaller and softer than regular granulated sugar, but less powdery than icing sugar. The result? A snow-white, sandy sugar that blends evenly into doughs and batters, without clumping or melting too quickly. Tagar is also less sweet and much lighter on the tongue than standard refined sugar.
Regional Names and Common Uses
Across India, tagar goes by various names:
- Bura is common in North India, especially in Uttar Pradesh and Delhi.
- Tagar is a term you'll hear in Gujarat and Maharashtra.
- Sometimes people call it khand or desi sugar in everyday conversation.
No matter what you call it, this sugar stars in several classic treats:
- Laddus (besan, boondi, atta)
- Pedas
- Barfi
- Some traditional mithai (sweets) given at weddings and pujas
Its unique grainy feel and ability to carry flavors make it a kitchen favorite, perfect for adding that classic "mithai shop" texture to homemade sweets.
Why Use Demerara Sugar for Tagar?
Using demerara sugar for making tagar isn't just a passing trend among home cooks. It brings a subtle upgrade to the classics, and once you try it, you may not want to go back. Demerara sugar changes both the taste and texture of your tagar, making your sweets feel more special and rich. Let's look at the reasons why this natural, less-refined sugar works so well in homemade tagar.
Unique Flavor Depth
Demerara sugar stands out for its gentle caramel flavor and natural sweetness. Unlike plain white sugar, which delivers only pure sweetness, demerara adds a new layer to your tagar. This can make your ladoos and barfis richer and more memorable. The mild molasses notes in demerara bring a rounded, almost toasty edge to each bite.
Natural Golden Color
Demerara sugar keeps its light golden color because it's less processed than white sugar. When you make tagar using demerara, you'll notice a gentle amber hue in the final product. This color warms up your sweets, making them look even more inviting on the plate.
Crumbly Sand-Like Texture
Demerara sugar's coarse crystals break down during the tagar-making process, but they keep a bit of their original texture. This helps you get the signature sandy, crumbly feel that sets tagar apart from regular powdered sugar.
Using demerara for tagar means less risk of clumping or stickiness. The sugar transforms into tiny, even grains that mix smoothly into any sweet base. Here is a quick rundown of how demerara texture compares:
| Sugar Type | Crystal Size | Texture in Tagar |
|---|---|---|
| Demerara | Large, grainy | Fine, sandy |
| White Sugar | Small, fine | Fine, sometimes too powdery |
Healthier Choice Than Refined Sugar
Demerara sugar is less processed, so it keeps some minerals like potassium, calcium, and magnesium. It isn't a health food, but using demerara lets you cut out the heavy processing and bleaching found in standard white sugar. For anyone looking to use fewer processed ingredients at home, this is an easy step toward a more natural kitchen.
Better Taste, More Wholesome Sweets
The lasting benefit of using demerara sugar for tagar is the taste. Your sweets taste less one-note and more layered. The caramel flavor complements the cooked ghee, nutty flours, and spices in your ladoos and barfi. Each bite feels both classic and a little new.
I recently used this in Mathura ke pede, and the taste and texture both enhanced using this. It added to its caramel and nutty taste.
Ingredients and Equipment Needed
Before you start making homemade tagar bura with demerara sugar, it's a good idea to gather all your supplies and ingredients. Having everything handy keeps the process smooth, steady, and stress-free. You don't need a fancy setup or rare tools-just a few simple kitchen items and the right sugar for the job.
Essential Ingredients
When it comes to ingredients, tagar bura shines because it's made from just a few basics. Each one plays a role in getting that crumbly, sand-like texture and deep caramel flavor.
- Demerara sugar: Pick the highest quality you can find-this is the base and main flavor of your tagar.
- Water: Just enough to dissolve the sugar and help the crystals form.
- Ghee: Gives the bura a silky finish and easy to come off the pan.
Step-by-Step Recipe for Homemade Tagar Bura Using Demerara Sugar
Making tagar bura at home with demerara sugar is actually easy once you know the small details that go into each stage. From gentle heating to getting the perfect grainy texture, every step makes a difference in the final result. Here's how to get smooth, sandy tagar sugar with a rich flavor and golden color.
The Video recipe for Mathura ke pede has the video to make Tagar, Boora
Dissolving Demerara Sugar Properly
The first step is all about patience. Demerara sugar doesn't dissolve as quickly as refined white sugar, so take your time here. Start by adding your measured demerara sugar and water to a heavy-bottomed pan. Use moderate heat to slowly melt the sugar. If you cook on high, the sugar can burn or caramelize too soon, which ruins the sandy finish you want.
As the sugar and water heat up, the crystals will start to break down and form a thick syrup. It's important to:
- Stir slowly and often with a wooden spatula.
- Watch for clear, even mixing. No floating grains should be left.
- Scrape the sides down so every bit dissolves.
If the syrup looks cloudy or you see gritty bits, keep going until the mixture becomes fully smooth and glossy. If you rush this step or skip stirring, you risk getting lumps in your tagar, which can make it sticky or uneven in texture.
How to Achieve Perfect Crystallization
Once the sugar syrup is smooth, the focus shifts to creating those signature tiny, dry crystals. Perfect crystallization is the secret behind tagar's crumbly, sand-like feel. The trick lies in temperature and timing. You'll want to heat the syrup until it thickens and looks a bit creamy, rather than runny. If you dip your spoon in and let a drop cool, it should form a soft ball when rolled between your fingers.
Here's how to get this just right:
- Stir constantly as the syrup thickens, scraping the pan to prevent sticking.
- Wait until the syrup begins to turn slightly opaque and looks like wet sand.
- Remove the pan from heat , add ghee, while continuing to stir until the mixture cools a bit and begins to dry out, turning into loose, fine grains.
If you notice the grains forming but sticking together, you can gently break them up with your spoon. If the mixture is too wet, keep stirring off the heat until it dries out and the grains separate. This stage sets the final texture, so patience and attention are key. Do not leave the sugar at any stage as timing is very crucial in this recipe.
Troubleshooting Common Issues
Even experienced cooks sometimes run into bumps with tagar bura. Here are the usual problems and how to fix them when they come up:
- Tagar is clumpy or forms lumps: This means not all the sugar dissolved or the syrup cooked too quickly. Next time, use gentler heat and stir longer at the start. For now, pass your finished tagar through a fine sieve to break up lumps.
- Tagar is sticky or damp: This happens if the syrup was taken off heat too soon, or if there's too much water. Spread the tagar on a tray, leave it uncovered at room temperature, and let it dry out for a few hours. If it's only slightly sticky, stirring it off heat often dries it up.
- Tagar is hard or coarse: Overcooking the syrup causes hard crystals. Try adding a teaspoon of water, then gently reheat while stirring until the grains soften and break up. My pan had some hard crystals and it was difficult to remove. I added a few teaspoon of water, reheated it on slow , and followed the procedure to make tagar. It was all good.
- Tagar is too dark: This comes from high heat or using a thin pan. Stick with heavy pans and keep the flame low to preserve the golden color of demerara.
A quick tip: If your tagar doesn't look or feel quite right, don't toss it. Even less-than-perfect tagar works in some rustic sweets or can be ground further for other recipes.
By paying close attention at each step, you'll soon be making flawless tagar bura at home every time. With each try, you'll get better at reading the cues in the pan and adjusting as you go.
Best Practices for Storing Homemade Tagar Bura
Freshly made tagar bura should look dry, fine, and grainy. Protect that texture by choosing the right spot and container.
- Pick an airtight container: Store tagar in a clean, dry, airtight jar or plastic container. Snap lids work well and glass jars keep moisture and odors out. Avoid bags unless you seal them tight, since air can sneak in and make your sugar hard.
- Avoid moisture and heat: Place your jar in a cool, dry cupboard away from the stove, windows, or dishwasher. Humidity turns tagar clumpy, so keep it away from the sink and always use dry spoons.
- Never refrigerate: Cold air can make sugar grains sticky and cause condensation. Room temperature is best.
- Label and date: Homemade tagar is easy to use up fast, but if you make a big batch, add a sticker with the date so you know how fresh it is.
How Long Does Homemade Tagar Bura Last?
Tagar bura lasts longer than regular powdered or granulated sugar, thanks to its low moisture. If stored right, it keeps its texture and taste for about two to three months.
- 1-2 months: The best window for freshness, flavor, and that delicate sandy texture.
- 2-3 months: Still safe to use, though the aroma and color can fade a bit.
- After 3 months: The sugar's quality drops off, and it may pick up odors or become a bit clumpy.
If you spot any signs of spoilage (like mold, an off smell, or wet clumps that don't break up), it's time to make a fresh batch.
Homemade Tagar Bura with Demerara Sugar
 Print
Pin
Rate
Save
Cook Mode
Share Recipe
Print
Pin
Rate
Save
Cook Mode
Share Recipe
Equipment
- Heavy Bottom Pan
- Grinder / Mortar Pestle
Ingredients
- 1.5 Cups Demerara Sugar Granulated white sugar can be used
- 0.5 Cups Water
- 1 tablespoon Ghee
Instructions
- In a heavy bottom pan add sugar and water.1.5 Cups Demerara Sugar, 0.5 Cups Water
- On a slow to medium stove let the sugar melt.
- Scrape the sides down so every bit dissolves.
- Keep on mixing in between and the mixture will start to boil.
- Keep on cooking it on medium to high.
- Stir constantly as the syrup thickens, scraping the pan to prevent sticking
- Wait until the syrup begins to turn slightly opaque and looks like wet sand. If you see, the syrup will start turning thick.
- Remove the pan from heat , add ghee, while continuing to stir until the mixture cools a bit and begins to dry out, turning into loose, fine grains.1 tablespoon Ghee
- You need to keep on stirring until you see that it starts turning into loose fine grains.
- Allow it to cool.
- If there are big grains, blitz through a grinder or powder using a mortar and pestle, and pass it through a sieve.
- Store it in an air-tight container and use as required.
Video
Notes
The Video recipe for Mathura ke pede has the video to make Tagar, Boora
Troubleshooting Common Issues
Even experienced cooks sometimes run into bumps with tagar bura. Here are the usual problems and how to fix them when they come up:-
- Tagar is clumpy or forms lumps: This means not all the sugar dissolved or the syrup cooked too quickly. Next time, use gentler heat and stir longer at the start. For now, pass your finished tagar through a fine sieve to break up lumps.
-
- Tagar is sticky or damp: This happens if the syrup was taken off heat too soon, or if there's too much water. Spread the tagar on a tray, leave it uncovered at room temperature, and let it dry out for a few hours. If it's only slightly sticky, stirring it off heat often dries it up.
-
- Tagar is hard or coarse: Overcooking the syrup causes hard crystals. Try adding a teaspoon of water, then gently reheat while stirring until the grains soften and break up. My pan had some hard crystals and it was difficult to remove. I added a few teaspoon of water, reheated it on slow , and followed the procedure to make tagar. It was all good.
-
- Tagar is too dark: This comes from high heat or using a thin pan. Stick with heavy pans and keep the flame low to preserve the golden color of demerara.
Tried this recipe? Please comment and rate the recipe. Share your pics and tag us.
Subscribe to my email list to get the new recipes straight into your mailbox.