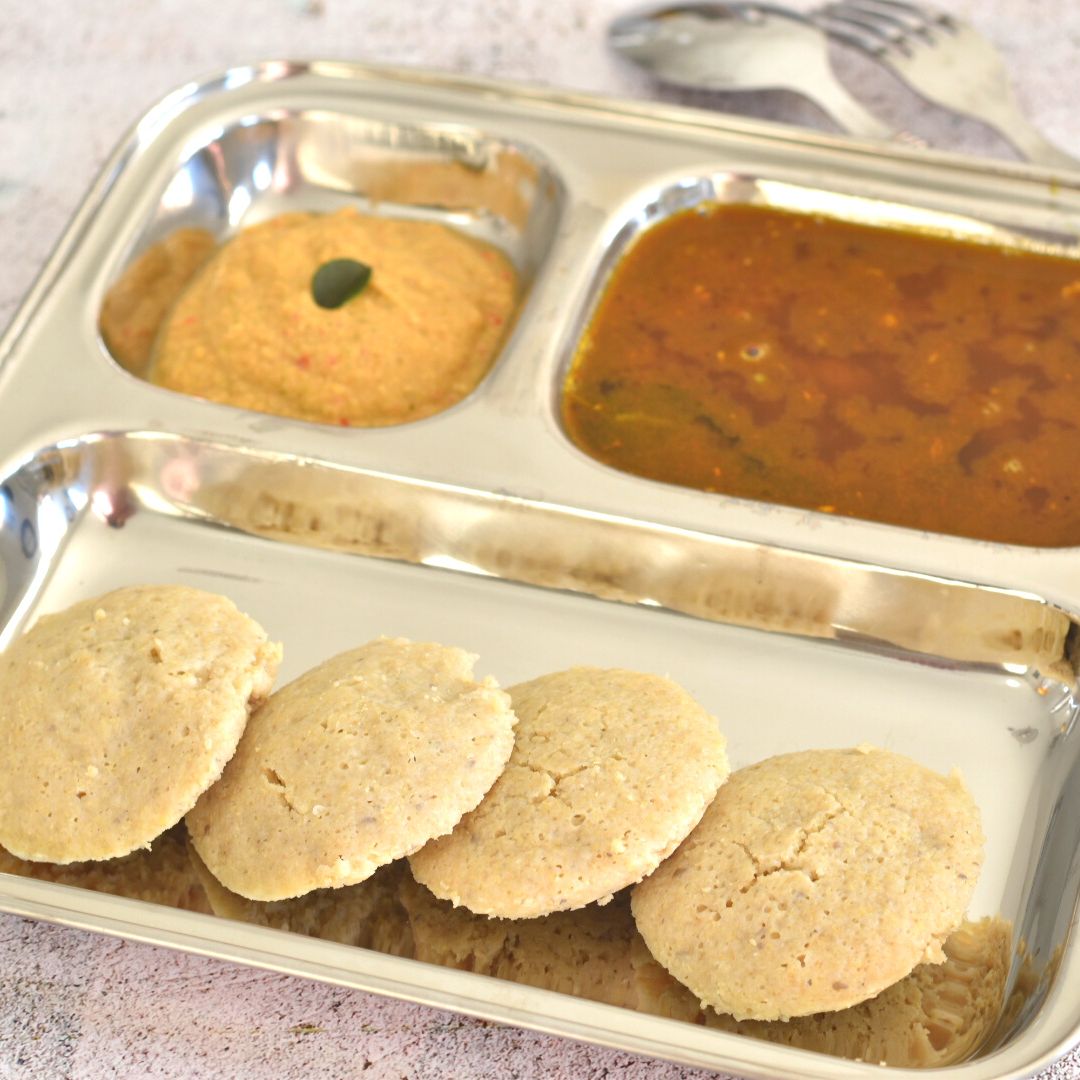
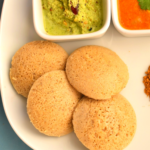
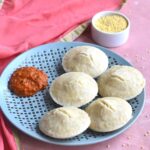
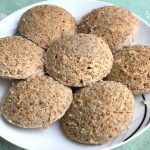
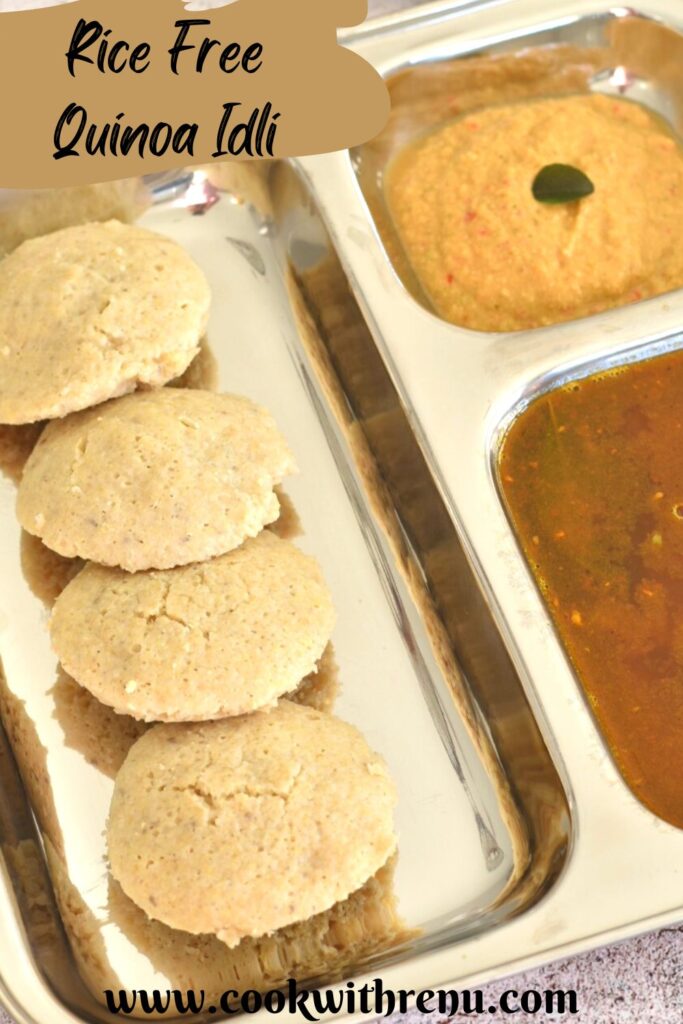
Quinoa Idli (No Rice)
Soft and nutritious, this Rice free Quinoa Idli is protein-packed with quinoa and lentils. They are made using fermented batter using a mix of quinoa and lentils and have a sour and slightly nutty flavor. These Steamed Quinoa lentil idlis are Vegan, gluten-free, and dairy-free.
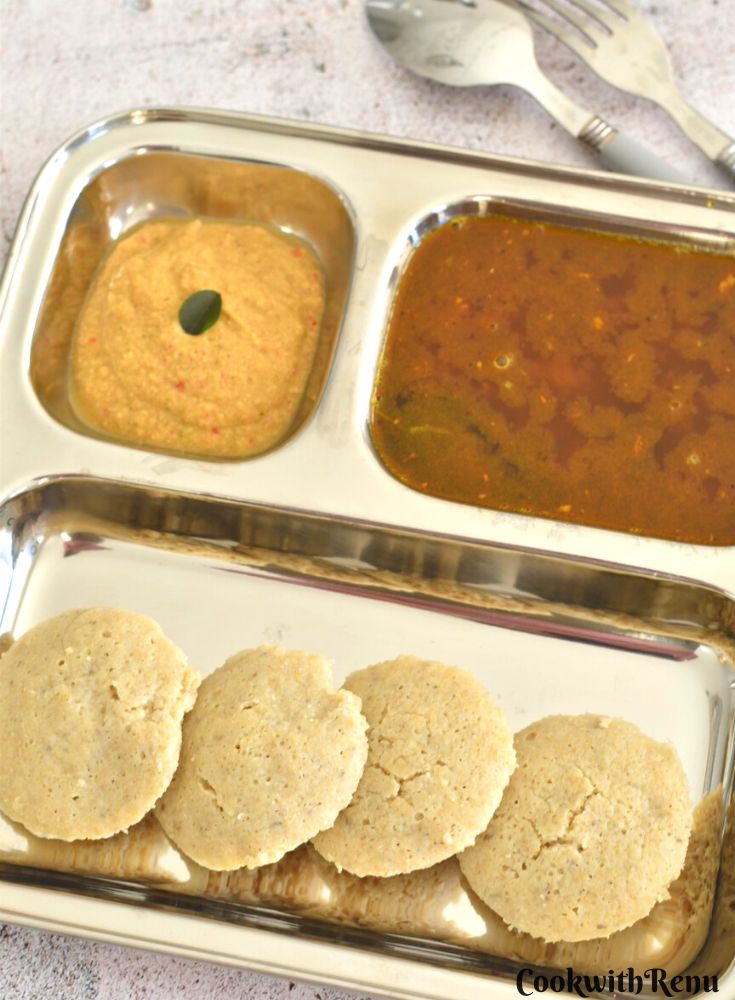
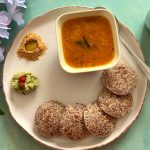
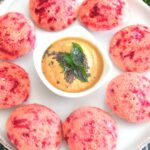
These idlis or steamed quinoa cakes are best served for your breakfast or lunch. They can be enjoyed with chutney, sambar, rasam, or simply podi smeared with some ghee or oil.
If you are looking to replace rice in your meals, or are looking for a change from the typical Idli which is made using rice and lentils, then this is one perfect recipe.
Quinoa is one of the good sources of protein for a vegetarian diet. It does have carbs, but it is considered a good choice as it is loaded with fiber, antioxidants, and protein. It is a gluten-free grain and hence a good choice for people with gluten allergy.

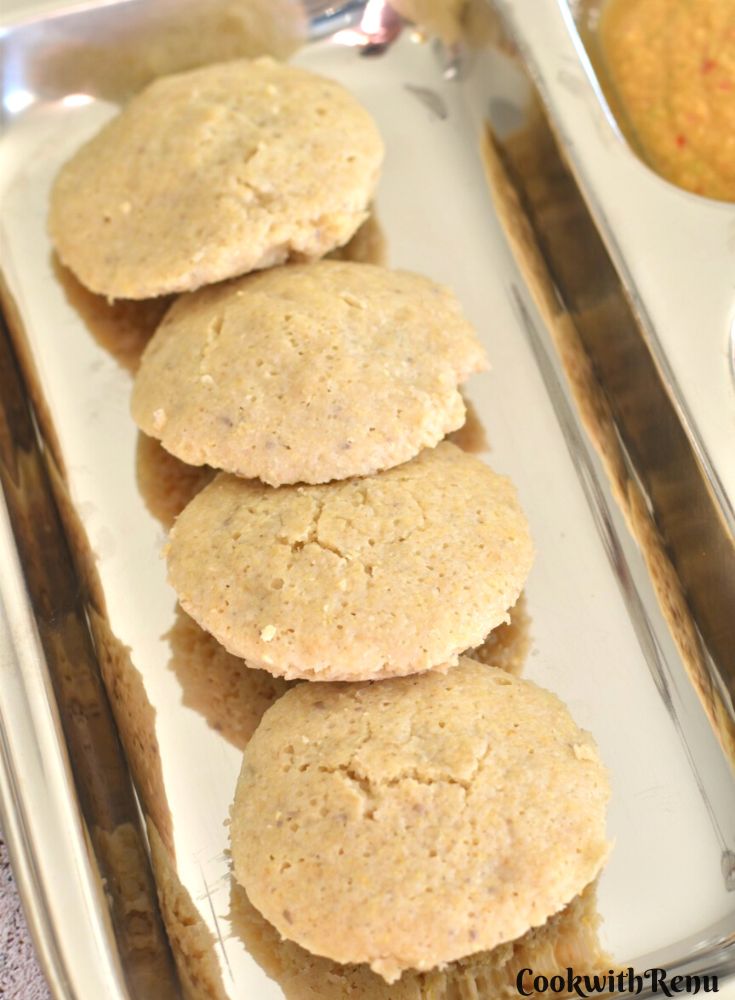
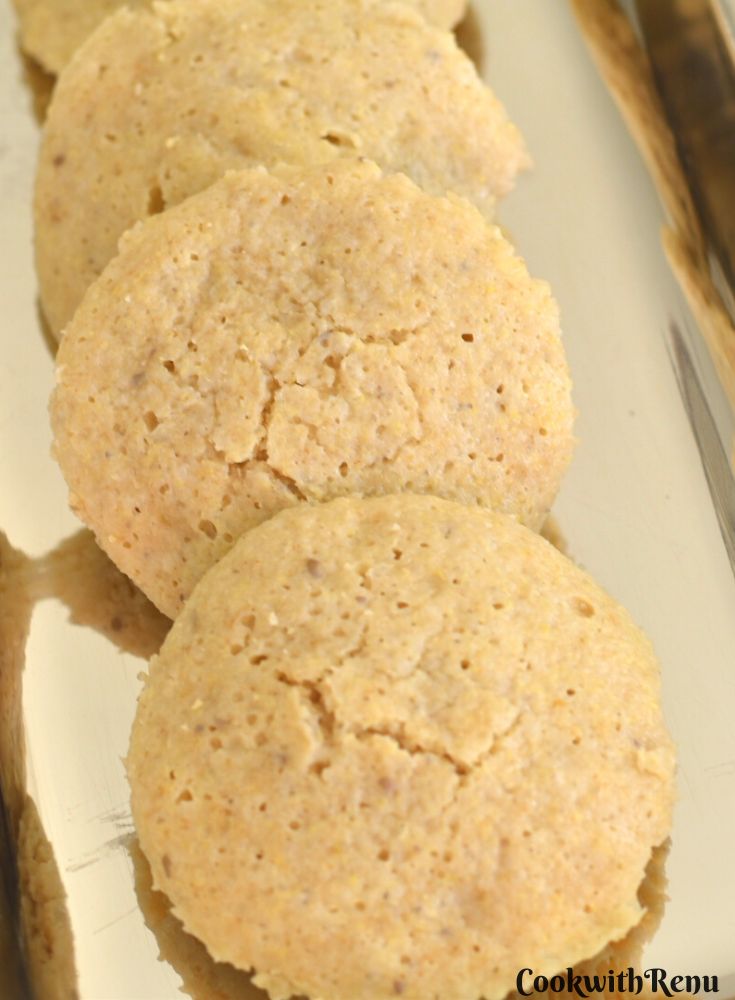
The texture of Quinoa Idli
The idlis come very soft. They have a slightly nutty taste and a sour taste. I would say the batter of quinoa and lentils gets sourer as compared to the batter of rice and lentils. So the taste is a little more on the nutty side.
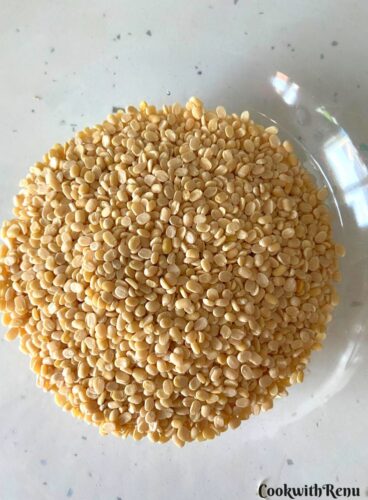
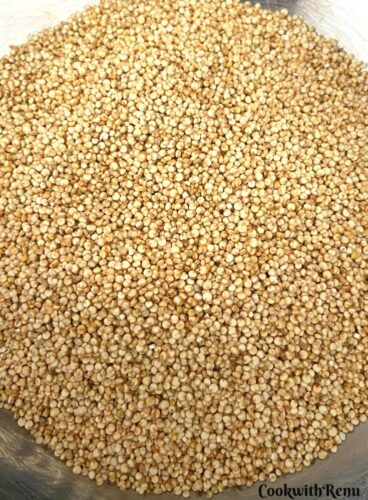
Ingredients for Rice free Quinoa Idli
I have used the same ratio of Quinoa to Lentils as I use for my traditional Idli. I have simply replaced the rice here with Quinoa.
Quinoa Idli with Rice
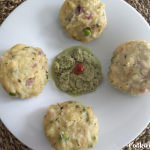
If you find that they are too soft or if you want to add rice, simply replace 1 portion of quinoa with rice. I have tried using both recipes and both are equally good. If you are not used to quinoa taste or adding it slowly to your diet, then I would say go for this recipe. The one with rice is a bit firmer than that without rice.
Process of making Idli
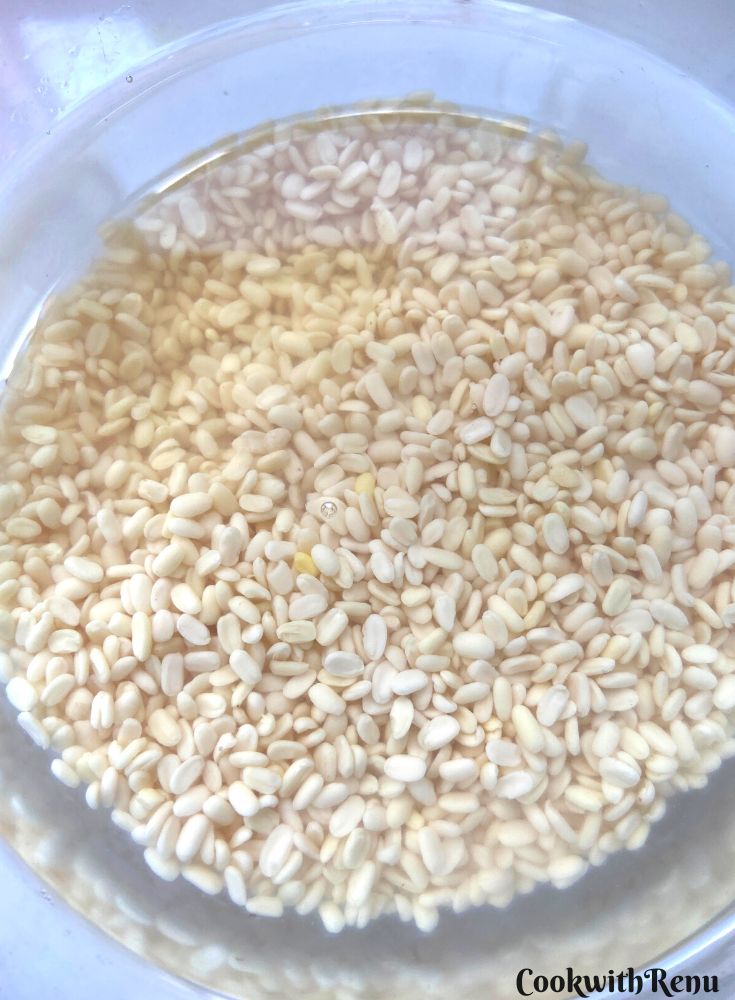
Soaking - The first step is to soak the quinoa, split, or whole black gram dal This needs to be soaked for a minimum of 6 hours. If you are soaking it in lukewarm or warm water the time can be reduced by half. One can even add fenugreek seeds to the batter. I add at times and skip a few times.
Grinding - The next step is to grind the batter to a smooth consistency. First, grind the whole black gram dal along with fenugreek seeds until light and fluffy. Then grind the quinoa to a smooth consistency. If you are using the ingredients in very fewer quantities, grind all of them together.
Fermenting - The next step is fermentation. Fermentation helps in easier digestion, breaks down sugars, etc. More can be read on the internet. Fermenting the batter is easy when you are in a warm environment, however, it is a struggle if you are living in a cold climate. I do live in a cold place and still manage to ferment the batter every time. I have created a detailed post on How to ferment Idli Dosa Batter in Cold Climate. Do check it out.
Fermenting time varies depending on how warm it is in your place. It might take anywhere from 8-24 hours depending on the climate.
Steaming or Cooking the Idlis - The next step is to steam or cook the idlis. This is typically done in an Idli stand specially made for this. If you do not have an Idli Stand, you can make it in small bowls or muffin cups. Steaming One batch of idlis generally takes 12-15 minutes.
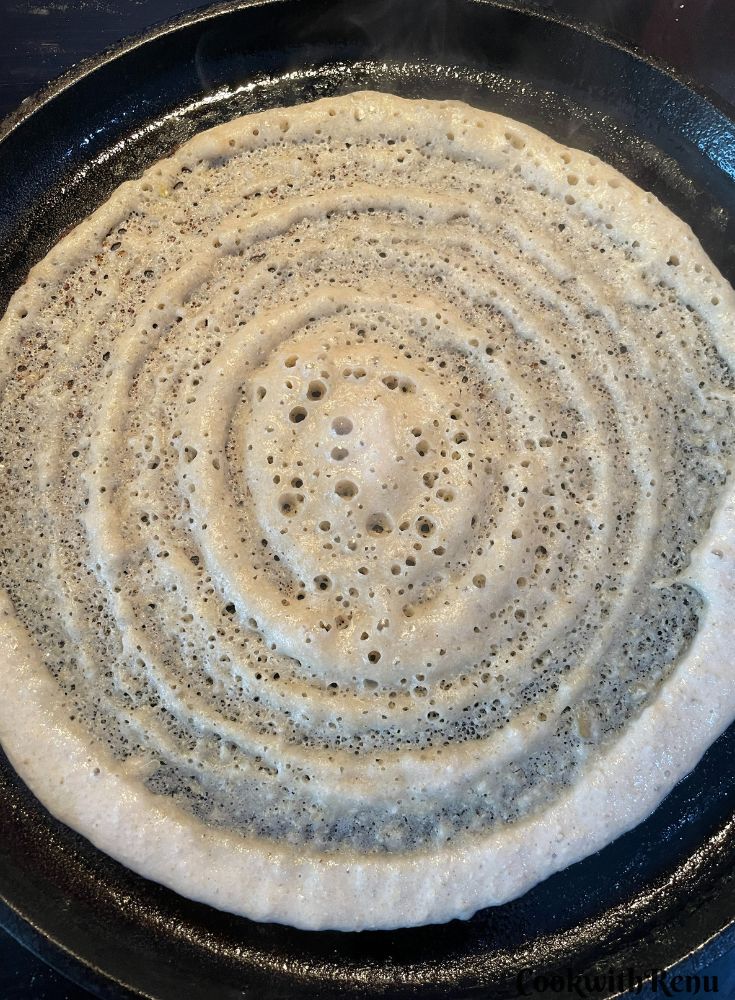
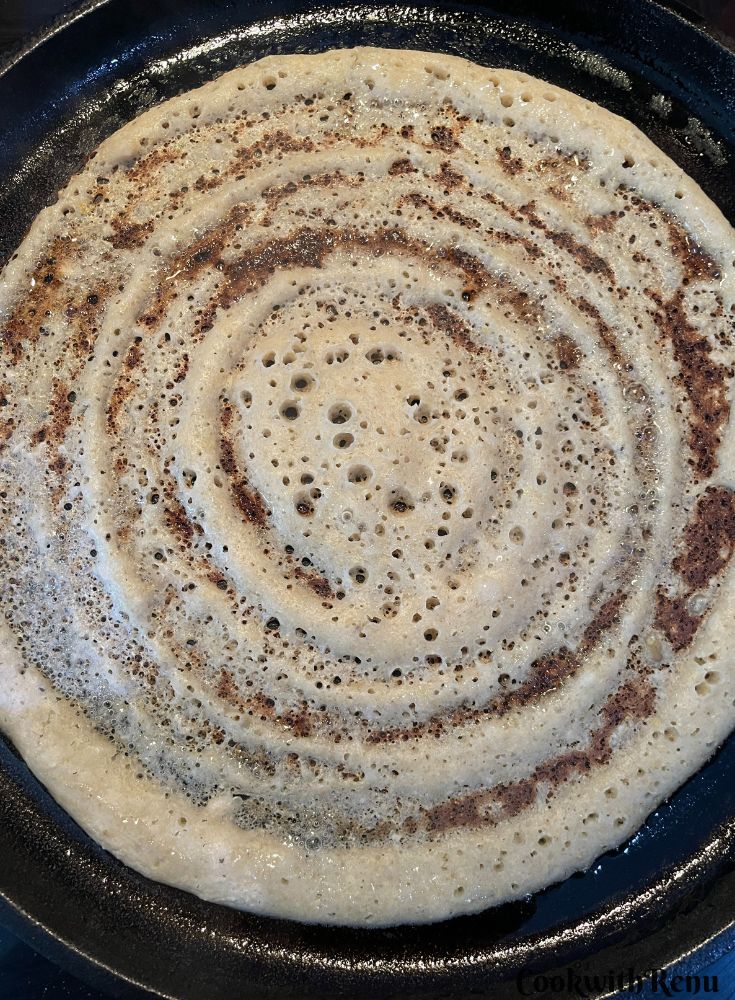
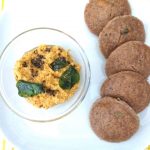
Can we make Dosa from the same batter?
Yes, we can make dosa from the same batter. I always make it. Below are the pics of Dosa. Did not take the final pic, will post it when I make the next one.
Shelf life of Rice free Quinoa Idli batter
The batter would stay good for 5-6 days in the refrigerator once fermented. It can keep for longer too.
Can we freeze the batter?
Yes, we can freeze the batter. Once frozen it can stay good for 4-6 months. When required just defrost the batter completely and use it as required.
Idli recipes on my blog


Quinoa Recipes on my blog

Pin it for later

Quinoa Idli (No Rice)
 Print
Pin
Rate
Save
Cook Mode
Share Recipe
Print
Pin
Rate
Save
Cook Mode
Share Recipe
Equipment
- Heavy Bottom Pot - Optional if using Idli Stand
- Muffin case or small bowls - Optional if using Idli Stand
Ingredients
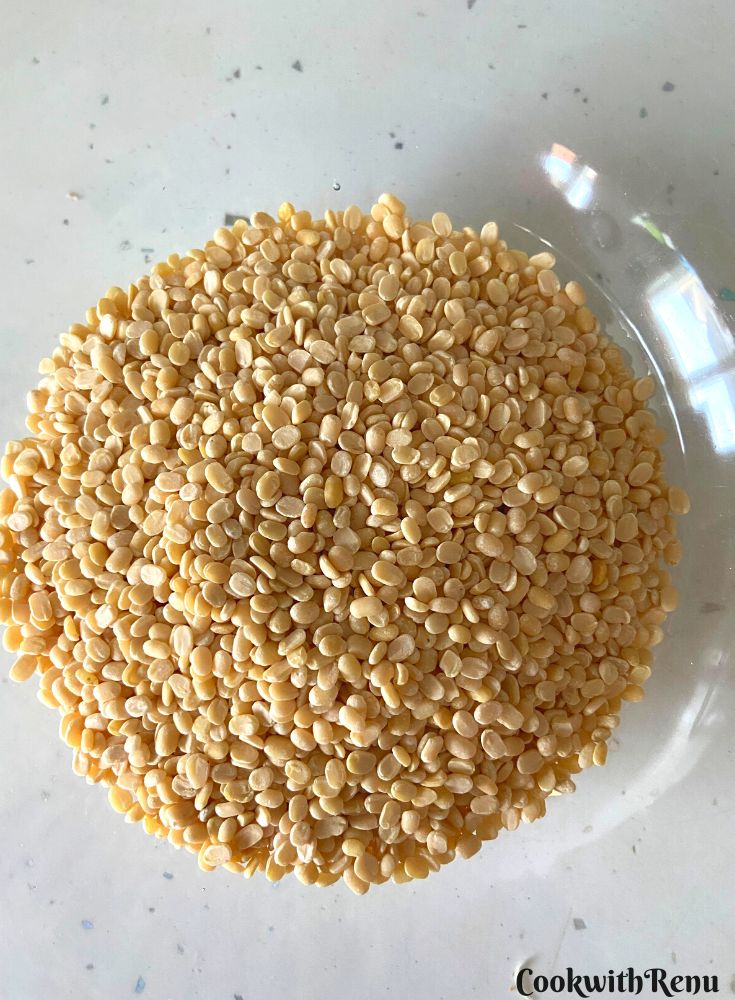
- 1 Cup Urad Dal
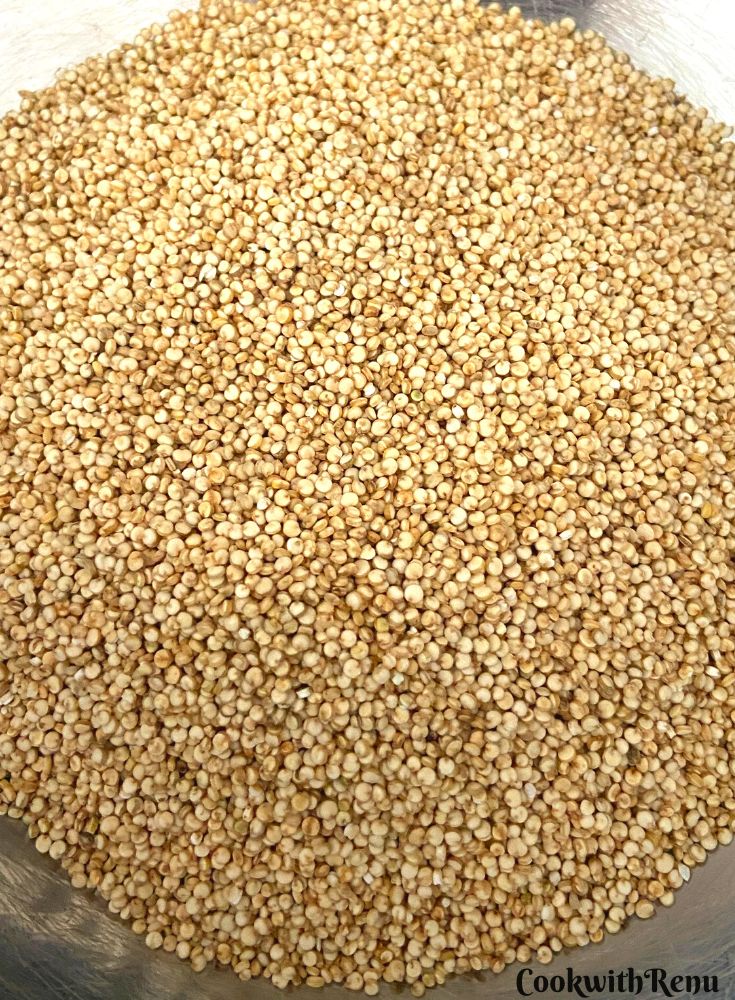
- 3 cup Quinoa
- 1-2 cup water for grinding the batter
- Salt Around 4-5 teaspoons
- 1-2 tablespoon Oil For greasing the idli moulds
Instructions
Idli Batter
- Clean and rinse the urad dal 3-4 times.1 Cup Urad Dal
- Clean and rinse the Quinoa 3-4 times.3 cup Quinoa
- Soak them in enough water (Double the quantity) for 4-5 hours.

- Drain the water and give the dal and quinoa a good rinse again to get rid of any impurities.1-2 cup water for grinding the batter
- Grind the urad dal to a smooth consistency, adding water only as much as required.1-2 cup water for grinding the batter
- Add the ground urad dal to a large bowl.
- Grind the Quinoa to a smooth consistency, adding water only as much as required.
- Add the ground Quinoa too into the same bowl.
- Add salt and mix it clockwise for at least 2 mins to incorporate air and mix everything thoroughly.Salt
- Cover it lightly and keep it in a warm location for 8-9 hours, preferably overnight in a warm location.
- It can take around 20-24 hours in a cold climate.
- Check out my detailed post here on how to Successfully Ferment the Batter in Cold Climate
Preparing the Rice Free Quinoa Idli
- Fill a large pot with water, or your Idli pot with water.
- Make sure that the base of the idli stand is well above the water level when kept inside it.
- Keep the water to a boil.
- In the meantime grease the Idli stand with little oil (just rub it with your fingers or a brush)1-2 tablespoon Oil
- If you have not added salt, add salt to the batter.
- Adjust the consistency of the batter if required. Idli batter is of dropping consistency but not runny.
- With the help of a spoon fill the moulds of the Idli Stand.
- Once the water starts boiling, immerse the Idli stand in it, and close the lid.
- Cook the idlis for a minimum of 12 minutes.
- Idlis should be done.
- To test prick a knife or a toothpick, it should come out clean. If not let it cook for another 2-3 mins.
- Remove it from the pot, and separate each of the stand layers.
- Sprinkle very little water on the idlis.
- Let the idlis cool for a minute.
- Remove them with the help of a spoon, they come out easily.
- Yummy Rice Free Quinoa Idli is ready.
- Enjoy it with Coconut Coriander Chutney, Sambar, and Idli Podi.
Notes
- 1 Cup = 235 ml, 1 tablespoon= 15 ml, 1 teaspoon = 5 ml
- Any size cup can be used, just keep the ratio the same.
- If you want to add rice, replace 1 cup of rice with Quinoa. So use 2 cups quinoa and 1 cup rice.
- For people in cold climates or facing issues with fermenting the batter, check out my detailed post here on how to Successfully Ferment the Batter in Cold Climate
- I will update the step-by-step pics in a while, I just lost them.
Tried this recipe? Please comment and rate the recipe. Share your pics and tag us.
Subscribe to my email list to get the new recipes straight into your mailbox.