
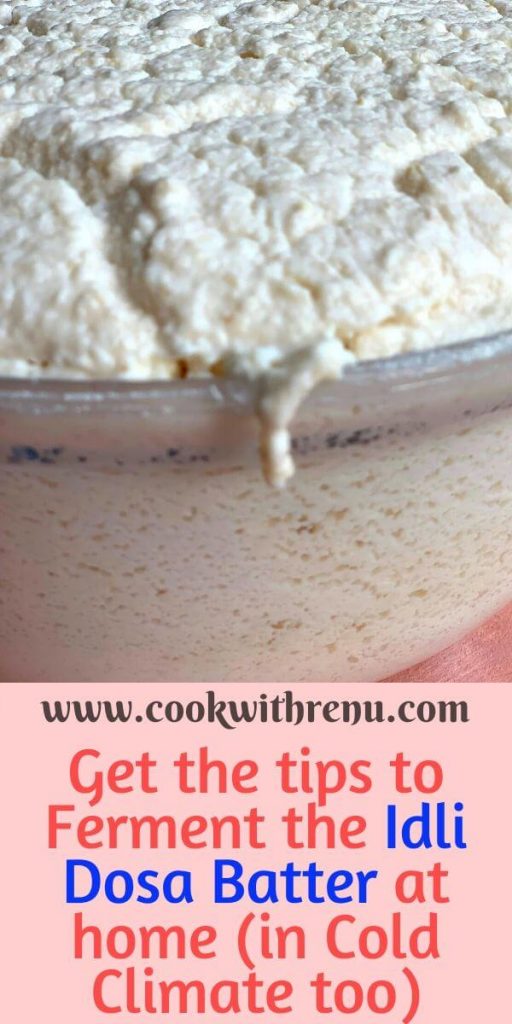
Fermenting Idli Dosa Batter In Cold Climate
Idli Dosa Batter is one of the most common things in my house apart from my parathas. Traditionally, the batter differs, but I make one. Fermenting Idli Dosa batter is easy if you follow some tips and tricks.
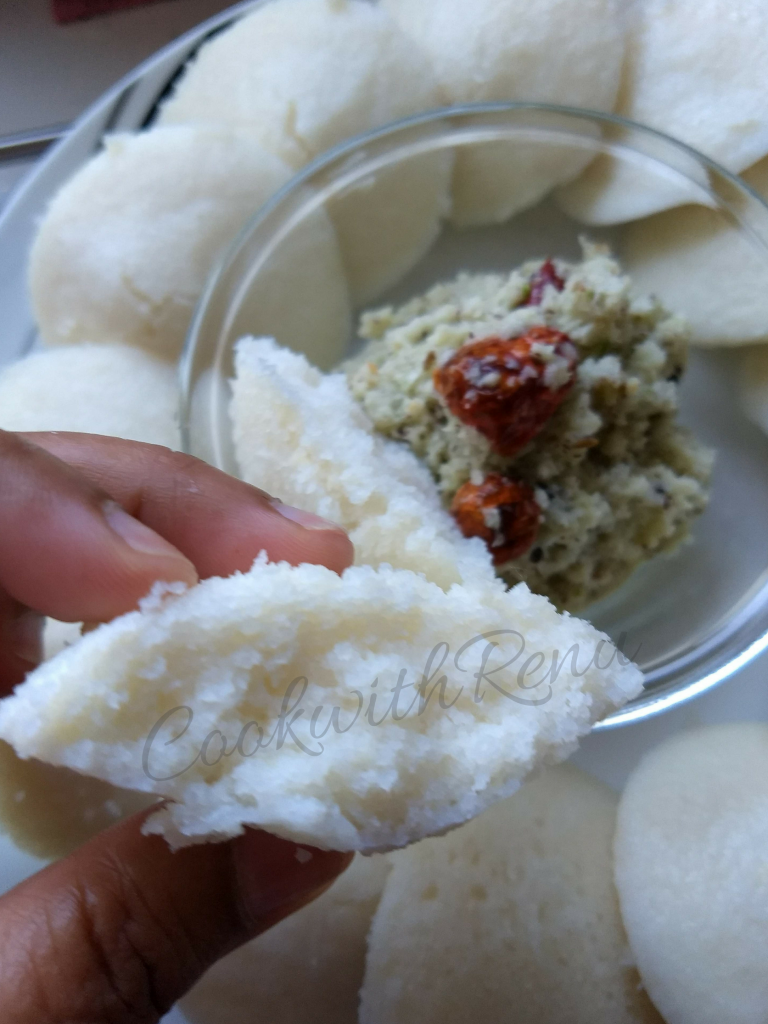
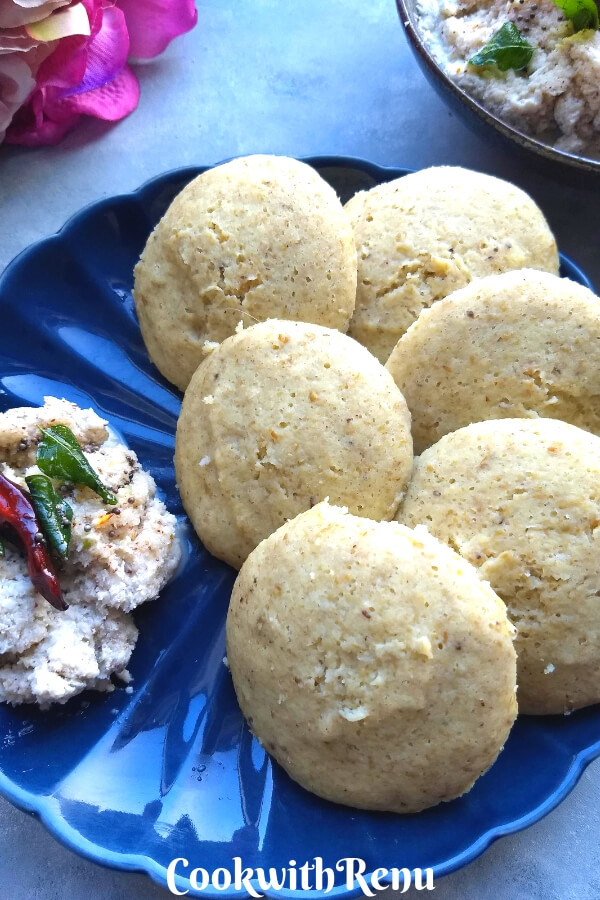
Idlis are steamed savoury cakes originating from South India. Dosa is a savoury crepe made using either the same or a different batter. The most common Idli batter uses Rice and Black lentils/gram.
- Types of Idlis I make
- Instant Idlis or Veggies Stuffed Idlis
- Different Fermented Idli Batters
- Fermenting Idli Dosa Batter
- Common Problems people face are
- Still, I manage to ferment my batter every time. How I do this?
- To create a warm environment one can do the following:
- Storing and Using After Fermentation
- Basic Idli Dosa Batter & Fermenting Idli Dosa Batter In Cold Climate
- Update
Making and fermenting Idli Dosa batter at home is easy, and not that difficult. I know everyone dreads the batter part, and most of them even buy the ready ones. However, it can be easily done at home. Yes, it takes a bit of time to grind the batter, but once you start doing it, you will not turn back.
I never buy or hardly have bought the ready ones except in case of emergencies. The reason we never liked the Idli batter.
Secondly, I just do not make one type of Idlis. I can say that I make more than 10-15 different types of Idlis and the variety is increasing every other day. No, I am not talking about just adding vegetable purees to the same Idli batter, but using different types of batters. I use a range of different grains, dals, and cereals to make different types of batter.
Types of Idlis I make
The typical or the first type of Idlis I learned from my mom is this traditional Idli using Rice and Urad dal and this one, that is without rice. I.e. the Split Green Moong Dal Idli. It used to be common in our house on at least 1 Sunday of a month. Another rice-free Idli I make is this No Rice Kulith Idli.
I like to make these millet idlis, using whole millets. Bajra (Pearl Millet) and Ragi Idli using whole Ragi Seeds, Proso Millet. I also make idli with Quinoa.
Instant Idlis or Veggies Stuffed Idlis
Rice-free and Instant Idlis on my blog are these Instant Oats and Dali (Broken Wheat/Cracked Wheat) Idli, or this Instant Ragi Idli or Instant Carrot Semolina Idli and Instant Semolina and Vermicelli Idli. Paneer is stuffed in this Palak Paneer Stuffed Idlis and Beetroot is sneaked in this Beetroot Idli/Uttapam batter.
Different Fermented Idli Batters
With fermented batters I do make, Ragi Idli, Quinoa Idli, Little Millets Idli, Jowar Idli, Horse Gram Idli (2 Varieties), Bajra Idli, and many more. I have been making this for the last few years and hopefully will share the recipes soon. Most of the time, I am not able to click before they are all gone. As said earlier I use the same batter for Dosa and uttapam too. I make Sada Dosa, Masala Dosa, Instant Ragi Dosa.

Fermenting Idli Dosa Batter
So without diverting further let's get back to the core of the topic today Idli Dosa Batter. I am no expert and not a South Indian, but this is with my experience and learning over the years. I might be wrong, but whatever I am saying below has worked for me.
Common Problems people face are
- Batter not getting fermented, especially in cold countries.
- Idlis are not turning soft and have not puffed up.
Let's address the first problem. I am currently living in a cold country. The temperature here is generally below 15. If it goes above 15 °C, it is considered a hot wave, even in summer. So you can understand how difficult it would be for me. I have made my batter this whole winter, and temperatures were anywhere between -7 to 5 °C and with hardly any Sun.
Still, I manage to ferment my batter every time. How I do this?
- Earlier I used to Soak the rice and dal together and make a batter. Call it my laziness. Yes, my mom used to do it separately, but still, I did not. I never faced an issue back in India with this method, but here I do. So why really do you have to soak them separately? Simply because they both are different types of grains. Grind the dal smooth and fluffy. This helps the batter to ferment well.
- I do not have the typical grinder used to make Idli dosa batter. I use my normal Indian Mixer grinder for grinding the batter, similar to this one. Earlier I used to use a smoothie blender that had a cross blade for smoothies, and it did work too.
- Add water only as much as needed to grind the dal smoothly. Scraping the sides of the mixie bowl helps. Add a tablespoon at a time.
- I always use 3:1 as the rice and dal ratio, for nonrice idlis too, it is 3:1 with 1 part of urad dal generally. (Have mentioned in individual
- Idli/Dosa post the ratio, please follow them accordingly).
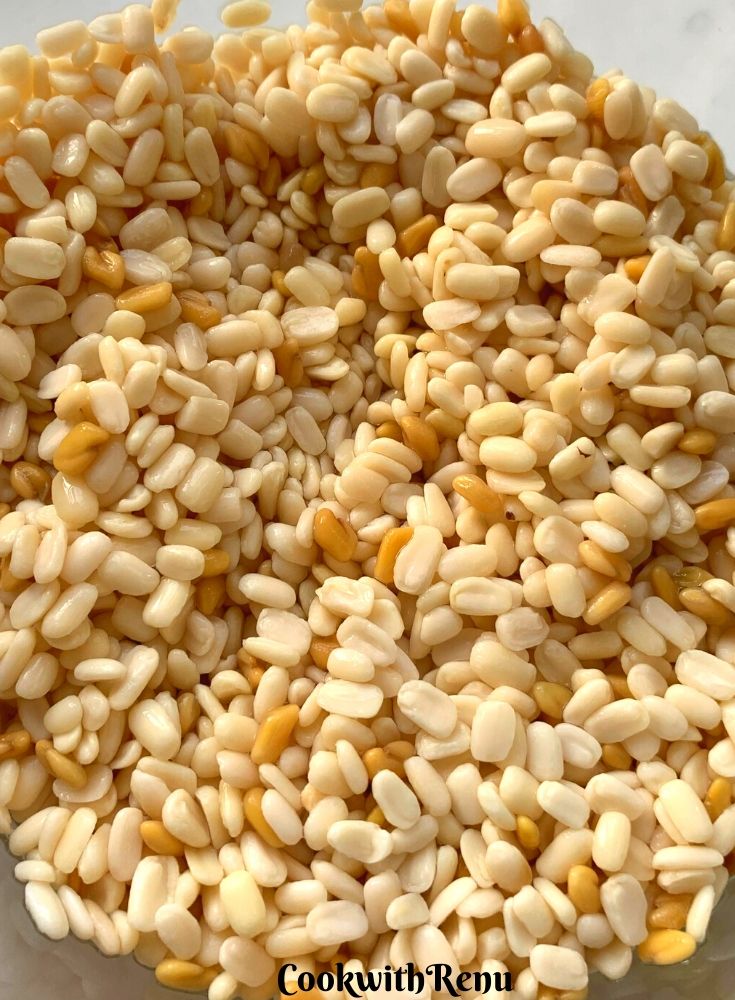
- I use split or whole urad dal and even the black variety at times.
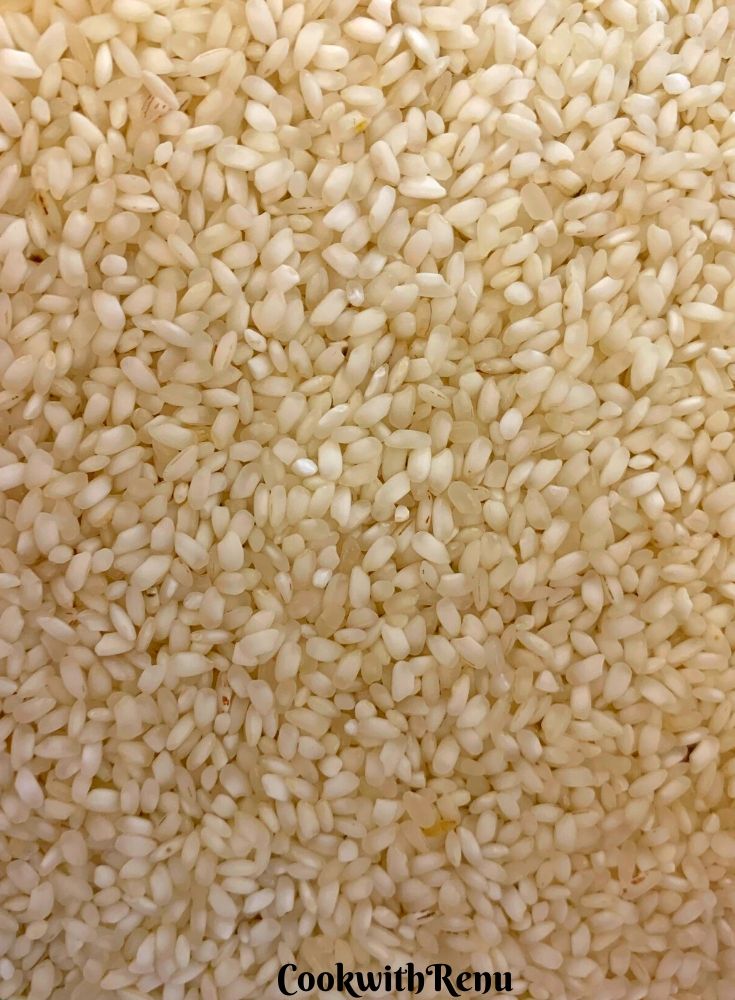
- Idli rice is the rice I use for all my batters. I used to use the Ukada rice variety back in India. At times I even use the Kerala red raw rice variety.
- I add fenugreek as it helps in digestion.
- I do not like to add soaked poha and leftover rice to the batter as it changes the consistency of the batter. We love our Idlis a bit grainy. But it does help in the fermentation process so you can add around ¼ cup of soaked poha or used rice while grinding if you want.
- Adding Soaked Poha also helps in making the dosa crispy. But if the batter is well fermented it will make crispier dosas.
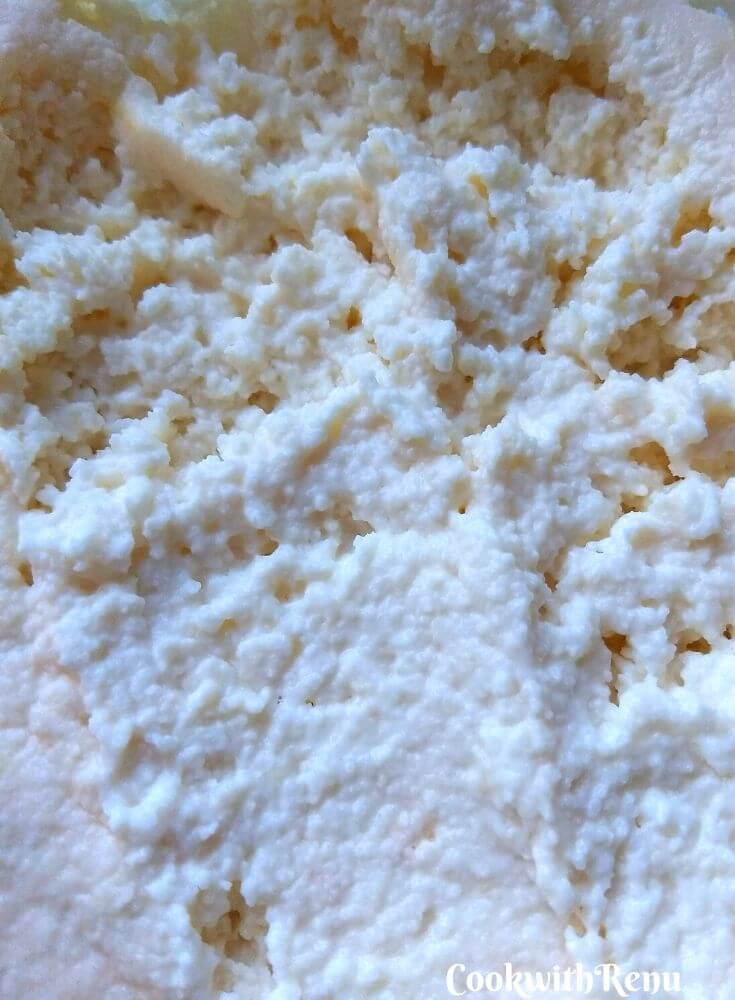
- Mix the whole batter thoroughly using your hand for a good 2-3 minutes. Do not worry, just clean your hand and do it. Hands are your best friends in cooking. Mixing the batter with your hand really helps, so do not skip this process.
- The batter needs a good warm environment to ferment well.
To create a warm environment one can do the following:
- Wrap a blanket around the container and keep it in a place in your house where it is warm. Even if you get a tiny bit of sunlight it is fine. I do not like this only because if it overflows it spoils the blanket.
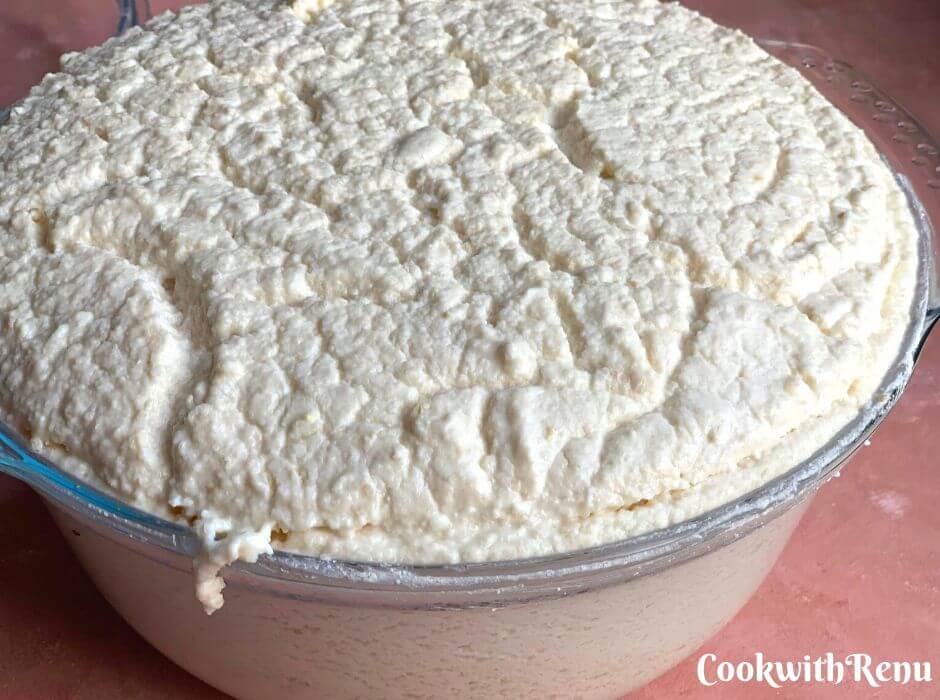
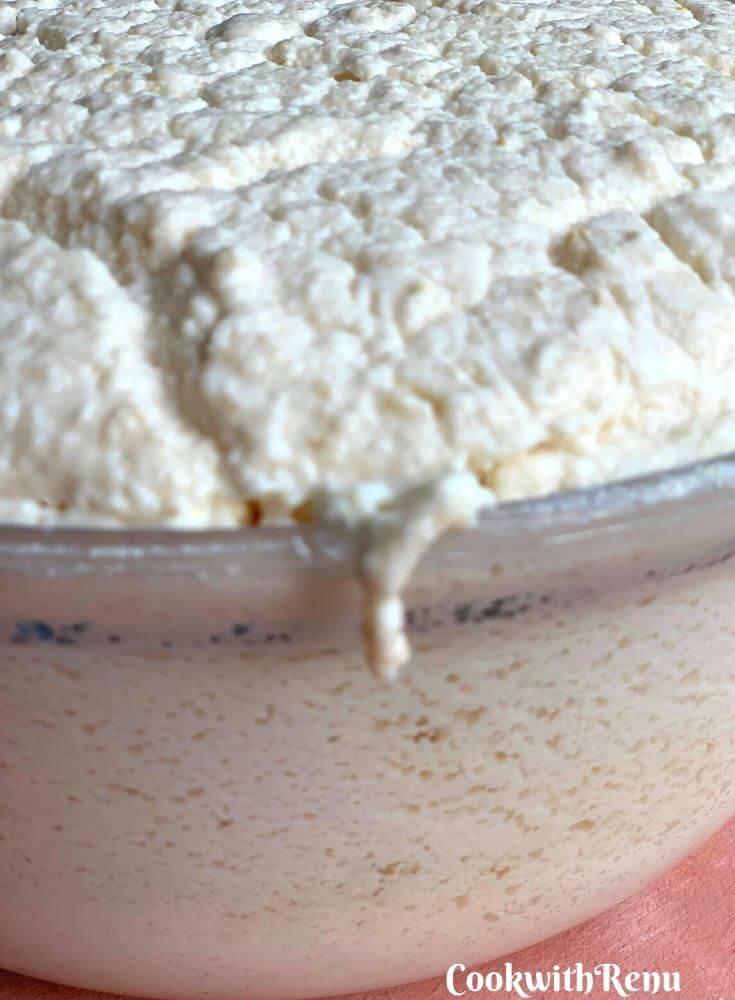
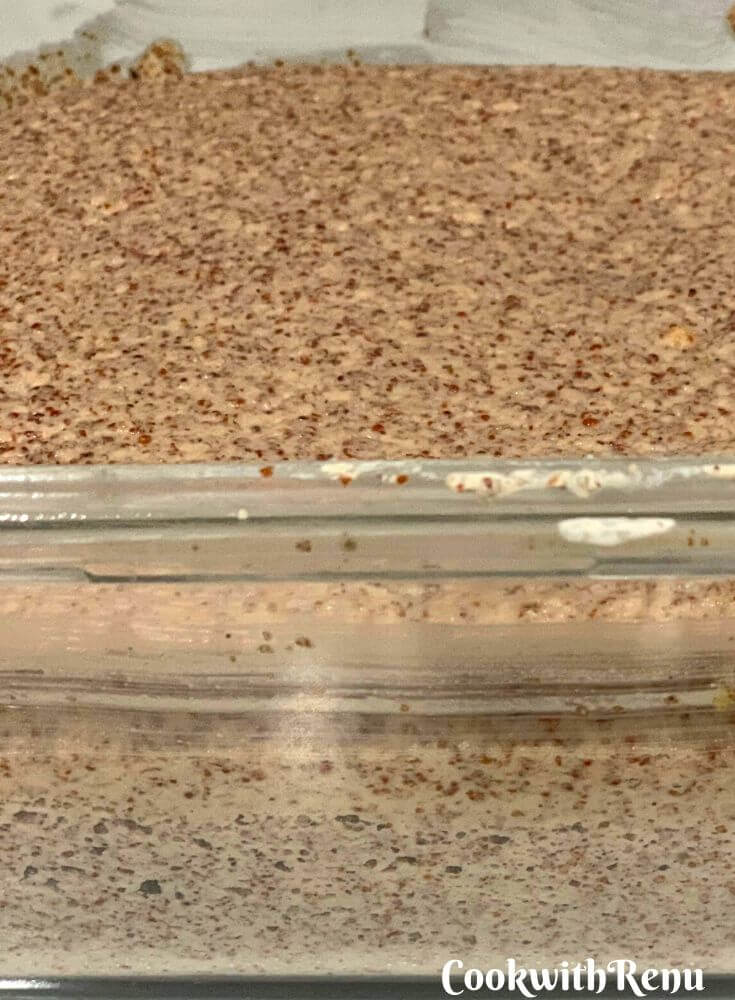
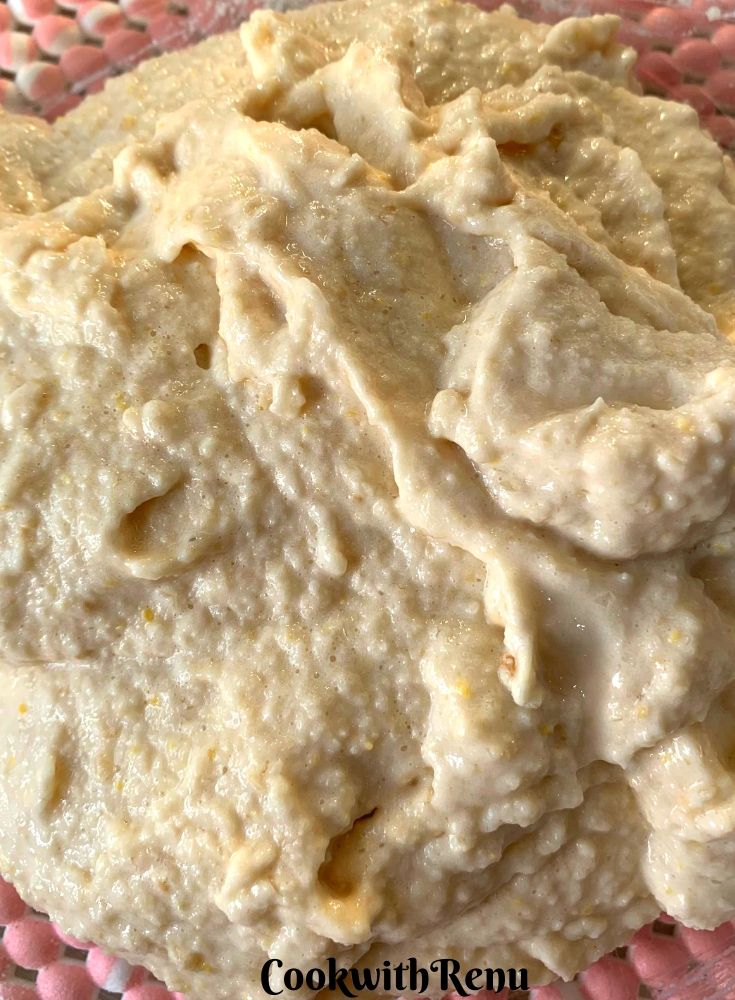
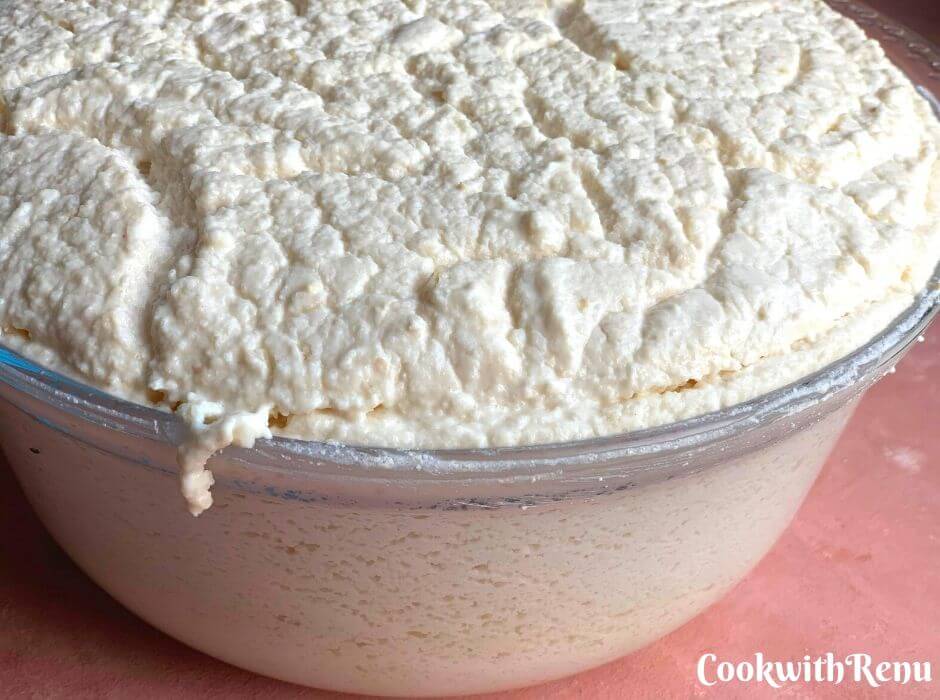
- Keep the container in the oven, with the oven light on for 2-3 hours. It is not needed for the oven light to be on for the whole time or for hours. It is simply a waste of resources, according to me. Once it is on for 2-3 hours, it creates a warm environment sufficient to ferment the batter. The batter below is fermented with the oven light on for just 2-3 hours.
- If you have done any baking at all in the oven, your oven would be hot on that day. So one of the best uses of the remaining energy. Let it cool down a bit, so that it does not scorch the batter. Once it is warm, keep the batter inside.
- Warm the oven slightly (you should just be able to feel it warm and not hot) switch off and keep the batter inside it. The warmth generated is sufficient to ferment the batter.
- For the last 1 month, I have been following another trick. I keep the batter near one of my heater radiators. In this way, I am not wasting any resources, and I am happy with the fermentation.
- Mind you I have tiles in my kitchen and my kitchen is cold.
- I used to add salt earlier, but now I just add ¼ of the required quantity before fermentation. Adding salt helps in the fermentation process, especially in cold countries. If you are in a hot environment, skip adding salt earlier. Add it only after the batter ferments. This helps the batter stay good for a long.
- Time required will be around 16-24 hours in colder countries. It will not ferment just overnight or 6-8 hours. So be patient.
- If you are keeping it in an Oven, do not open the oven door. All the heat generated will be escaped.
- Do not close the container tightly; just have a loose lid on top.
- Try to use a steel or a glass container for the batter.
- Lastly do not forget to keep a plate or a tray at the bottom. If the batter overflows you would be in a mess.
- A few of my readers told me that they put a hot water-filled bottle in the batter and it helps in fermenting. I have not tried it yet.
Storing and Using After Fermentation
- Once the batter is well fermented, mix in salt and use as required.
- The batter keeps well in the fridge for 4-5 days. I have not used it beyond that as it gets over by then.
- Once stored in fridge, it is advisable to remove it and keep it for at least 30 minutes outside and then make Dosa. I do make it immediately at times,the too, due to lack of time.
- For Idlis, the consistency is a bit thick and for Dosa, a bit thinner.
- To make Uttapam, I use Idli consistency batter.
- Make Idlis the first day and dosa or uttapam the day after. The dosas would be crispier and would taste better after 2 days.
- Follow the above, and I am sure you will be able to successfully ferment the batter in cold places too. Also, you would be able to solve the second problem of getting soft and fluffy Idlis always.
If you have any more tips or tricks to ferment the batter, do let me know in the comment section below. It will help me and the readers of my blog.
Basic Idli Dosa Batter & Fermenting Idli Dosa Batter In Cold Climate
 Print
Pin
Rate
Save
Cook Mode
Share Recipe
Print
Pin
Rate
Save
Cook Mode
Share Recipe
Equipment
Ingredients
- 1 Cup Urad Dal
- 3 cup Idli Rice / Ukda Chawal /Rice
- ¼ tablespoon Salt (Read above on how much you can add or skip)
- 1 tablespoon of Methi Dana (Fenugreek Seeds)
Instructions
- Wash the Urad Dal and methi in water for 2-3 times.1 Cup Urad Dal
- Separately wash the rice in water for 2-3.3 cup Idli Rice / Ukda Chawal
- Soak the Urad dal and methi in one bowl, and Rice in another bowl.1 tablespoon of Methi Dana, 3 cup Idli Rice / Ukda Chawal
- First grind the Urad dal with minimum water to fine and fluffy consistency.
- Grind the rice too with minimum water.
- Add ¼ tablespoon of salt and mix everything with hand for at least 2-3 minutes.¼ tablespoon Salt
- Keep it in a warm location for 8-20 hours (depending on location, read above)
- Once fermented make Idlis or Dosas as required
Update
I have already shared the basic Idli Dosa batter earlier. However, I have not shared all my ways to ferment the batter. Today I am updating my post for the same.
I am updating the contents of this post to make it SEO friendly and adding the recipe card. Sharing this with Foodies_RedoingOldPost_18.
Tried this recipe? Please comment and rate the recipe. Share your pics and tag us.
Subscribe to my email list to get the new recipes straight into your mailbox.

Whenever I'm in hot and humid Mombasa fermenting idli and dosa batter is not an issue, however, patience is required in Bangalore where it does get cold. My batter takes longer to ferment. Don't know why I didn't think of the blanket trick as that's what we use to ferment the handvo batter or bread dough in London. a detailed and very informative post Renu.
Yes blanket trick works, I use it for yogurt too. Thank You
Getting the batter fermented in cold regions is a real tough job. Useful post Renu, it does help many people.
Thank You
Such a detailed post on fermenting idli dosa batter Renu ! Have been following the blanket technique for my curd and idli batter since last 7 years as it gets pretty cold in winters in North India. I am awed with the different idli varieties you have on your blog.
Yes North of India too has this issue. Thank you.
Thankyou for such nice details
Welcome 🙂
I followed your method to ferment batter and it does great when its cold but the moment it's hot batter 8s not fermenting.I use yogurt mode in IP.Do i need to change water ratio?
Hi, You mean in hot temperature the batter is not fermenting? That is strange. As generally for hot weather one actually do not need to do anything and it should work. If it is working in cold weather, what change you did in batter for hot weather? What ratio are you using 3:1? it should work. Try adding a bit of soaked poha or lefover rice. Like 1/2 cup. I have not fermented batter in Instant pot, but it should work.
Hi renu very useful post just wanna know the consistency of rice or millet paste should it be like dal paste plz reply. And you know my mom use to keep batter in rice container to ferment in winters and it always worked.
Hi, The consistency should be thick but not like very thick, you should be able to move a laddle and not struggle with it. You can check the consistency here in a small video Ragi Idli using whole Ragi seeds (Vegan & Gluten-Free). I will create a video for the dosa batter consistency and upload a video. Thanks for the tip, yes those work as it gives warmth. But I just get worried at times if it overflows, plus I do not have such big container here.
Many thanks for the tips, I used 3:1 ratio and i used whole Urid dal.
Tip regarding mixing the batter with hand really helped and also putting the lid gently on the pot. I live in UK and here it takes 24 hours for the batter to ferment. But with your tips i get it right every time.
That is nice to know Sharmilee. At times I too use whole urad dal. I can understand, it is difficult but not impossible. I am in Ireland so almost the same weather. Would you mind even rating the recipe, it helps my blog and fellow readers too.
I put yoghurt with the mixed batter & leave it to ferment.
But can you please let me know if I need to keep it out or in the fridge after putting the yoghurt? Thank you in advance.
To ferment you need to keep it outside only as it has to be at normal room temperature or warm conditions. Once fermented you can keep it in the fridge.
@Renu Agrawal Dongre,
Hi
I like to make my dosa batter with one glass rice, half glass of urad dal, 5 tablespoons of channa dal and fenugreek seeds. If I use 3:1 the dosa would be crispy but I like my proportion as it is healthy and tastes better to my family though it does not make the dosas crisp. Also if i can use millet instead of rice, will that work? Using your fermenting methods?
Also please let me know how long I have to soak ruce and dals before grinding?
Thanks
Hi, Yes you can use millets instead of rice. I do make that often just not added the recipe yet. There is one more rice-free idli on my blog, Green Moong Dal Idli. I do ferment the batter successfully every time. Here is one such recipe of Bajra Idli, where I have included a video. It does use a bit of rice, added only for taste as Bajra at times is difficult with kids. But even if you do not add rice and use millets and dal it will ferment.
Hi Renu
Thanks for the detailed instructions. I am interested in the trying out the different rice free idli varieties that you have posted.
Regarding fermenting, I had tried most of the oven light/ warm oven techniques as I also live in the Northeastern USA and the batter fermentation was a challenge. As you said the fermentation took longer and I also felt the batter was not smelling good after nearly 15 h sitting outside for fermenting. Instead I decided to give this technique a try and it has worked like a charm every time with my batter fermenting within 10 h without the dreaded smell.
The only trick I follow is soak the rice one day before the urad daal and change the rice water couple of times before grinding. I don’t have to do this i summer. However, 9 months in a year the weather is cold enough that I have had to follow this and the idlis have consistently come out well. In fact, my in-laws from India had good words about the texture and taste of the idlis. We consume idlis/ dosas pretty much every other day and keep the ground batter for up to two weeks without it getting spoilt.
Just thought would share my findings. The oven or Instapot technique works for me for dahi.
Thanks
Thank you Kalpana. Thanks for sharing your thoughts and your methods. I am soon going to update this post with the way others do fermentation too. It would help us all.
On the top of above tips, if you are grinding the batter in mixer grinder instead of wet grinder, I would suggest putting the soaked dal and rice in fridge for 30 minutes just before grinding it, to avoid heating of the batter during grinding(in mixer grinder) because if dal gets heated, the fermentation process would be delayed.And after mixing the batter with hands put a dried red chilli with stalk( the stalk should touch the batter) and leave it in the preheated oven overnight. My batter is fully fermented and sometimes overflowing in less than 20 hours. Thank you.
Thank you for your input Swapna.
@Renu Agrawal Dongre, Hi, Renu, Swapna said not to get the batter too hot. Since this page is about how to keep the batter warm enough, I was wondering about the opposite question--if I put some batter in the sun on a warm day to hasten the fermentation, do I risk the batter getting too warm?
Thank you for your blog to give beginners like me some confidence!
Hi, It will hasten the process, but if it is too warm, like temperatures of above 25 Deg C +, I would say just keep it over the counter, as you would have enough warmth. Too much hot like 25-40 Deg C might ruin the batter.
I do keep mine near a sunny window, but for me temperatures outside is hardly above 10Deg C and in the room it would be around 15-18 Deg C.
Thank You for stopping by, let me know if you have any further questions and your success with the batter.
Please get to the point without thousands of lines which is completely unrelevant to the title of the blog. I don't know why all food bloggers post like a university student writing semester exams, not relevant to the topic just filling pages.
I scrolled so many paragraphs that included ads, finally when I got to the paragraph, there's a pop up asking me to subscribe to your blog, there's not even a close button to close the pop up. Extremely irritating
Thank you for stopping by. If you do not like reading that is fine, You might not need the info, but some others need it. Unfortunately, people do not complain when they see a live show and have ads running for a long. Ads are a way to source my blog. There are a lot of inputs needed to run a blog. Hope you understand. Another thing is there is a Jump-To-Recipe button, which will take you directly to the recipe card, you can click on that. With respect to pop-ups, there is a close button, I have tested it. Thank You again, for your detailed comment.
@Renu Agrawal Dongre,
A very professional reply! I'm sorry you have to put up with some rude and impatient comments! It was a delight reading your post.
My query is regarding the coconut chutney. I find it impossible to source freshly grated or grated frozen coconut here and I wouldn't know how to go about grating a coconut here either. So any tips on how to make chutney to accompany these dosa crepes and idli would be highly appreciated as I would really really like to make idlis and dosas for my friends despite the cold weather and the difficulty sourcing an appropriate blender (still searching for one that can handle wet-grinding of grains/lentils/dates etc), temperature challenges, ingredient sourcing etc!
Hi Fay, You can just chop the coconut into small pieces if you get it and grind it in a grinder, that works too. I know it is difficult to source fresh coconut. If you get frozen one, let it come to room temperature or else it becomes very creamy. I did not have a wet grinder, I use my Indian mixer to this. However earlier I was using a simple blender when I did not had one. With a simple blender or high speed blender, you need to do in small quantities. It does work, but you need patience as the quantity grinded at times is very small. Hope that helps, let me know if you have any more questions. Renu
Hi..someone told me that fermented idli batter should not be stirred. Just ladle it up from top n steam. Also to add salt after grinding. Is it correct.
I always stir it and use it as it needs to be mixed. I think they meant while the fermentation is going on do not stir, as it does break the fermentation process.
@Renu Agrawal Dongre,
Hallo,
I stay in Europe and during summer I am making idli batter it is well fermanted and double in size but it does not taste sour at all..I used 3:1 ratio for rice and urad and a teaspoon of Fenugreek seeds. Can you please tell me how can I get that little sour taste. The batter was out for around 16 hours. I used to make it in India and the taste was very good there..but here in Europe I am not getting that sour taste.
Hi, Yes getting a sour taste is at times difficult especially as we are in cold climate. You can add a bit of sour curd or if you do sourdough baking, sourdough starter also helps.
While grinding the batter use warm water. Rinse the pot with hot water before pouring the battery in which you're going to ferment it.I put the batter in my car outside if it is sunny. Car gets really hot even in lower temp and sunny weather.
Thank You for your tips. Warm location is good, but not completely sunny as this might make the batter go bad.
The recipe title is very specific. But, the story is so long thatbthe main point got lost. Felt that the author was best trained in essay writing but very poorly trained in precis writing. It's too ong a story to drive a very specific and crisp query, I feel
Hi, Thank you for your comment and the time to read the post. I have first highlighted what types of Idli I make, then I have mentioned the common problems, how I overcome the problems, and how to store the batter, in bullets one by one. There are multiple problems faced by people residing in different countries and temperature conditions, and I have tried to cover all, and hence a bit elaborate.
Yes, I do not take help from AI or chatgpt or gemini, so my post might not be the professional you would be expecting, but it has some real kitchen experiences.