
Maharashtrian Kothimbir Vadi: Soft or Crispy
Soft coriander cakes with a golden crust are easier to make than they look. Maharashtrian kothimbir vadi is steamed first, then enjoyed plain, shallow-fried, or deep-fried.
This vegan snack uses everyday ingredients and fits tea time, lunch boxes, and party platters. You can choose a quick batter method or shape the mixture into traditional logs before steaming.
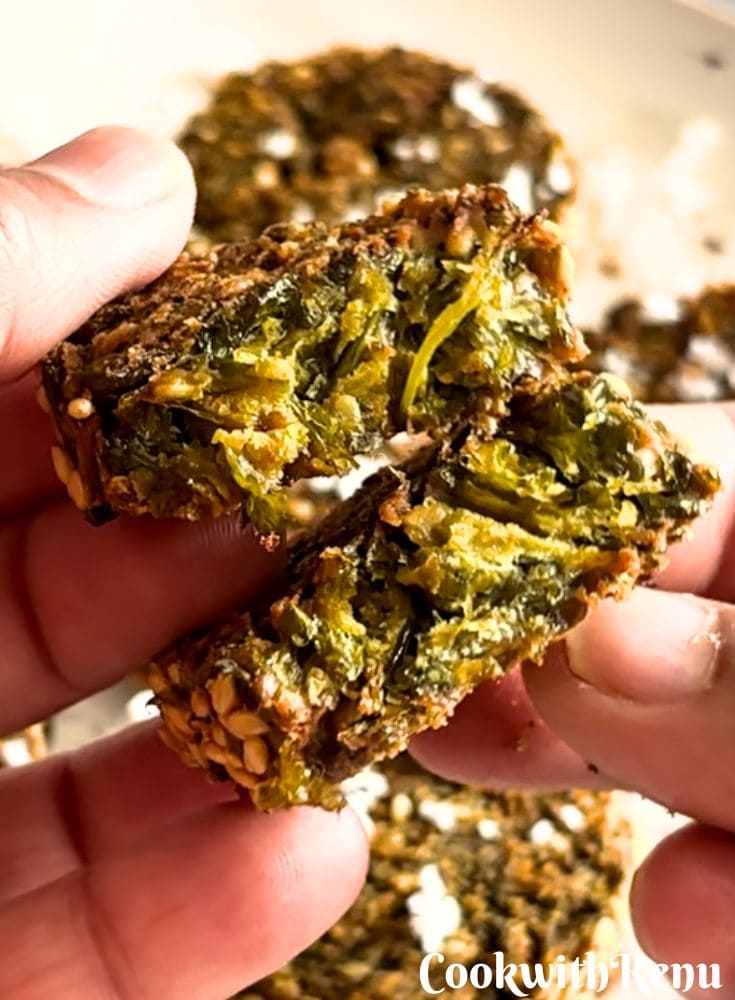
What Makes Maharashtrian Kothimbir Vadi So Special?
Kothimbir means coriander, while vadi refers to small steamed pieces or cakes. In Maharashtra, the snack gets its character from lots of fresh coriander, earthy besan, and a warm blend of spices.
Steaming keeps the center soft and fragrant. Frying the cooled pieces adds a crisp outside that contrasts beautifully with the tender middle. The coriander stays bright and prominent instead of disappearing behind a heavy flour coating.
Maharashtrian kothimbir vadi is naturally vegan. It can also be gluten-free when you use certified gluten-free asafoetida, or simply leave asafoetida out. The result is savory enough for a snack, yet sturdy enough to pack for later.
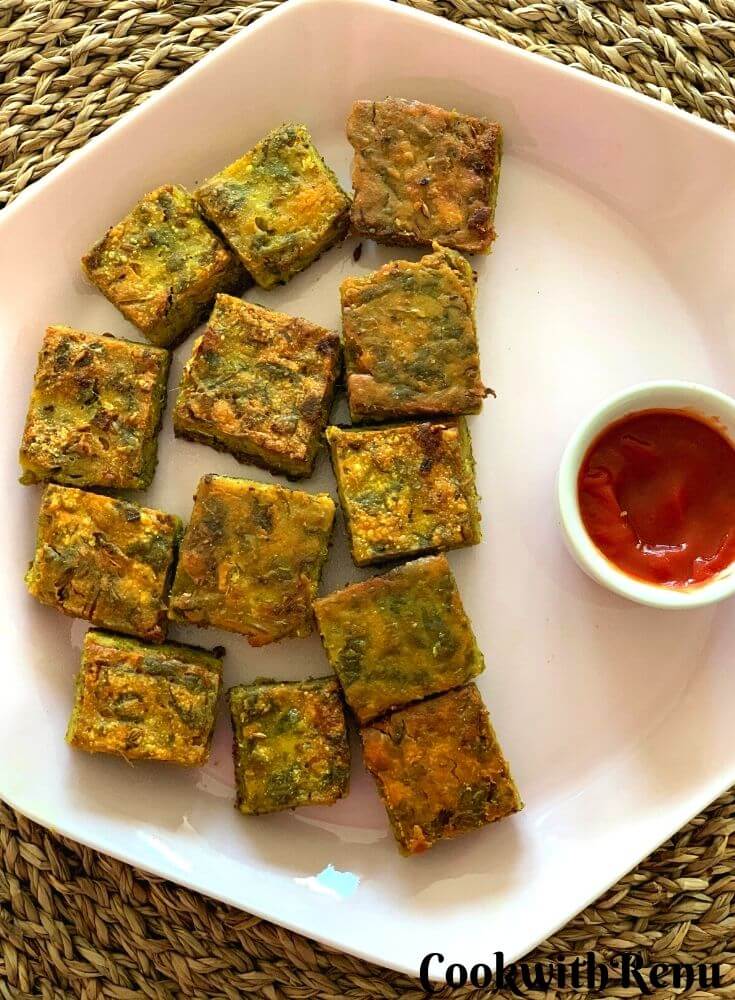
Ingredients for Flavorful Coriander Vadi
Besan, also called gram or chickpea flour, binds the mixture without eggs. Add a generous pile of finely chopped coriander, then season it with turmeric, red chili powder, green chilies, ginger, garlic, cumin, and salt. (Skip garlic if you're making it as part of Maharashtrian Naivedya Thali)
Sesame seeds bring a mild crunch. Coarsely ground roasted peanut powder gives the vadi a more traditional, nutty flavor. You can add rice flour for a crispier texture.
Keep the Coriander Front and Center
The best vadi tastes green, fresh, and herbal. Use plenty of coriander and avoid adding too much besan, which can make the cakes dry and pale.
If you use asafoetida, check the package carefully. Many commercial versions contain wheat flour, so certified gluten-free asafoetida matters for anyone avoiding gluten.
How to Prepare the Coriander and Besan Mixture
First, sift the besan to remove lumps, then mix in the spices and salt. Crush or blend the ginger, garlic, and green chilies before adding them with the chopped coriander. (Skip garlic if you're making it as part of a Vegetarian Maharashtrian Thali.)
Pour in water slowly until the mixture only just comes together. Let it rest for about 10 minutes so the flour hydrates. The batter should be thick, not runny, because excess water makes the vadi harder to steam and slice cleanly. I used just 2 tablespoons of water in my batter.
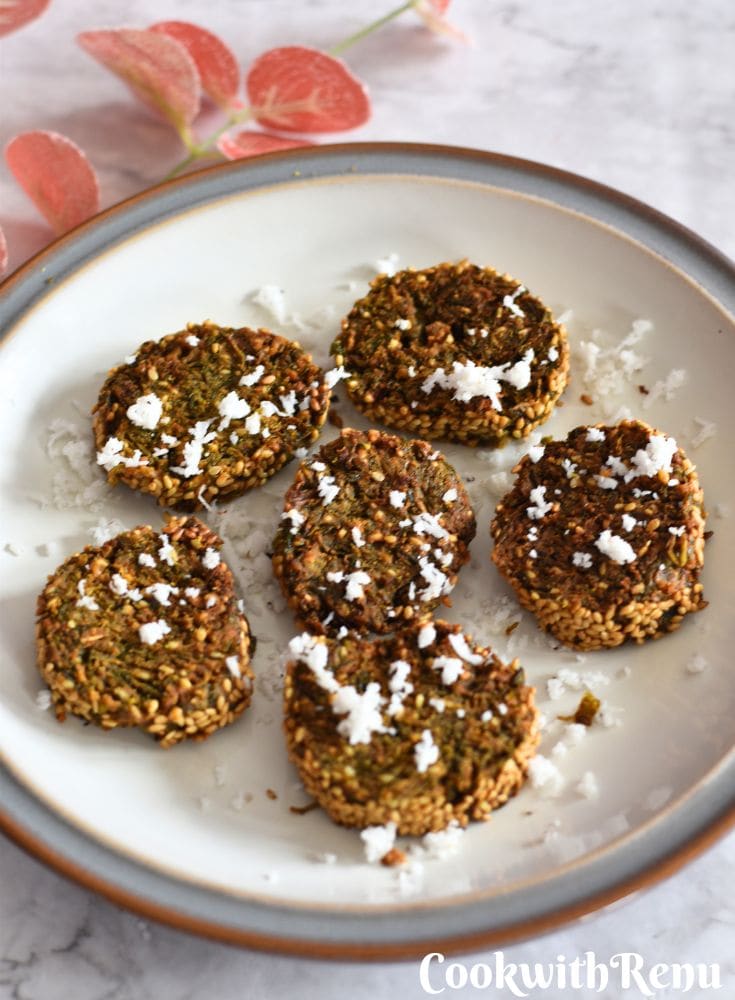
Two Reliable Ways to Shape and Steam Kothimbir Vadi
Both methods produce the same fresh coriander flavor. The batter version is faster and more forgiving, while the log method makes denser slices with a traditional feel. For a visual walkthrough, use this preparation and steaming tutorial.
Easy Batter Method Using a Steaming Plate
Bring water to a boil in a steamer or wide pot. Grease a rimmed 8-inch plate, then warm the empty plate briefly over the steam.
Spread the thick coriander mixture evenly across the plate. Cover and steam for 15 to 20 minutes. A knife or toothpick should come out without wet batter. A few moist crumbs are fine, but the center shouldn't look raw.
Afterward, cool the slab for about 10 minutes before cutting squares, diamonds, or bite-size pieces.
Traditional Hand-Shaped Log Method
For this version, mix the ingredients with little or no added water. Moisture from the coriander often binds the dough on its own.
Shape the mixture into one or two logs with greased hands. Place them on a greased steaming plate and steam until firm. Add water only one tablespoon at a time if the dough won't hold together.
These slices are denser and hold their shape well after frying.
How to Finish, Serve, and Store the Vadi
You can eat the vadi warm after steaming or cook it again for a crisp exterior. That flexibility makes it useful for relaxed afternoons and larger gatherings.
Shallow-Fry, Deep-Fry, or Serve Steamed
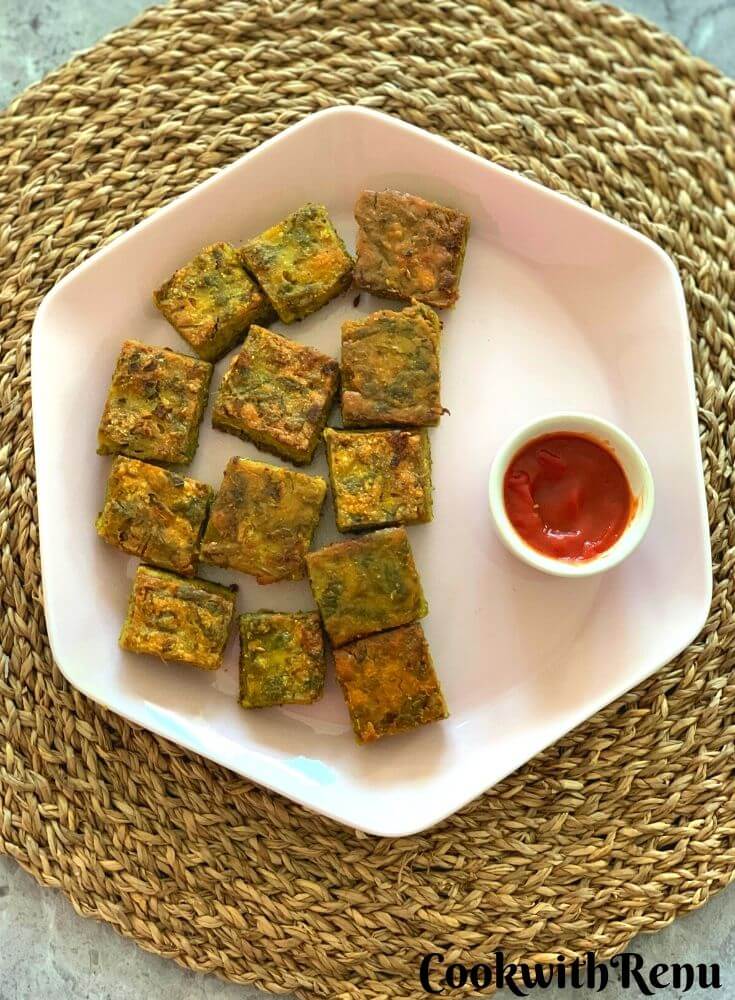
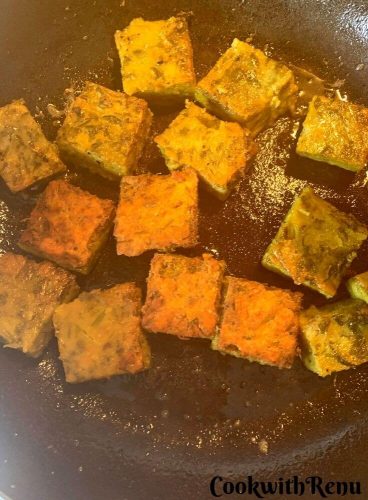
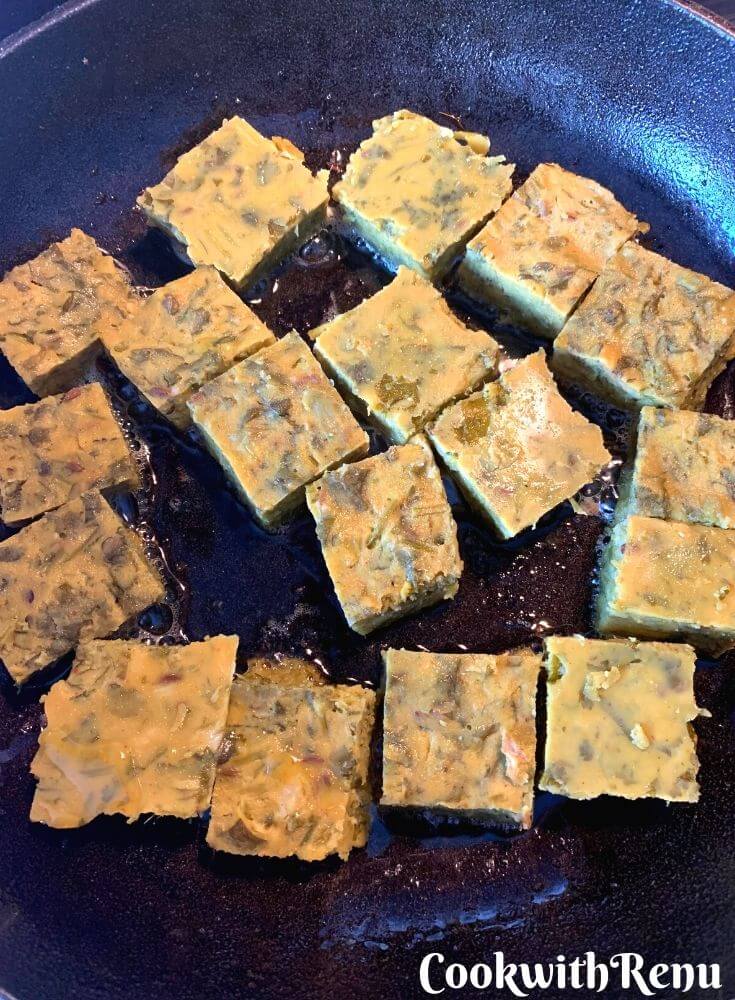
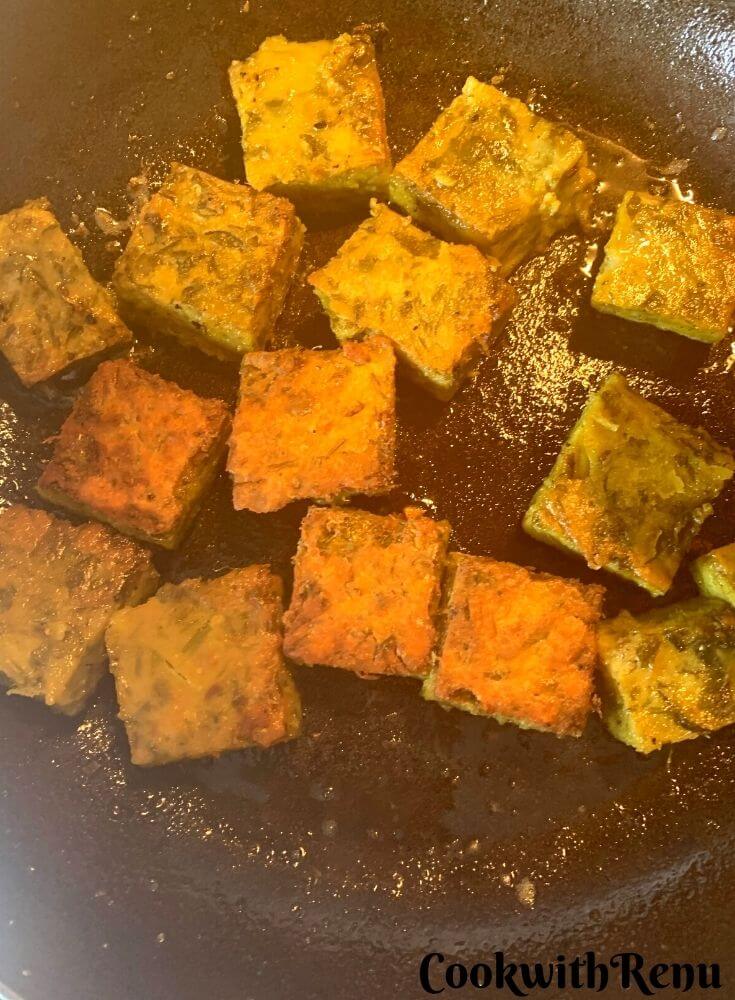
For shallow-frying, cook cooled pieces in a small amount of oil over low to medium heat. Turn them until both sides are golden and crisp.
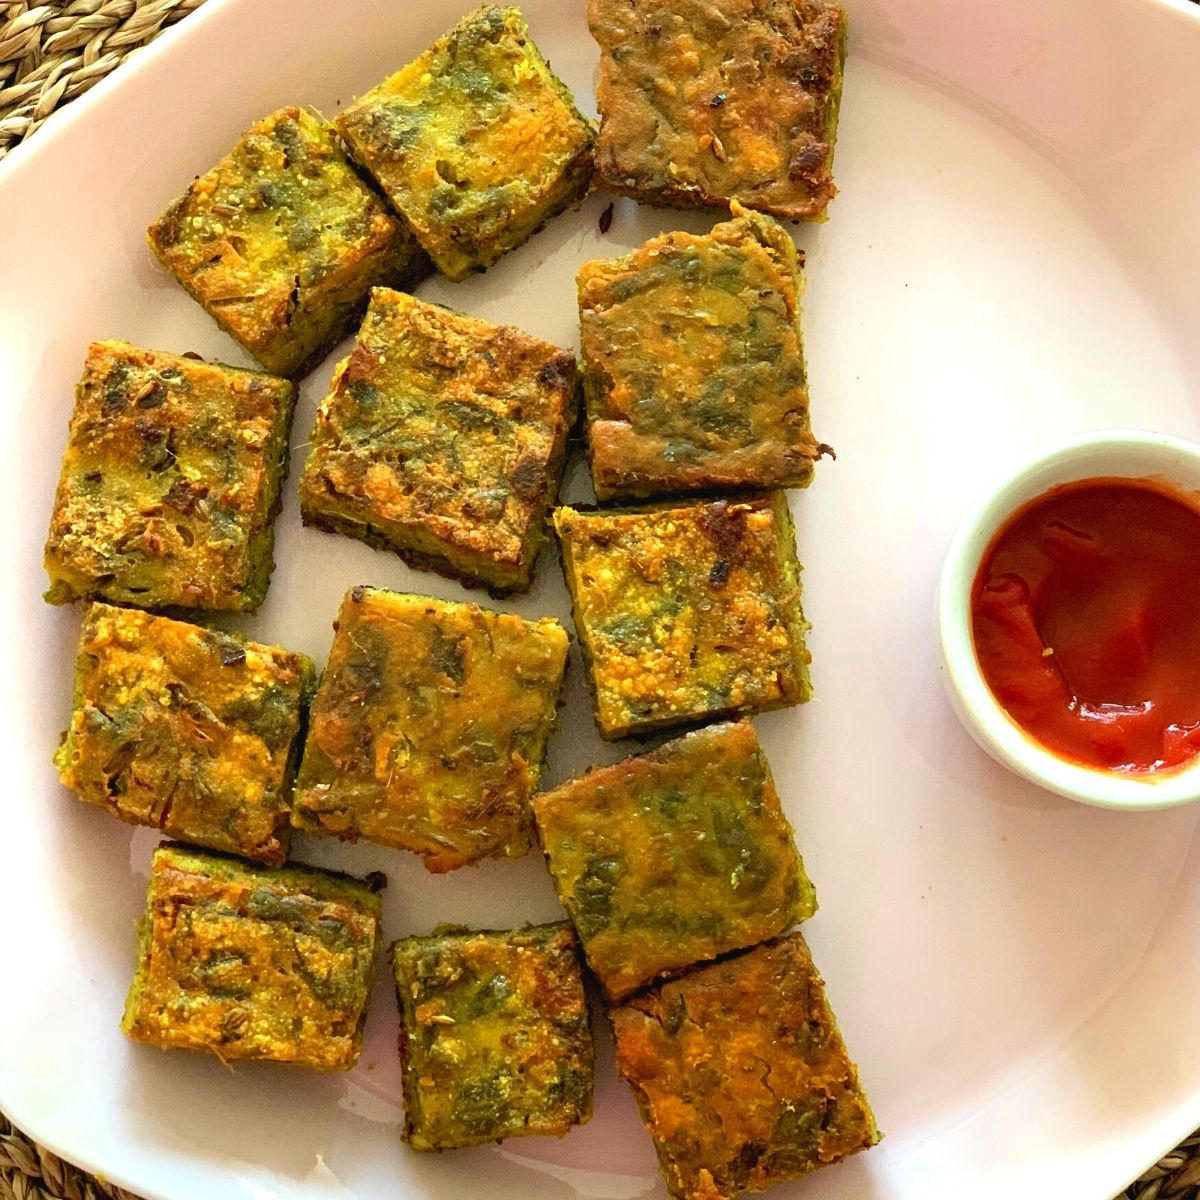
Deep-frying creates a more traditional crunchy finish. Steamed pieces are the lighter choice, especially for lunch boxes. Finish with sesame seeds and grated coconut, then serve with tea, chutney, or tomato ketchup.
Make-Ahead, Refrigerator, and Freezer Instructions
Store steamed vadi as a whole slab or cut into pieces in the refrigerator for four to five days. For the freshest result, use it within four to five days.
To freeze, arrange slices on a tray until firm. Transfer them to an airtight container or freezer bag. Fry them straight from frozen, or thaw and pat dry first to remove surface moisture.
Family-Friendly Variations and Green Vegetable Swaps
Reduce or omit green chilies and red chili powder for toddlers and children. Ginger, cumin, and coriander still give the snack plenty of flavor.
You can also replace part of the coriander with other herbs or vegetables. Finely chopped broccoli works well, although it changes the moisture level. Add besan and water gradually until the mixture remains firm. Check out my recipe for Broccoli Vadi here.
Key Takeaways
- Steam the vadi first, then serve it soft or fry it until crisp.
- Use more coriander than besan for a greener color and fuller flavor.
- The batter method is best for beginners, while shaped logs make firmer slices.
- Refrigerated or frozen steamed pieces make quick snacks later.
Frequently Asked Questions
Can I make kothimbir vadi without garlic?
Yes. Skip the garlic and add a little extra ginger or cumin if you want more aroma. The coriander and besan still make a flavorful snack.
Why does my vadi break while slicing?
The slab may be under-steamed, too wet, or cut before cooling. Steam until a knife comes out clean, then rest it for at least 10 minutes. If frying, it is best to cool it completely.
Steamed Recipes on my blog
I love to make such steamed dishes and I have shared a couple of healthy and delicious steamed recipes. Like this Instant Rava Dhokla, Farali Kuttu aur Singhara ka dhokla, and this Instant Khaman Dhokla. And there are different Idli varieties on my blog, and if you'd like to check out my Easy Steamed Meal Platter
Lunch Box and Make Party Snack
They can also be packed into your kids lunch box or be given as finger food for your toddler. Just reduce the chilli or completely skip it. These vadis are also good when you have a guest at home or a perfect party appetizer for your get-together.


Maharashtrian Kothimbir Vadi: Soft or Crispy
 Print
Pin
Rate
Save
Cook ModeShare Recipe
Print
Pin
Rate
Save
Cook ModeShare RecipeIngredients
- 1 Cup Besan/Gram Flour -140 grams approximately
- 3 cup Chopped Coriander - Fresh leaves and soft stems only, cleaned - (About 3 small bunches)
- ½ teaspoon Turmeric powder
- 1 teaspoon Red chilly powder -As per taste
- 2 Tablespoon Sesame Seeds
- A pinch of asafoteida -Please see notes for Gluten Free
- Salt as per taste
- Water as required - use only as much required, I just used 2 tablespoon
- Oil for greasing the plate
- Oil for shallow/deep frying
- 2 Tablespoon Sesame Seeds for garnish
- ¼ Cup Roasted Peanut Powder - I have not added
Chili, Ginger, and Cumin Seeds Thecha
- 5-6 Green Chilli -As per taste
- ½ inch piece of Ginger
- 1 teaspoon Cumin Seeds
- 2-3 garlic cloves - Optional, skip is making it for Bhog
Garnish
- 1 teaspoon fresh grated coconut - (optional)
Steaming
- 3 Cups Water
Instructions
Cleaning Coriander
- Clean the coriander, discarding all the tough stems. We need only the leaves and soft stems.3 cup Chopped Coriander
- Wash it under running water and keep it in the colander to remove all the extra water.
- Arrange it on a cloth and leave it to dry for 30 minutes or alternatively pat it dry.
- Add the chopped coriander to a large bowl.3 cup Chopped Coriander
- Add the sifted gram flour to this.1 Cup Besan/Gram Flour
- Goarsely ground the green chillies, cumin seeds, ginger, garlic (if using) in a mortar and pestle or in your grinder.5-6 Green Chilli, ½ inch piece of Ginger, 2-3 garlic cloves, 1 teaspoon Cumin Seeds
- Add this to the gram flour and coriander mix.
- Now add sesame seeds, turmeric powder, red chili powder, asafetida, and salt.½ teaspoon Turmeric powder, 1 teaspoon Red chilly powder, A pinch of asafoteida, Salt, 2 Tablespoon Sesame Seeds
- Give everything a nice mix.
- Slowly press the mixture with your hand. Coriander will release the moisture and help it in binding
- Add just enough water so that the mixture comes together.
- If required add 1 tablespoon of water at a time just to combine everything.Water as required
Get the Steamer Ready
- In a steamer or wide pot put some water to boil. (About 3 cups of water)3 Cups Water
Easy Method Using a Steaming Plate
- Grease 1, 8 inch steel plate which has a rim. The plate size should be according to your steamer vessel. It should fit in properly and you should be able to lift it.
- Grease the plate with oil.Oil for greasing the plate
- Spread a tablespoon of sesame seeds on the plate2 Tablespoon Sesame Seeds
- Press the dough onto the prepared, greased plate.
- Press the remaining sesame seeds on top of the dough.2 Tablespoon Sesame Seeds
Traditional method
- Now grease your hands with oil and make a log or form a cylindrical shape with half of the dough.
- Repeat for the remaining dough.
- Spread sesame seeds on a chopping board.2 Tablespoon Sesame Seeds
- Roll the logs on the sesame seeds.
- Keep the prepared vadi logs on the greased plate.
Steaming
- Cover and steam for 20-25 minutes.
- Once done, one can check it with a toothpick to check if it is done. It should come out clean.
- Remove and let it cool for 10 minutes.
- After 10 minutes, cut it into the desired shape. (When you eat it without frying)
- One can enjoy them hot steamed too.
- If required a tadka of mustard and sesame seeds goes well with this.
To Shallow Fry or Deep Fry
- Once the vadis are cooled completely, cut them into the desired shape.
- Add a tablespoon of oil to a pan or oil for frying in a wok.Oil for shallow/deep frying
- Shallow fry or deep fry on medium.

- They are done when they are golden and crispy all over.
- One can add a teaspoon of sesame seeds and grated coconut for garnish.1 teaspoon fresh grated coconut
- Enjoy with some tea or as part of your meal.

Video
Notes
- 1 Cup = 240 ml, 1 tablespoon = 15 ml, 1 teaspoon = 5 ml
- Asafoetida (Hing) powder available in shops contains wheat and is not gluten-free. Gluten-intolerant people can either skip it completely or opt for gluten-free asafoetida (Hing)
Updates
This post first appeared on my blog on 22nd September 2020. Today the 16th September 2026, I am updating the contents, pics (for the traditional method) and also sharing a video recipe. The recipe remains the same.
Sharing this with
Earlier I have shared this with
Check out the Blogging Marathon page for the other Blogging Marathoners doing BM#116
Tried this recipe? Please comment and rate the recipe. Share your pics and tag us.
Subscribe to my email list to get the new recipes straight into your mailbox.
Join our Whatsapp Community to get direct recipe links. Join here.

Indian Cooking Confidence Guide
Learn the basics. Build confidence. Enjoy simple Indian cooking.


This is a fantastic dish Renu. I loved it so much when I made it sometime back. Would surely make a wonderful snack.
Wow! very well done. I love this and make it fairly regularly. I have tried air frying them and they turn out so crispy.
Love this method looks easy... As you said it's more like dhokla method. I have tried muthiyas but yet to make vadi. Looks like they are very similar. Anyway thanks for sharing this easy method.
I made this for one marathon and we all enjoyed it a lot. So healthy and makes a good evening snack with hot cup of chai.