
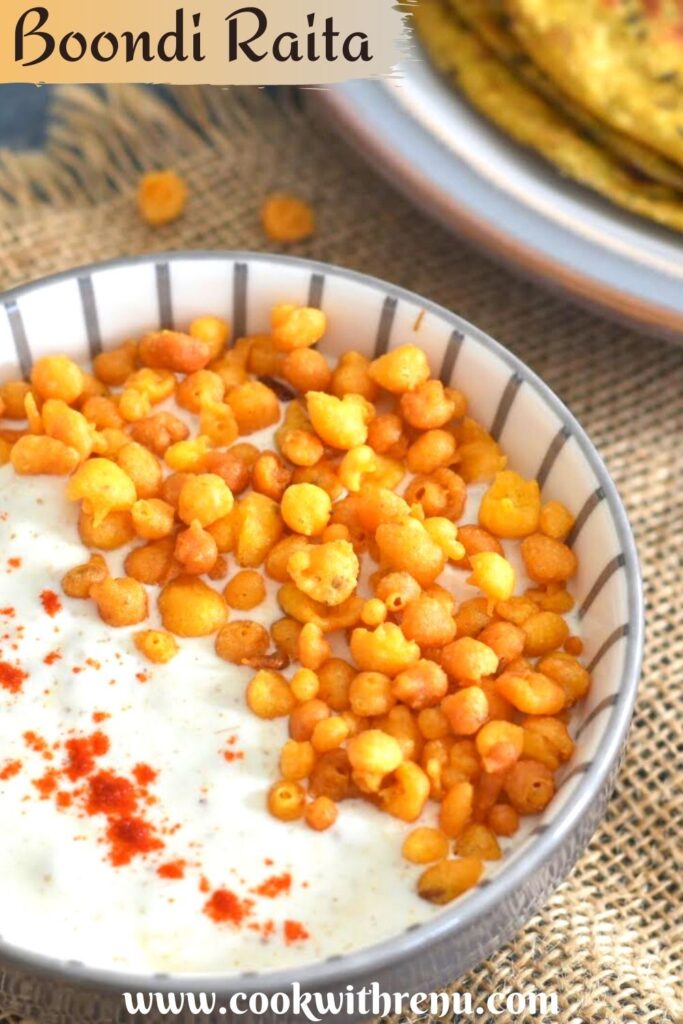
Boondi Raita
Want a side dish that cools down a spicy meal and still feels filling? Boondi raita does that in about 10 minutes, and it tastes even better when it's served cold. This version uses thick, fresh yogurt (dahi) and boondi, those tiny gram flour (besan) pearls that soak up flavor fast.
Why boondi raita works with almost any Indian meal
Boondi raita is one of those sides that quietly fixes the whole plate. If your main dish is spicy, rich, or heavy, raita brings it back into balance. The cool yogurt calms heat, while the boondi gives the bite and body that plain yogurt doesn't.
The base matters, though. Thick, fresh curd (or Greek yogurt) gives you a creamy texture without turning watery. Whisking it until smooth is a small step, but it changes everything. A well-whisked raita feels light on the tongue, while under-mixed yogurt can taste lumpy and heavy.
Then there's the seasoning. Black salt adds that classic raita punch, roasted cumin brings warmth, and a pinch of sugar rounds out the sourness of yogurt. It shouldn't taste sweet, it should taste balanced. Fresh coriander lifts the whole bowl and makes it taste brighter.
Boondi is the fun part because you can control the texture. Soaked boondi turns soft and pillowy, which is great when you want a comforting raita beside biryani or pulao. On the other hand, unsoaked boondi keeps a gentle crunch, which some people prefer, especially if the rest of the meal is soft.
In short, this is a quick recipe, but it doesn't feel like an afterthought. With the right yogurt, the right soak time, and a few spices, it tastes clean, cool, and fresh.
If your raita ever feels "too sharp," a tiny pinch of sugar can smooth out the tang without making it sweet.
Benefits of Curd
Curd is a great probiotic and helps to improve our gut activity and treat upset stomachs. It is calcium-rich and is believed to keep your bones and teeth stronger. Helps to lose weight and is overall boosting your health and creating a strong immunity against day-to-day disease.
I am a person who loves curd to the core since I was a kid. I can eat it on its own or just finish it with some roti; I do not need any bhaji or anything alongside. The only condition is that it should not be sour. I cannot eat sour curd, and it is best to use it in kadhi.
Both my kids are the same. They generally want some yogurt with khichdi or rice dishes. And the best is If I do not have any bhaji being done, I serve it with Boondi Raita or any other raita. So I always have a bowl of yogurt in my fridge. I do like to make some quick raitas for variety. Also, to sneak in different veggies or give the yogurt a colorful appearance as well a different texture.
Making Yogurt at home
I do make yogurt at home. Making it in a humid or warm climate is easy. But when you are in a cold country, it is difficult. So I make this Instant Pot yogurt, which is a foolproof recipe. I always end up with some delicious yogurt. If you want to know how to make yogurt in an Instant pot yogurt with and without yogurt button check out this post of mine.
What is Boondi made of
Boondis are small chickpea/gram flour (Besan) balls deep-fried in oil. The boondis are gluten-free, and you can make them plain or with some masalas like salt and red Mirchi. They are really addictive to whenever you make it, make sure to make a bit extra.
Boondi can be made very easily at home. I always make it at home and prefer the homemade ones to the store-bought ones. I feel the ready ones are saltier, and when soaked, they really do not have any texture. The store-bought ones simply dissolve in water.
Made using a perforated spoon or with a grater with wide holes in it. All you need is to soak the besan and fry it. Will share its recipe soon.
You can always find a jar of homemade boondi at my home. So when needed can easily use it. However, they are easily available in stores as plain boondi or masala boondis.
Ingredients for a fresh, creamy boondi raita
This recipe stays simple, and that's why it's reliable. Use thick curd and season it lightly, then adjust water only after you see the texture. If you want the full printable version, Cook with Renu shares it here: Cook with Renu's boondi raita recipe.
Here's what you'll need:
- Plain thick yogurt/curd (1 cup): Homemade thick curd works great, and Greek yogurt also fits well.
- Plain water (¼ to ½ cup): Add a little at a time to get the consistency you like.
- Salt: Black salt gives the most classic raita flavor.
- Roasted cumin powder (¼ teaspoon): Adds a warm, roasted note that makes raita taste "complete."
- Boondi (¼ cup): Use homemade if you have it, or store-bought works too.
- Sugar (¼ teaspoon): Helps balance the sour taste of yogurt.
- Chopped coriander (1 tablespoon): Use fresh for the best flavor.
- Red chili powder (¼ teaspoon, optional): Adds color and mild heat, and you can skip it.
A note on boondi: you'll find both plain and masala boondi in stores. Store-bought boondi can soften quickly once it hits yogurt, so timing matters. If you like the soft, soaked style, soak for less time. If you like a crunchier raita, skip soaking and stir boondi in right before serving.
Simple tools that keep it quick
You don't need much to make boondi raita, but using the right basics makes it faster and smoother. A bowl with enough space helps you whisk without splashing, and a whisk makes the yogurt creamy in seconds.
If you want the same type of tools used in the video, these are similar options:
Simple tools keep it quick, and they also help you avoid over-mixing once the boondi goes in.
Step-by-step: How to make boondi raita in about 10 minutes
The method is straightforward, and the order matters. Whisk first, then add boondi, then season and adjust. That's how you keep it creamy instead of gummy.
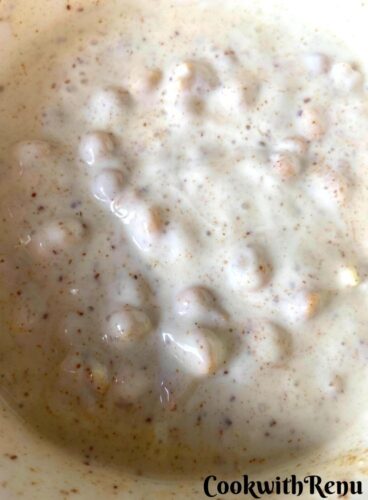
- Whisk the yogurt until smooth. Start with thick, fresh homemade yogurt (dahi). Greek yogurt also works well here. Whisk it until it looks smooth and creamy, with no lumps. This step sets the texture for the whole bowl, so don't rush it.
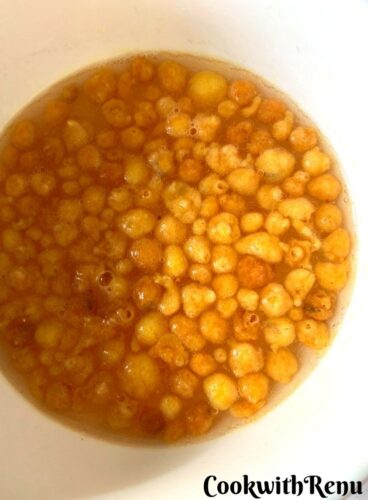
- Soak the boondi (optional, based on texture). For a soft, traditional raita, soak boondi in enough water for 15 minutes. After soaking, squeeze it gently to remove excess water. Don't press too hard, or it can turn mushy. Add the drained boondi to the whisked yogurt.If you want a crunchier raita, you have two options: soak for less time, or skip soaking completely. Skipping the soak gives you the most bite, and it's also the easiest approach when you're short on time.
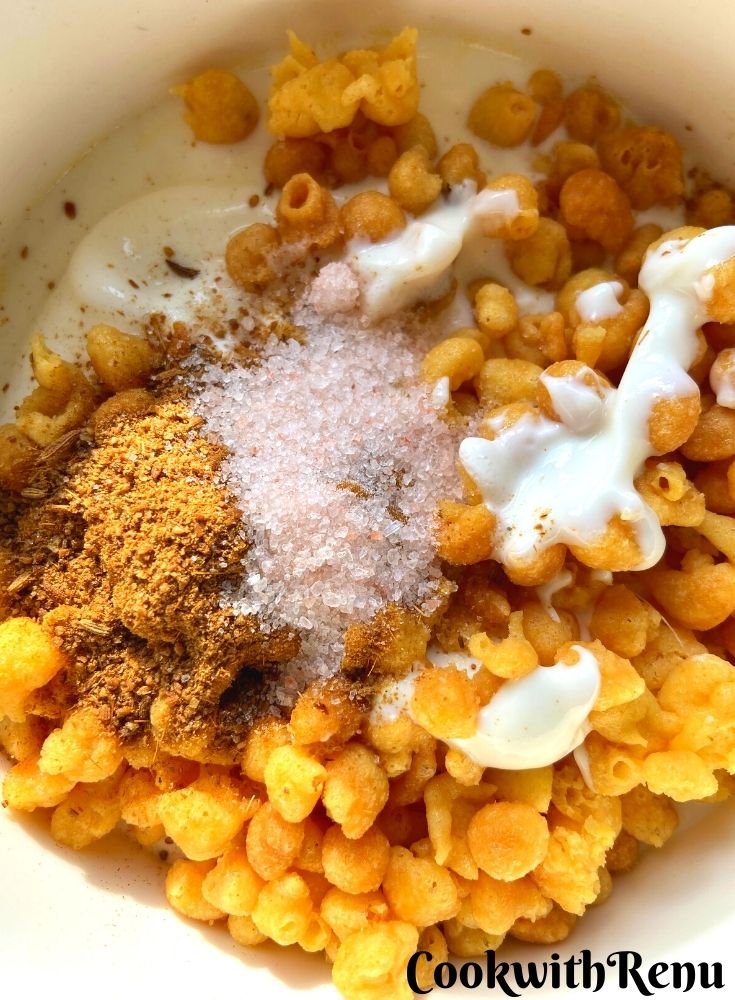
- Season the raita. Add black salt, roasted cumin powder, and a little sugar. That pinch of sugar matters because it balances yogurt's sour taste. Next, stir in fresh chopped coriander.If you like a little heat, add red chili powder. If you want a mild, cooling raita, skip it.
- Adjust consistency with water. Add a small splash of water and mix. Keep going until it looks right to you. Some people like raita thick enough to sit on a spoon, while others prefer it looser so it spreads easily over rice.
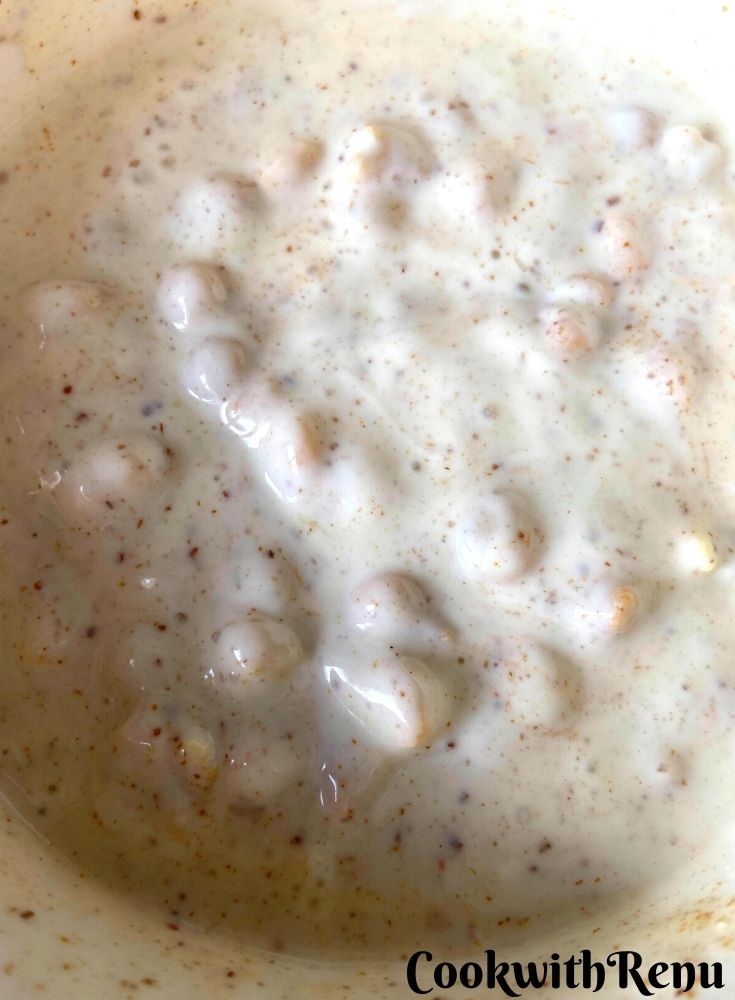
- Mix and serve. Stir everything together until the boondi and spices are evenly spread. At this point, it's ready to eat. Serve it as a side with your main course, or enjoy it on its own as a refreshing protein-rich bowl. You can also chill it before serving for an extra cooling bite.
Tips for thick raita, balanced flavor, and the right boondi texture
Small choices make the difference between "okay raita" and the kind people ask for again. The good news is that none of these tips add extra work, they just help you time things better.
Start with the yogurt. Thick curd gives you a strong base, and whisking it well keeps the texture smooth. If you add water too early, it's easy to go too thin. Instead, whisk first, then add boondi and spices, then loosen it slowly with water.
Next, think about boondi texture. Homemade boondi tends to hold up well. Store-bought boondi, especially the kind that's very light and airy, can soften fast. If you're using store-bought and you want a bit of bite, stir it in closer to serving time. If you plan to soak it, soak for less than 15 minutes and check it sooner.
Salt timing also matters. Once you add salt, raita starts to taste more "set," and it can pull moisture from ingredients over time. For parties or make-ahead meals, you can mix the yogurt base and keep boondi ready, then combine near serving.
Finally, don't skip the pinch of sugar if your yogurt tastes sharp. It won't make the raita sweet. It just smooths out the tang so the cumin and black salt taste cleaner.
Don't over-soak store-bought boondi, because it can turn soft faster than you expect.
If you like making curd at home, this Instant Pot yogurt pot-in-pot method is a helpful option to have on hand.
Serving ideas, storage, and what to do if it turns sour
Boondi raita fits in almost anywhere. Serve it with biryani, pulao, stuffed parathas, or any spicy curry and rice plate. It also works as a quick lunch side when you want something cool and light without cooking. This boondi rata would be one of the main sides generally in a typical Rajasthani Thali (Indian Regional Thali)
For the best experience, serve it cold or at least cool. If your kitchen is warm, a short chill in the fridge helps the flavors settle and makes the raita taste extra refreshing. That said, you can also eat it right away after mixing.
Storage is simple. Keep boondi raita in a covered container in the refrigerator, and it will stay good for 2 to 3 days. The texture may soften over time because boondi keeps absorbing moisture, so stir before serving. If it thickens in the fridge, add a small splash of water and mix again.
If your raita turns more sour after a couple of days, don't throw it away. You can turn that tang into something tasty by making a curry. Cook with Renu suggests using it in a kadhi-style preparation, and you can reference this Maharashtrian takachi kadhi recipe. (In that approach, gram flour can be added using the boondi and yogurt mixture.)
Different Raita Recipes
Being a north Indian, we do have different types of raitas typically in our house every other day. Ranging from cucumber raita, potato raita, pudina raita, Singdana (Peanut) Raita, etc. The list is endless. My recent favorite of all is this Nasturtium Leaves & Stems Raita (Yogurt Dip). It is made using my homegrown fresh Nasturtium leaves and stems. If you are looking for more raita recipes, check out this post of Baingan ka Raita from Mayuri Jikoni's.
Few More Yogurt/Curd recipes on my blog
- Beetroot and Carrot Sandwich
- Greek yogurt with Honey and Walnuts
- Dahi Wale Baingan | Eggplant in yogurt Sauce
- Yogurt Honey Wholemeal Loaf
- Shrikhand | Kesar Elaichi Shrikhand
- Rajgira Kadhi - Farali Kadhi for Vrat
- Takachi kadhi - Maharashtrian Kadhi - Dahi Kadhi
- Authentic Pakodi/Pakoda Kadhi
- Mangodi ki Kadhi
and many more...

Boondi Raita
 Print
Pin
Rate
Save
Cook Mode
Share Recipe
Print
Pin
Rate
Save
Cook Mode
Share Recipe
Ingredients
- 1 Cup plain thick yogurt/curd
- ¼ Cup of Boondi
- ¼ teaspoon Roasted Cumin powder
- ¼ teaspoon Red Chilli powder - Optional
- Salt
- ¼-1/2 Cup plain water
- 1 tablespoon Chopped Coriander
- ¼ teaspoon Sugar (Optional)
Instructions
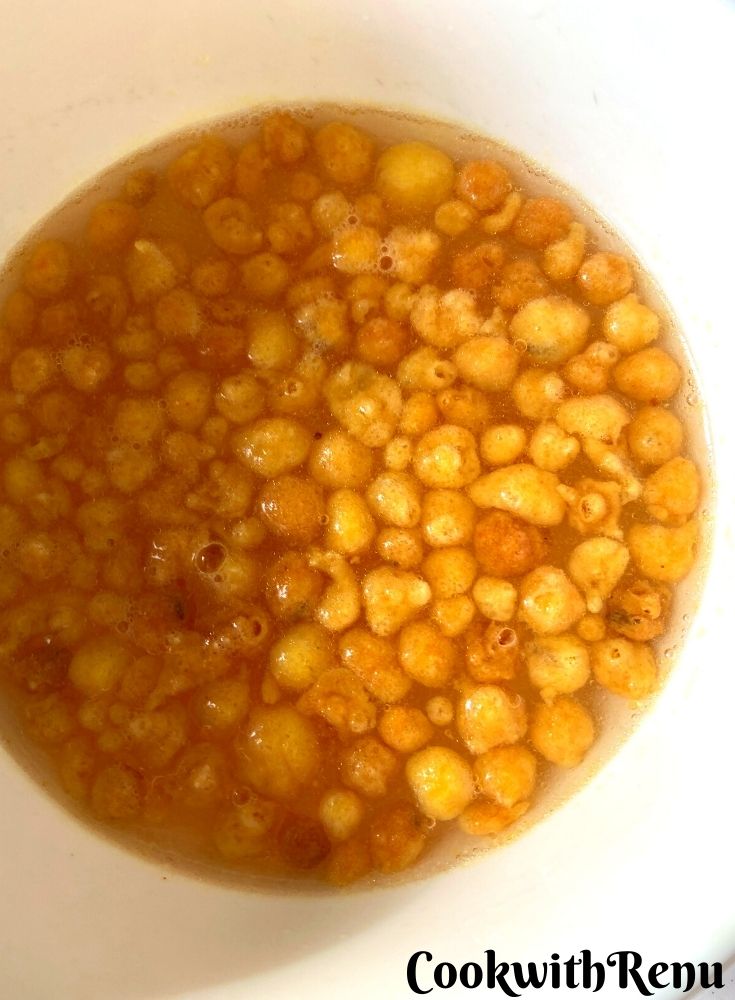
- Soak the boondi in enough plain water for 15 minutes.¼ Cup of Boondi
- Beat the yogurt until smooth. You can do this using a whisk or simply pass the yogurt through a sieve.1 Cup plain thick yogurt/curd
- Gently squeeze the boondi in between your hands so that the excess water is removed.
- Add the boondi in the yogurt mixture.
- Add in the salt, Roasted cumin powder, red chili powder, sugar, and chopped coriander.¼ teaspoon Roasted Cumin powder, ¼ teaspoon Red Chilli powder, Salt, ¼ teaspoon Sugar, 1 tablespoon Chopped Coriander

- Add water as per consistency required. Some prefer thick, some a bit watery.¼-1/2 Cup plain water
- Mix everything and let it sit for 5 minutes.
- Yummy and delicious Boondi Raita is ready to serve.
Video
Tried this recipe? Please comment and rate the recipe. Share your pics and tag us.
Subscribe to my email list to get the new recipes straight into your mailbox.


I and my son loves Boondi raita.. we can have bowls of this chilled raita with crunchy boondi!! You are right Renu North Indians love raita and the the list is endless!!
Boondi raita is a classic raita and one of the best ! Quick and easy this raita too can be made in umpteen ways . Like the way you have made .
Thank You
Same pinch on the love for curd and we too love raita with a meal. Sometime my kid has it as a snack and this one is my favorite Renu.
Thank You
During our Delhi meet, we ordered boondi raitha daily as it was such a wonderful side dish. Reading your post reminds me of those days. I love to top it with some crunchy boondi for texture.
Thank You 🙂
This is such a simple recipe that adds so much flavor to a meal. The crunchy boondi makes a great snack on its own,
Thank You
This is our go-to raita for any parties. Love it to bits.
A good one. I don't need anything to go with it and just can eat it plain as a snack
I don't like to eat raita with biryani or roti. But would love to eat it as such. simple and quick to make
Thank You
This is a delicious dish to enjoy anytime!...good one Renu..
I love boondi raita especially with biryani or pulao. However, I've yet to make it from scratch at home. It is so much easier to make it in India as we get ready made boondi. However, its time I made the boondi at home to enjoy this delicious dish.
Boondi Raita is something we love! It pairs well with just any kind of Indian meal. There is magic with chilled curds and crunchy boondi!
Love boondi raita but I am yet to make it at home. It makes a good side dish during summer.